Bird of paradise are easy to repot and will grow back rapidly if they are planted in premium potting soil. Choose a pot that is a size bigger than the plant and take care to plant it at the same level as it was in the old pot. Mulch the top of the pot with bark mulch and water it in well.
Bird of paradise a hardy plant that will grow well if it is transplanted every 4-5 years. While they will thrive even in a small pot they can be moved as a great feature in your yard into a modern pot.
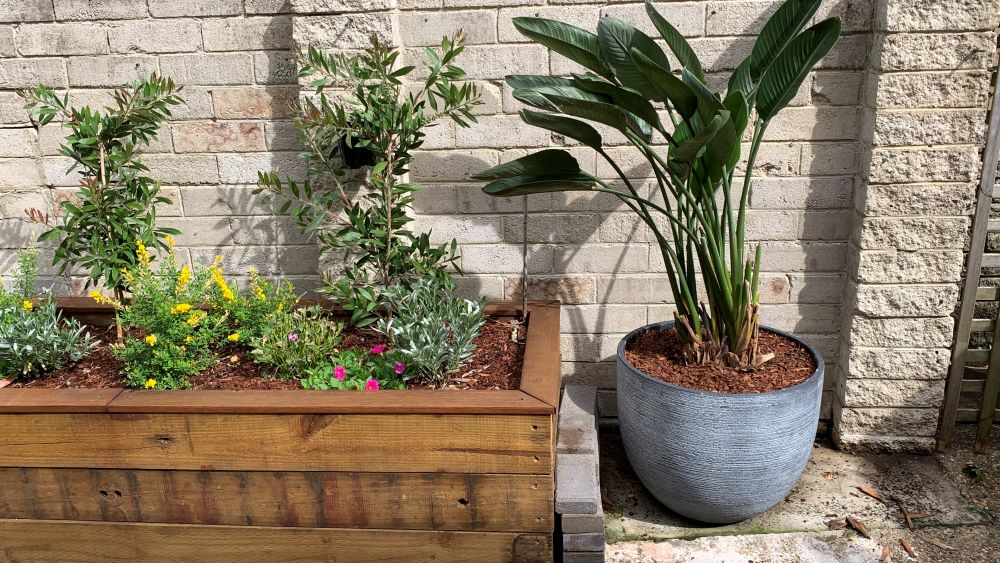
While I had previously moved this pot bound bird of paradise into a garden bed, my dog continually was digging the soil away from the roots. To save the plant I decided to repot it. Here are my easy steps to repotting bird of paradise at home.
How to repot bird of paradise – 9 Easy Steps
Here are my easy steps to repot a bird of paradise from the ground or from another pot. Once you know that your bird of paradise has outgrown its current pot it is time to move it to keep it growing well. If the pot it is in feels firm or if it has been around 5 years it is time to repot your plant.
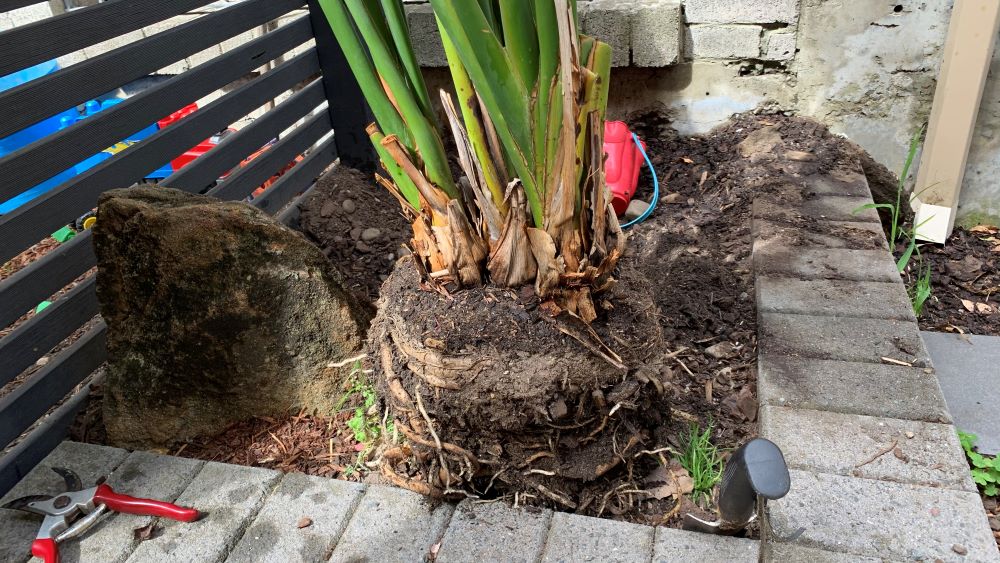
1. Dig the plant up or remove it from the pot
The first step is to remove the plant from the ground by digging around the root base with a spade. Dig and lift the plant up and move it aside. Try to keep the roots in tact as best you can.
If you are removing the plant from a pot, it is easier to tip it on its side and gently pull the plant out. Gently squeeze the pot and take the plant out.
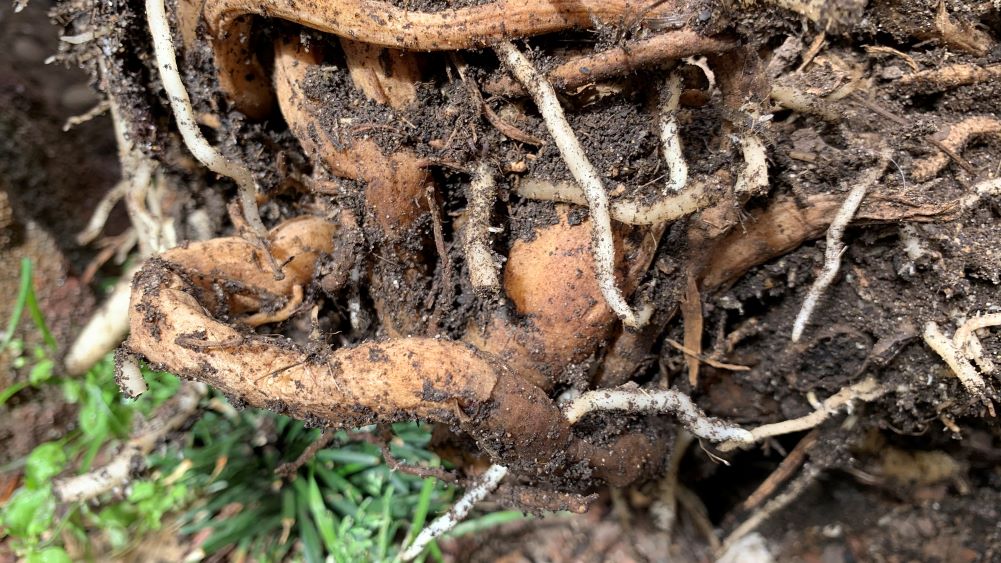
2. Trim off any damaged leaves and roots
Once the bird of paradise has been removed from the pot or ground check around the base of the plant and tidy up any damaged roots. Using a spade or secateurs trim off any bent or broken roots.
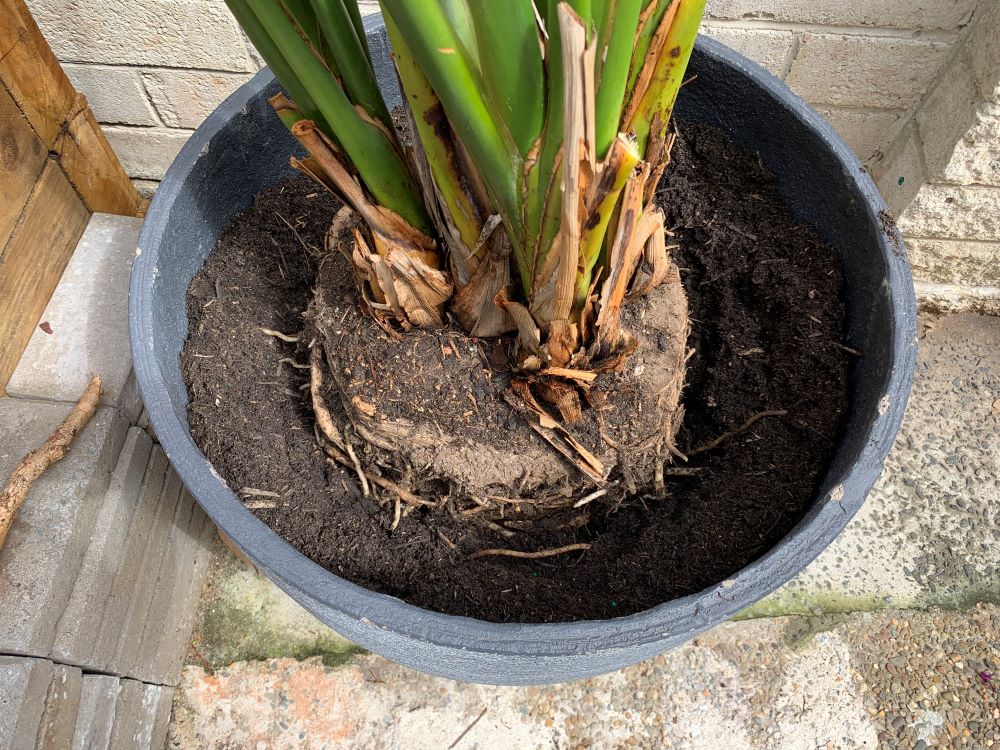
This plant was root bound in its previous pot and I used a spade to trim off the main roots which had become entwined. Do this gradually and the plant will replace it with new roots. I did this 2-3 months ago and the plant has already started to grow new, white roots.
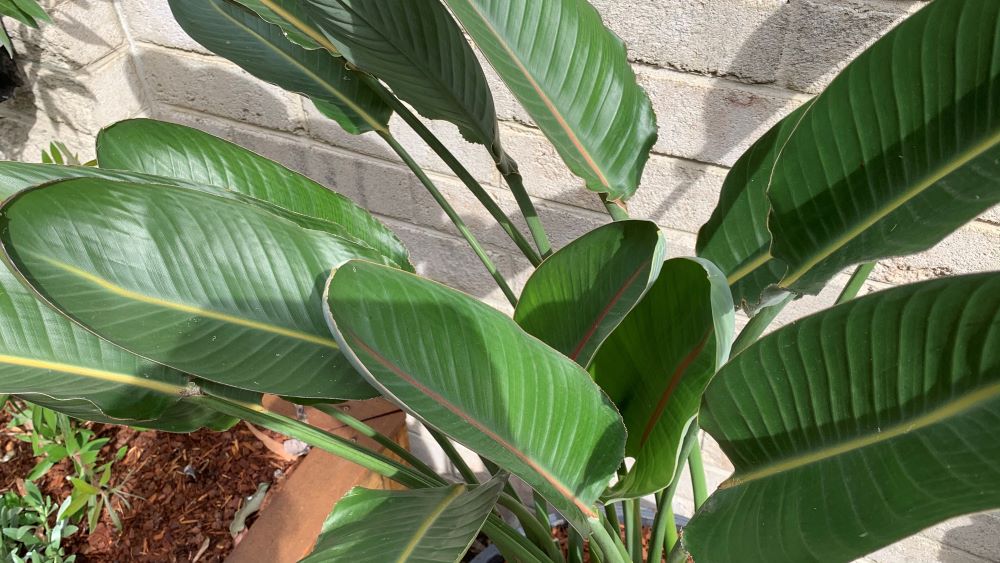
I had also trimmed off any old flower heads and old, damaged leaves before moving this plant.
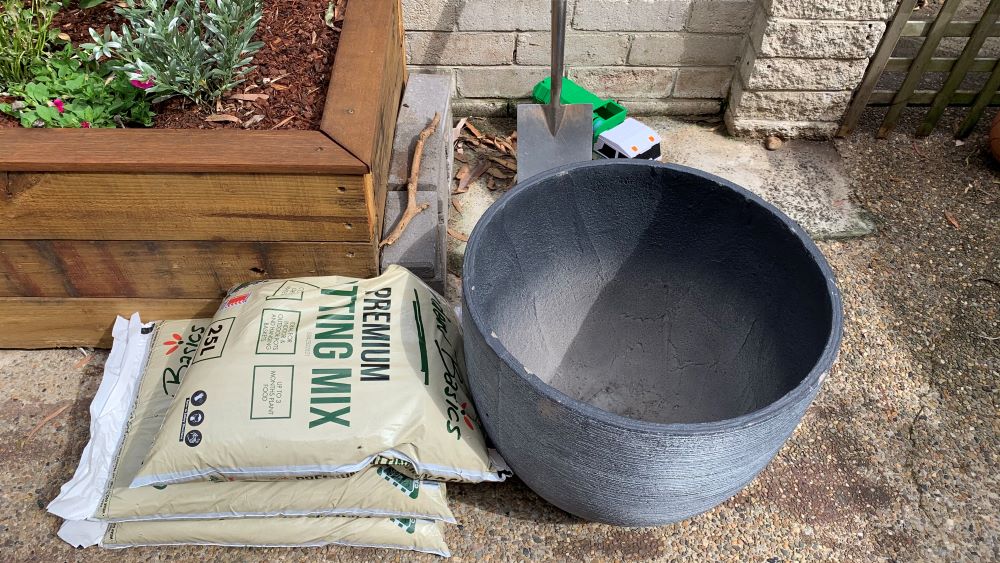
3. Choose a pot and potting soil
Choose a new pot for your bird of paradise. It is best to chose one that is only a few inches wider than the original pot. This will mean that there will not be excess soil around the plant that can stay cool and damp.
4. Place the pot in the correct position
Before filling your pot with soil or the plant make sure the pot is in the position that you want it to stay in. This is particularly important if the plant and pot are large and heavy. Choose a full sun position if you can and the plant will be happy.
5. Layer potting soil in the bottom of the pot
Start by placing soil in the bottom of the pot. I used a whole bag of premium potting soil in the bottom of this very large pot. You don’t need to place anything over the drainage hole but if you have some wire or geofabric this can help to reduce soil loss. Just place a small piece over the hole to allow water to drain through but hold the soil in.
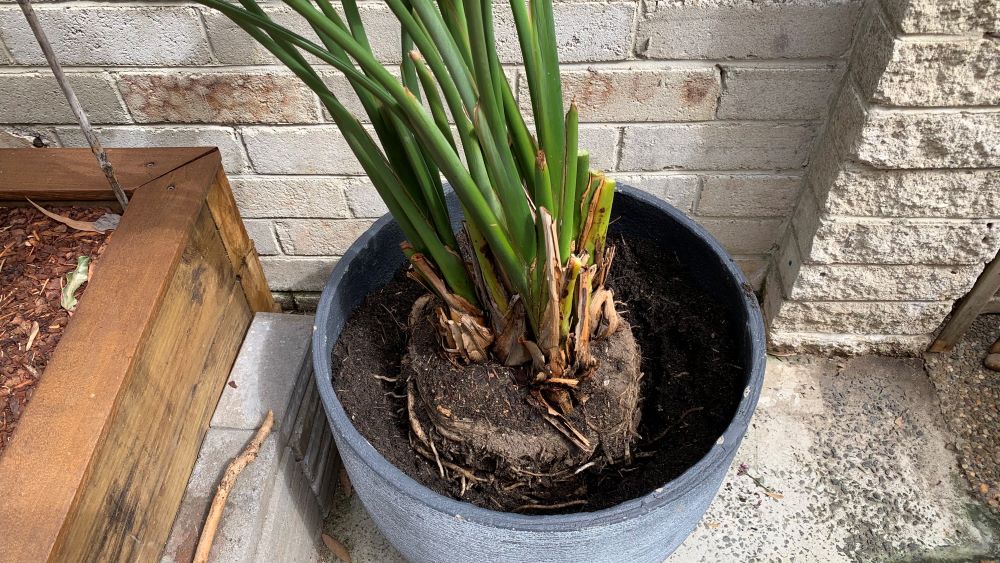
6. Lift and place the plant in the pot
Take care to lift your bird of paradise plant into the pot. These plants can be incredibly heavy if they are advanced so ask a friend to help if you need. Lift it from the large stems and support the base while you place it in the middle of the pot.
Take some time to position the plant so that it is straight. While the leaves will straighten over time it is important to point it in the right direction. The leaves tend to lean towards the sun over time.
7. Fill the outside with more potting soil
Once the plant is in place, fill the outside of the root area with more potting soil. I was able to tip the soil from the bag around the plant. Take a moment to push the soil around the root system to fill any gaps and gently pat it down on the surface.
Take care to only fill the soil up to the original level to keep the plant happy and avoid rotting the base of the stems.
8. Add mulch to the surface
Once the soil is in, add mulch to the surface around the plant to help it to retain moisture. This will also prevent weeds from growing on the surface that may blow in from nearby trees.

9. Water the bird of paradise in well
Using the shower setting on your hose nozzle water the plant in well. Make sure you water the whole surface of the soil to help it to fill any gaps around the roots of the plant. This will help to reduce transplant shock and moisten the soil thoroughly.
Water the plant again in 2 days to help it settle in and then you can reduce your watering schedule down to once per week in spring and summer. While bird of paradise like regular water their roots can rot if they are given too much. Check the soil moisture 2 inches down before adding more if you are not sure. If it is dry, water the pot thoroughly.
Bird of paradise repotting | Summary
Bird of paradise are easy to repot and recover well from the move. While they do not mind having less room, they will benefit from repotting every 5 years to allow them the space to keep growing and to add back nutrients to the soil. Use good quality potting soil and a pot that is large enough to give them a few inches of space to grow.
Happy growing.
I am an accredited practicing dietitian, experienced gardener and a dedicated cook. I love writing and sharing my experience so you can learn from my successes and mistakes.