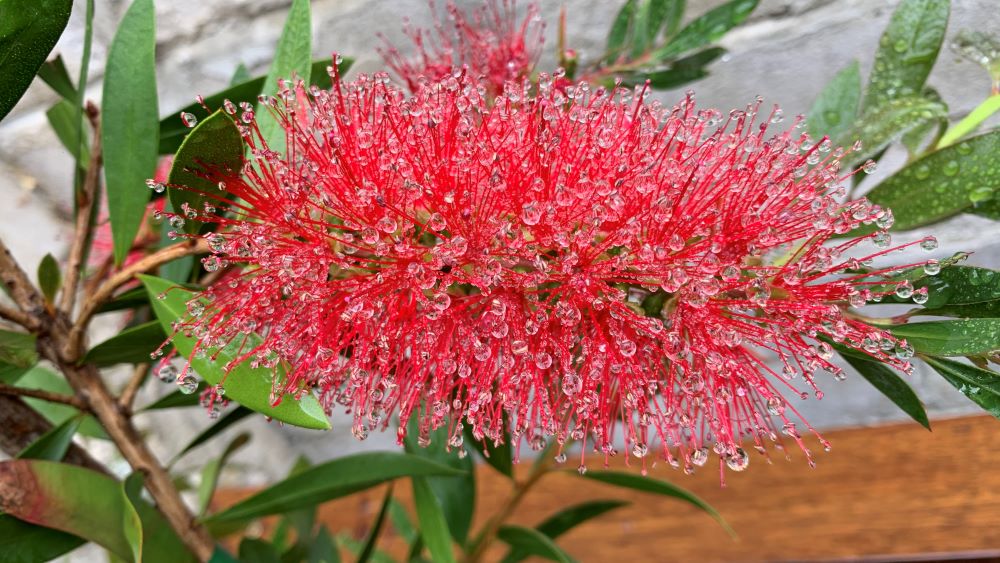
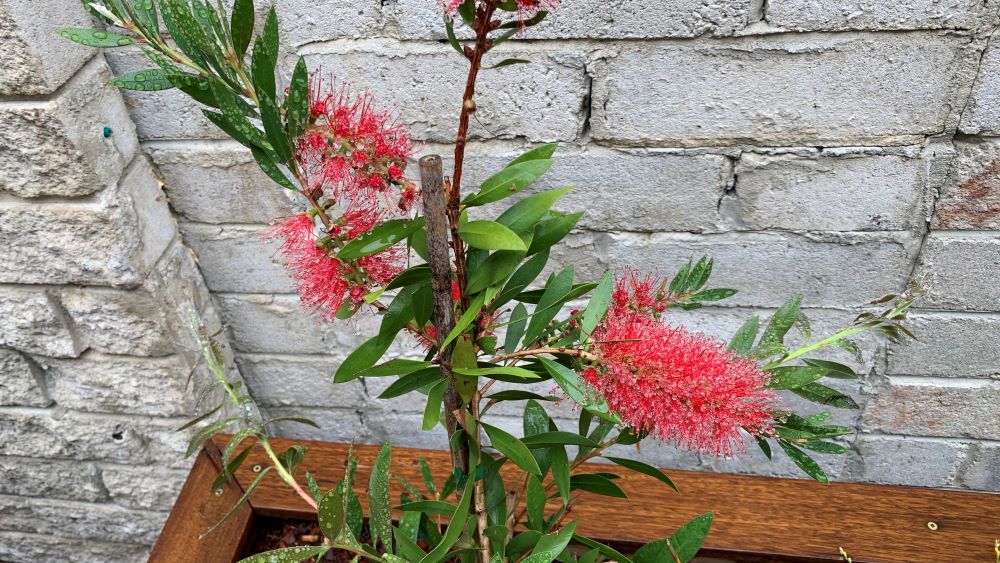
Bottlebrush (Callistemon) are a hardy plant that will grow fast and is drought tolerant once established. They are easy to plant and will grow well if they are planted in the right way. Improve the soil with worm castings which will be a mind fertilizer and soil conditioner and help the roots to establish.
This article will explore the easy steps to plant and care for your bottlebrush at home. You will get a large healthy plant that will become a treat for pollinating insects and birds.
How to plant bottlebrush in your garden: 10 Easy Steps
Here are my easy steps to plant your new bottlebrush in your garden. There are many species of bottlebrush but all will benefit from this planting method. I have planted two types of bottlebrush at my home, “Kings Park Special” and “Endeavour”.
What you will need to plant your bottlebrush in the ground.
- A small spade
- Worm castings
- Seaweed solution
- Mulch
- Watering can
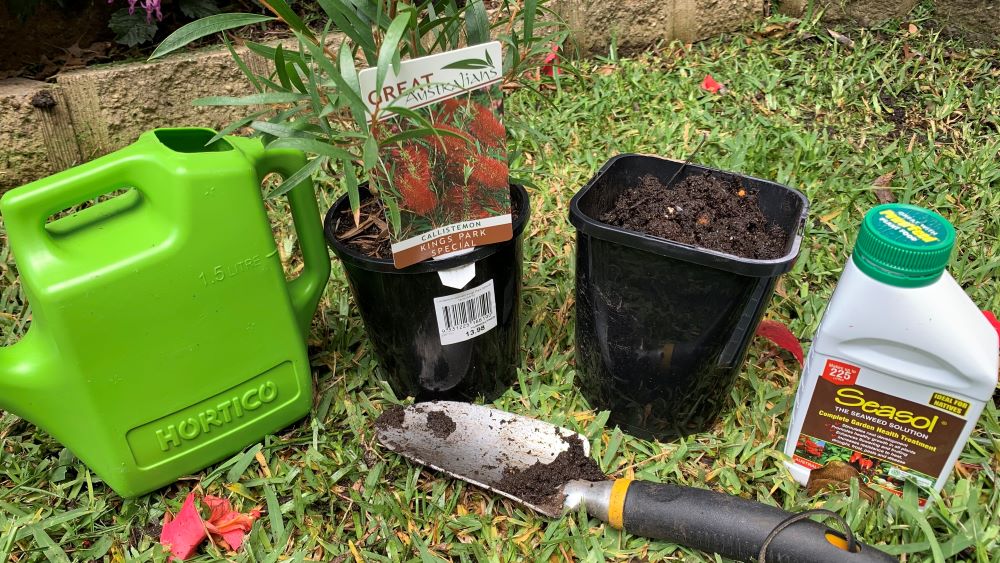
If you want to plant your bottlebrush into a pot, choose one that is 2 inches wider and deeper than the pot that it is in. Use an all-purpose, premium potting soil to grow your plant.
1. Choose a sunny spot for your bottlebrush
Bottlebrush will grow best in full sun. They will grow fast and produce the most flowers possible. Bottlebrush will tolerate part shade and will grow up to reach towards the sun. Bottlebrush will love a hot, sunny summer and produce lots of flowers during this time.
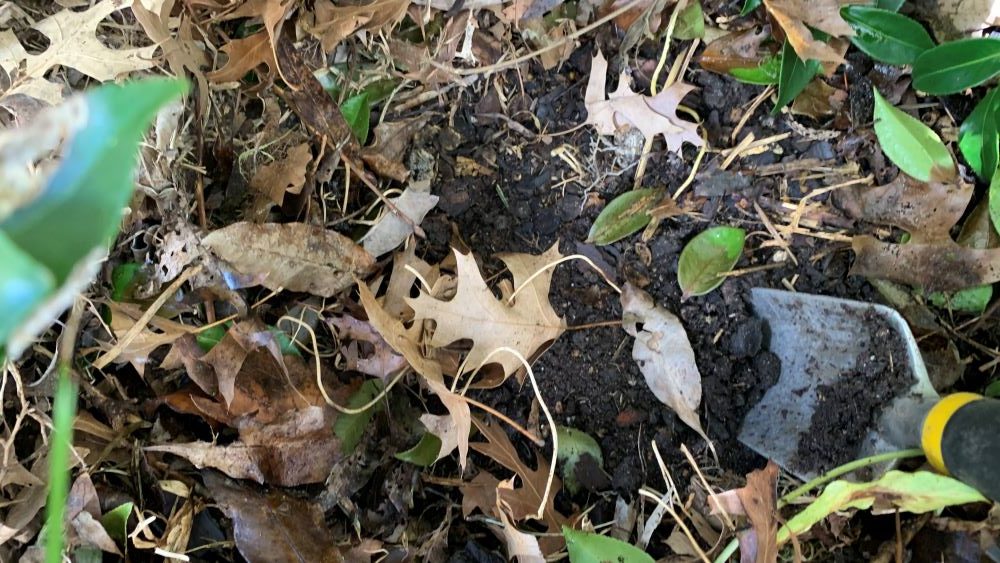
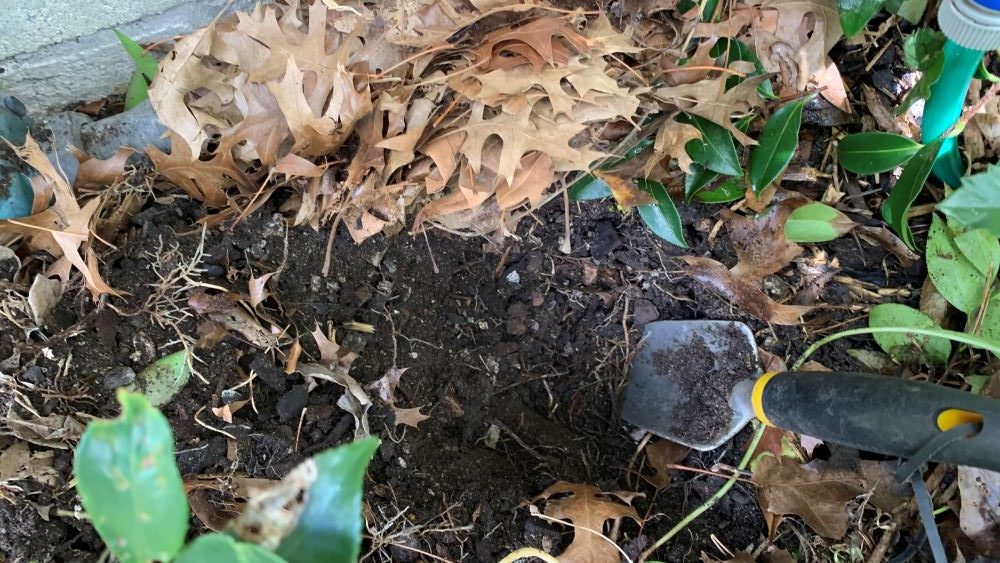
2. Move mulch back from the soil
Start by moving any existing mulch back from the soil. This will stop any mulch from being mixed through the soil when you plant. Always keep mulch out of the soi as it can temporarily absorb nitrogen as it is broken down.
I am using dry fall leaves as mulch in this part of my garden which is perfect to return around the bottlebrush.
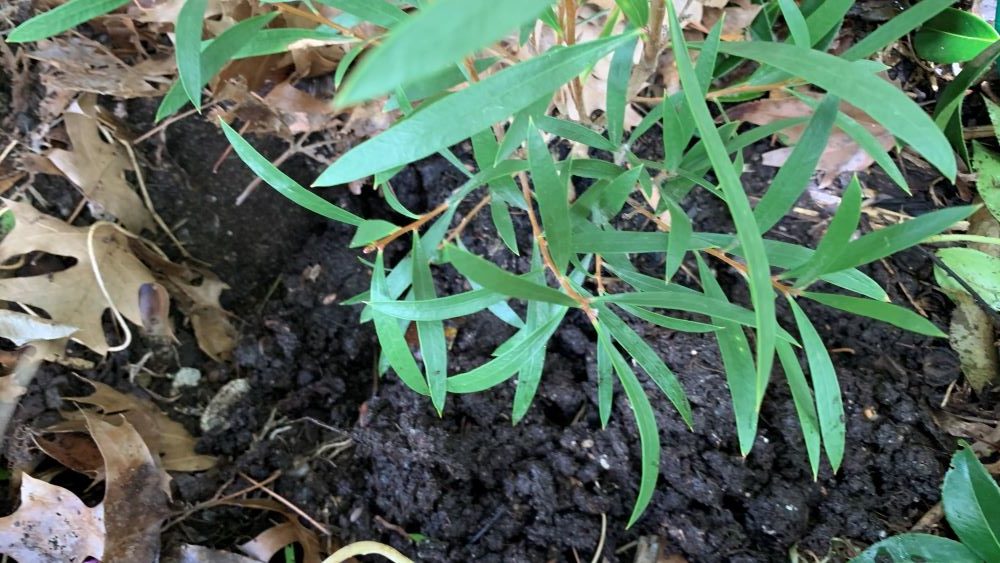
3. Dig a small hole, slightly bigger than the original pot size
Use a small spade to dig a hole that is just bigger than the plant’s roots. Dig the hole slightly deeper and slightly wider so you can fit the plant in easily.
Place a small amount of worm castings in the bottom of the hole and move it gently to mix it in the bottom soil.
4. Gently remove the plant from the pot
Squeeze around the size of the plant pot and gently tip it on its side. The plant should slide out easily without damaging the roots of the plant.
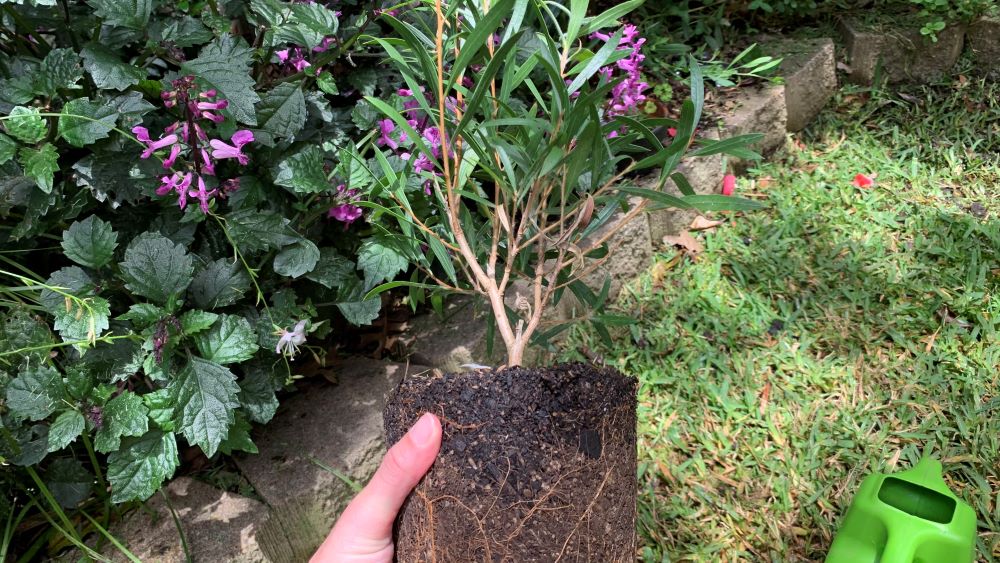
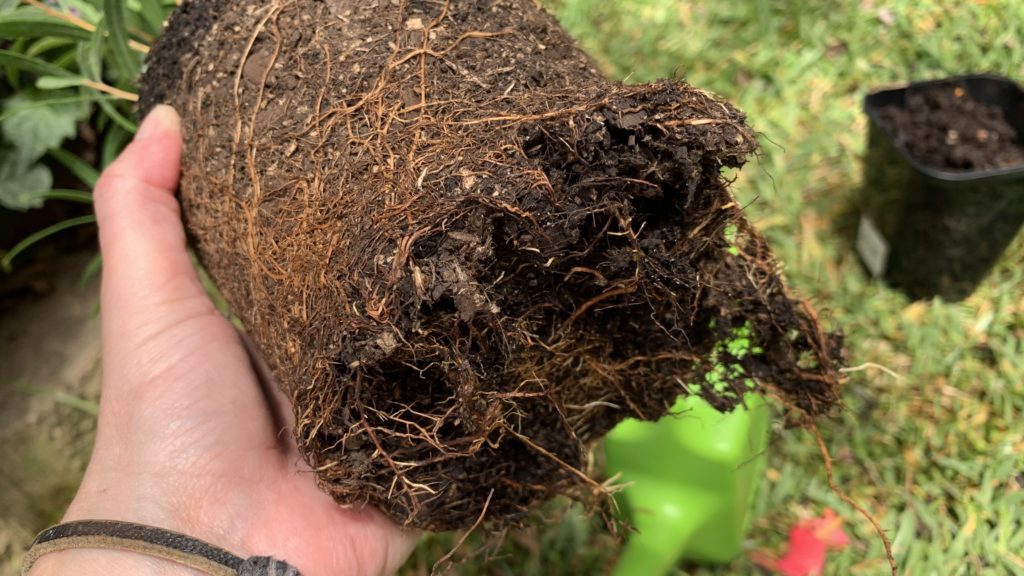
5. Tease the roots out at the base if they have become knotted
Have a look at the bottom of the plant roots and tease them out gently. If the roots have knotted together you can gently pull them out so they can grow outwards rather than wrapping around each other.
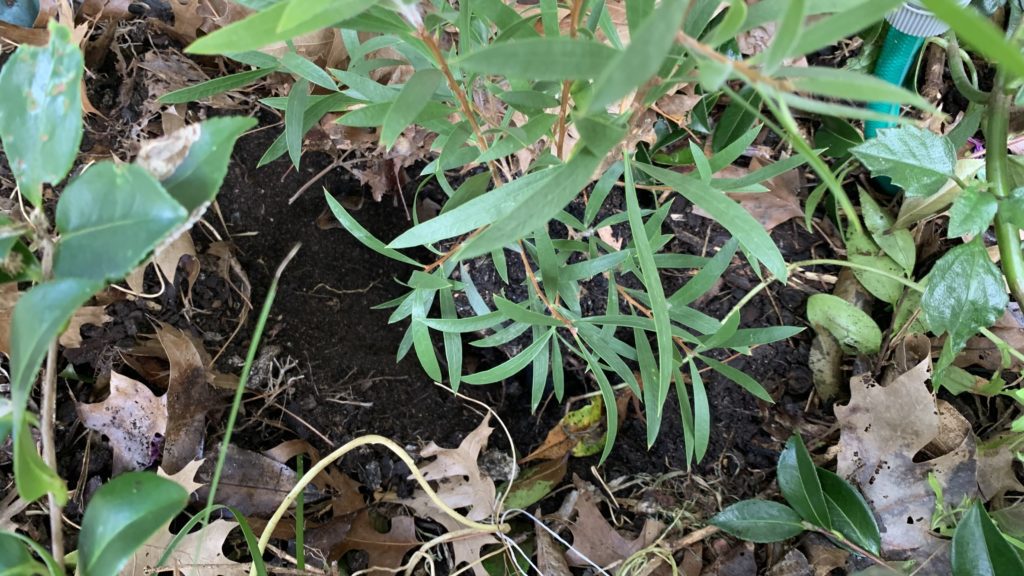
6. Gently place the plant into the hole
Place the plant in the hole so the soil level matches the top of the plant soil. Take some time to make sure the main stems of the plant are straight so that it grows up vertically.
7. Backfill the hole with a mix of soil and worm castings
Mix together 50% worm castings with the soil that was removed from the hole. Use this mix to backfill the hole around the bottlebrush, gently pushing the soil back around the plant.
Bottlebrush plants will grow in very poor soil. They need very minimal amounts of nutrients as they have developed ways to absorb even small amounts of nutrients from the soil.
8. Move mulch back around the plant
Move the old mulch back around the plant. You can use new mulch if you need to. Bark mulch is perfect for bottlebrush as it will absorb excess rain, release it to the plant and help to prevent weeds.
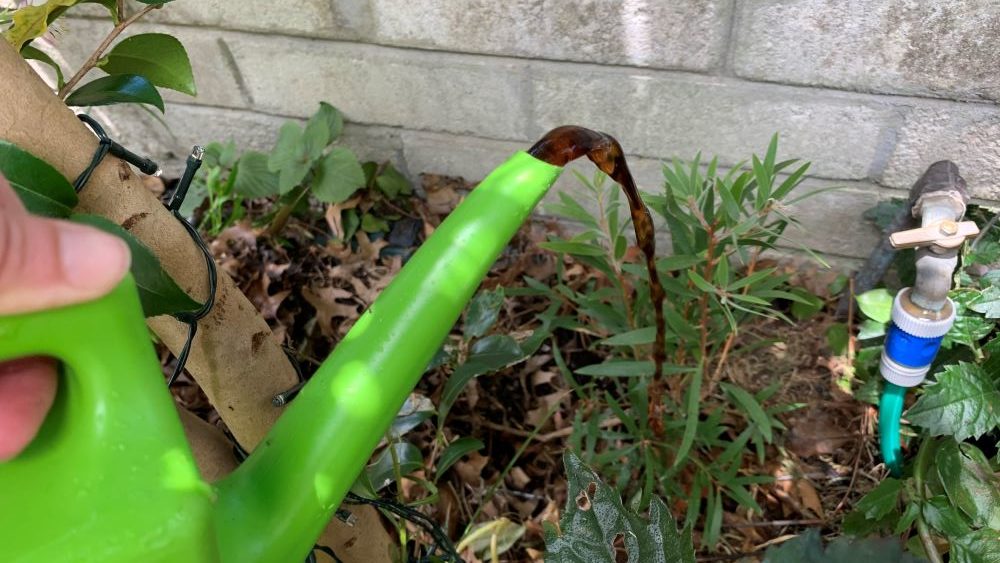
9. Water bottlebrush in well to help the soil to settle around the plant roots
Water your bottlebrush in well using a watering can with a dash of seaweed solution. I then used my hose to thoroughly water the plant to make sure the soil around it is thoroughly moist.
You will need to water your bottlebrush regularly during the first summer that it is planted in your yard. After that it should be fine with the fall and winter rainfall. Bottlebrush are drought tolerant once they have been watered for there first season.
10. Add a native plant food or pelleted chicken manure in spring
Support the grown of your bottlebrush by adding native plant food in spring. Another option is to add a few handfuls of pelleted chicken manure around the base of the plant each spring.
When to plant bottlebrush
Spring and fall are the best times of year to plant a new bottlebrush plant. In Spring, the weather will be warming up but still mild enough to allow the plant to settle in before summer.
Fall is also a great time to plant new bottlebrush trees. Fall will have mild, warmer weather and set your tree up for a cooler winter. Plants grown in areas will winter rainfall will often be able to survive on their own after being watered well in fall.

What type of soil does a bottlebrush need?
Bottlebrush will grow in very poor sandy soil once they have established. It is always best to improve clay soil with organic matter to allow it to drain well. This will allow the plant to spread its roots and prevent them from becoming too wet and developing rot.
If you are planting bottlebrush into a pot you can choose a regular, premium potting soil. This will contain lots of organic matter and drain well.
Bottlebrush Planting and Care: Summary
Bottlebrush are easy care plants, will grow in poor soil and are drought tolerant. They are easy to plant and as long as they are watered during their first season they will survive well on their own. For the best growth possible, fertilize them with a gentle fertilizer in spring. Choose a native plant food or pelleted chicken manure.
If you follow all of these steps you will be rewarded with bright beautiful flowers in spring and summer. These will feed the local birds and pollinating insects.
Happy growing.
I am an accredited practicing dietitian, experienced gardener and a dedicated cook. I love writing and sharing my experience so you can learn from my successes and mistakes.