Worm castings are great for your garden, they are organic, nutrient rich and you can make them at home. There are some disadvantages to this otherwise fantastic soil amendment which includes the fact that they take around 6 months to make a small amount, they are not a complete fertilizer for many plants and they can be expensive to buy from the store.
This article will explore the disadvantages of worm castings and what you must know before using them. Worm castings are like soil gold but make sure you read these 5 things first.

Disadvantages of worm castings
Here are the top 5 disadvantages of worm castings.
1. Time
Making worm castings at home takes time. If you have a small worm farm like me, you can make around a bucket of worm castings every 6 month with a small worm farm. Larger, tiered worm farms will hold lots of worms which means your worm casting production can increase.
You can keep adding layers to your worm bin to help the worms to break down faster. The worms will work their way up the worm tower to reach the fresh food. I always find that worms will live on all levels when you add layers. This means that worms can keep breaking down food and organic matter over a larger area, making it faster.
Worms will slow their activity in winter. It is best to harvest worm castings in spring or fall when worms are still digesting food and active. This will give them a good chance to recover before the cold weather of winter hits or when the hot summer arrives. Don’t collect worm castings in summer because the worms can dry out quickly.
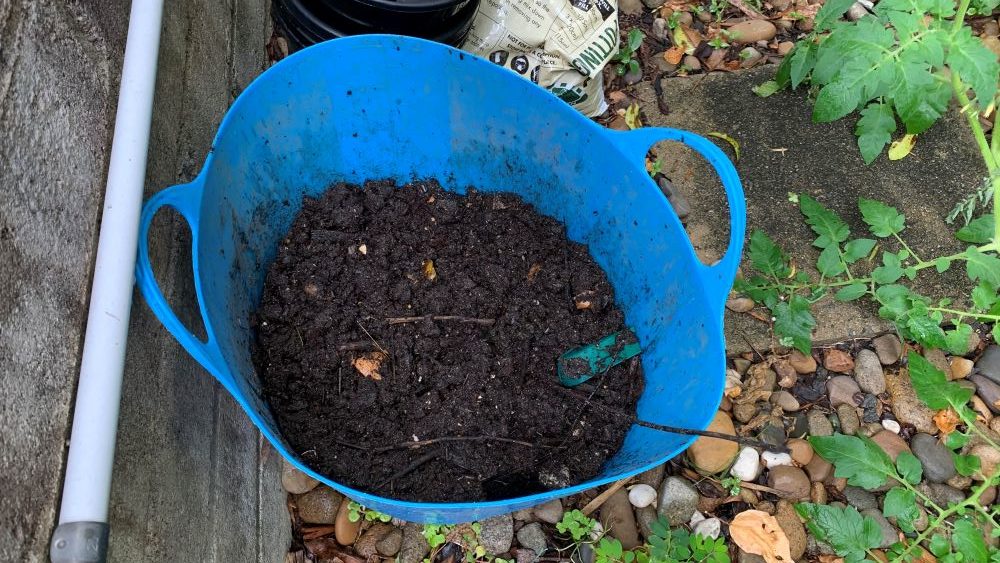
Many people create worm farms in old bath tubs. This is a great place to grow your worm population to increase the rate of worm casting production. Feed them regularly and add extra bedding to absorb the extra water from the food scraps. Cover the worms with a blanket and make sure you let the excess water drain out the bottom. A healthy worm farm should only produce a small amount of liquid from the drainage hole.
2. Quantity
Worm farms only produce small amounts of castings per year. Small worm farms will produce around a bucket full every 6 months. Larger worm farms can produce a wheelbarrow full or more depending on the size.
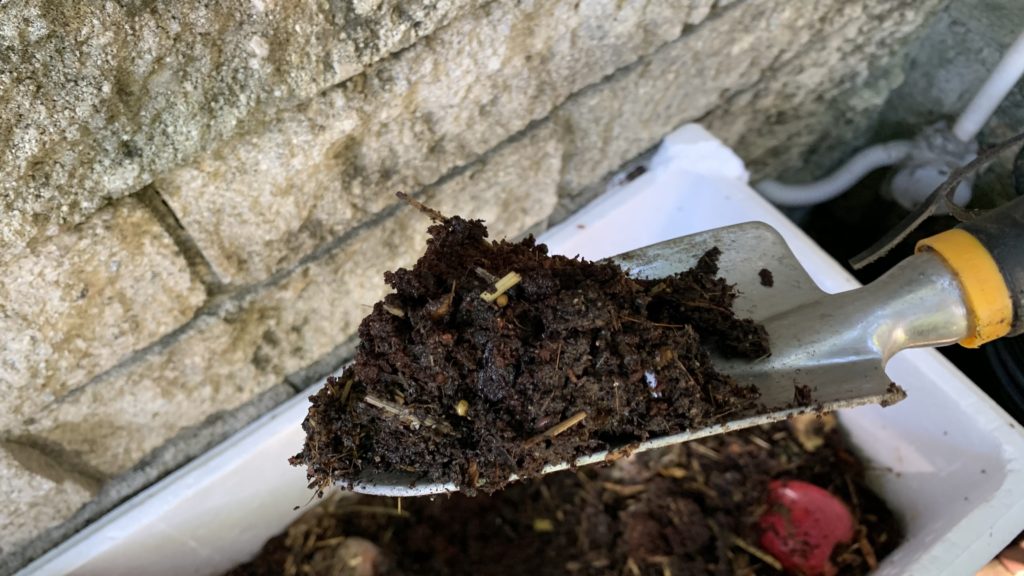
To get enough organic matter for your garden you will usually need a compost bin as well. Worm castings can be used in small amounts mixed into your compost or with your garden soil. A small shovel full of worm castings can be enough to improve 4 square feet of soil. Add this every 6 months or top dress your trees by sprinkling it around the root base.
3. Expense
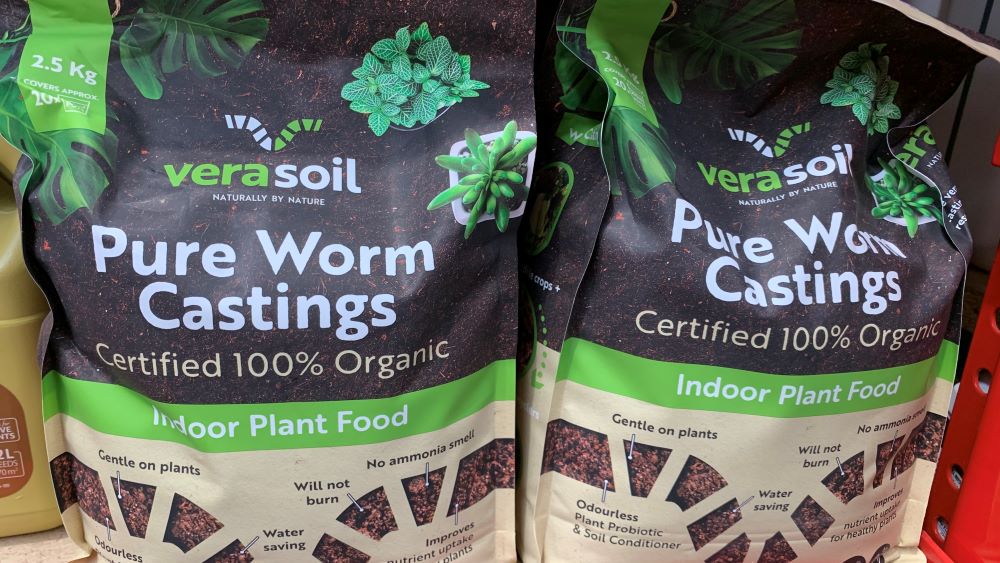
Buying worm castings from the store is more expensive than synthetic fertilizers that deliver concentrate nutrients for specific needs. Worm castings are a soil amendment like compost rather than a fertilizer so will not deliver the range or concentration of nutrients like a synthetic fertilizer will.
Small bags of worm castings can cost around $20 from a store. The benefits of worm castings build up over time so a small amount of worm castings added every 6 months is great for your soil. They help with drainage, improving the soil bacteria balance and structure.
If you need specific nutrients delivered quickly then worm castings won’t work. Worm castings gently release nutrients into the soil to your plants.
4. Worm castings are not a complete fertilizer for hungry plants
Worm castings are not a complete fertilizer for hungry plants like lemons, limes, oranges or blueberries. Worm castings can be mixed through the soil to improve it before planting new citrus but are not useful for delivering the nutrients they need each season.

For more on fertilizing lemon trees, check out my article here: How to Fertilize a Lemon Tree | 6 Easy Steps
Worm castings contain a range of nutrients which are determined by what you feed your worms They will break down and concentrate nutrients from the food scraps you feed your worms to create the castings. These can contain phosphorus, calcium, nitrogen, zinc, iron, magnesium and potassium.
They also contain a range of good bacteria which is fantastic for soil. These bacteria help to break down organic matter releasing the nutrients and making them available to plants.
5. Collecting castings disturbs worms and is a slow process
The process of collecting castings from your worm farm will genera always upset your worms. Even if you take care it is tricky to get the castings out at least moving the worms about. Worms will lay their eggs in the castings which can be damaged when removing them. You can reduce your worm population by removing the eggs and worms and delay their next breeding cycle.
Here are 3 ways that you can remove castings and cause minimal disturbance to the worms.
1. Scraping method
The simplest method is to take the worm lid and blanket off to expose it to the sun. Then take a rake or spade and gently scrape the top layers off. The worms will dig down to the lower levels of the castings and you can remove it slowly from the top.
This can take a few hours to scrape and then remove the next layer of castings. You can remove up to 2/3 of the worm castings if you do this process gently. Remember to always add new bedding such as straw, hay or fall leaves for the worms to feed on and break down.
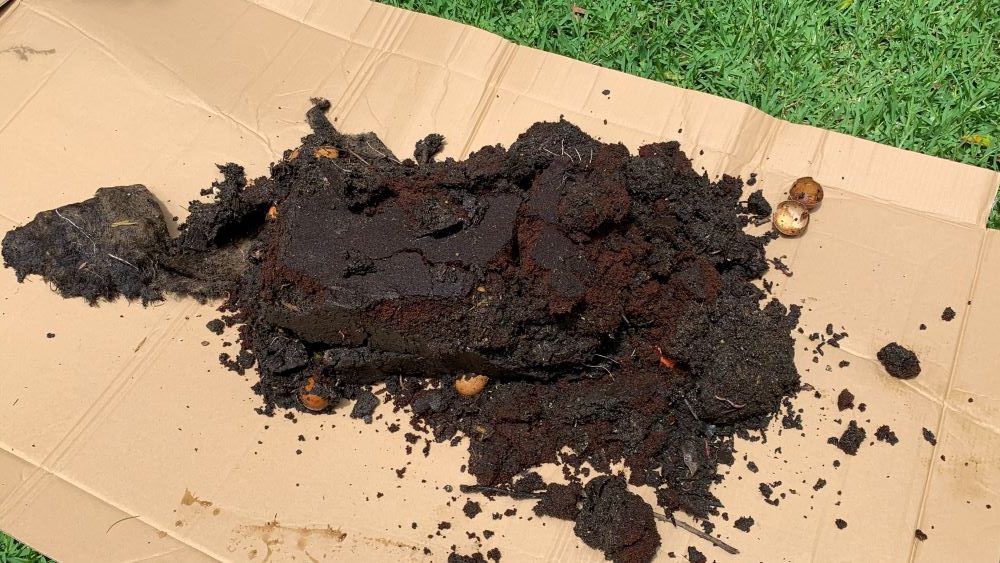
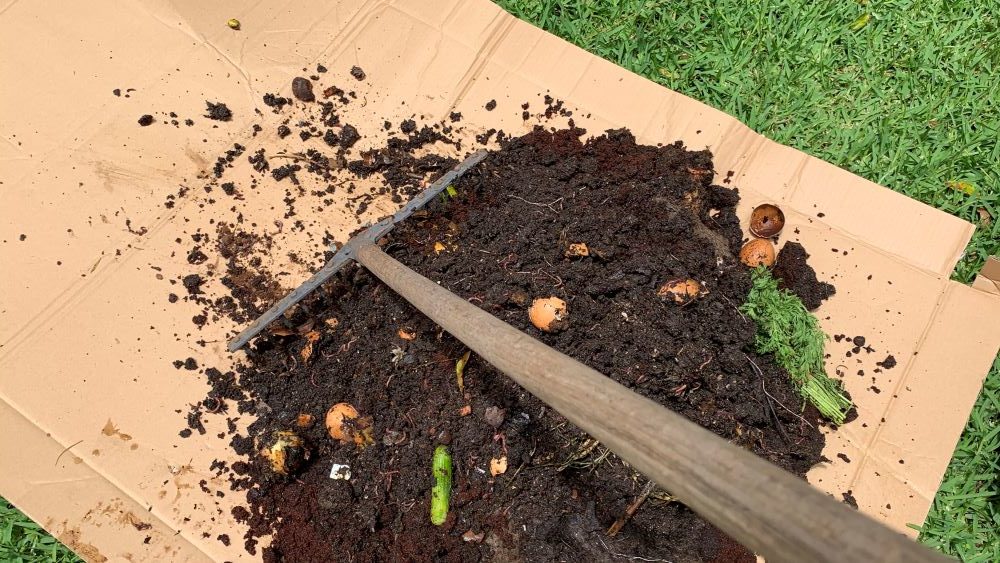
2. Tip and scrape method
The method that I used involved tipping the contents of my worm farm out onto a piece of cardboard. You can then gently scape the worm castings off and leave the layers with the worms.
3. Use the layers of tiered worm farms
Tiered worm farms make the process of removing castings easier. Once the bottom layer has become full, move it to the top and remove the lid. The worms will climb down to the bottom and out to the lower level. This should leave a level with just castings and no worms.
I have done this many times but I always find that there are still worms left in the layer. I will always take a spade and scrape the worm castings and remove any remaining worms to put them back into the worm farm.
Composting worms can live in your garden bed but they will breed quicker and make castings faster in your worm farm.
Disadvantages of Worm Castings | Summary
Worm castings are great for your garden but there are a few things to remember. They are not a complete fertilizer but are a great way to improve your soil and increase the organic matter levels. They will help to improve the soil bacterial balance and feed your plants gently. Worm castings take a while to make at home and can be pricey if you decide to buy them.
Use worm castings in small amounts to improve your ground soil before planting, improve your potting soil or top dress citrus in spring.
Happy growing.
I am an accredited practicing dietitian, experienced gardener and a dedicated cook. I love writing and sharing my experience so you can learn from my successes and mistakes.