Cut yellow leaves off monstera using sharp and clean secateurs. Wear gloves and long sleeves to protect your skin and trim off the leaf ½ an inch from the base of the stem. Cut the leaf at a 45 degree angle to make it less likely that water will sit on the cut. Keep the plant well watered and in a bright position after pruning to encourage new leaves to appear.
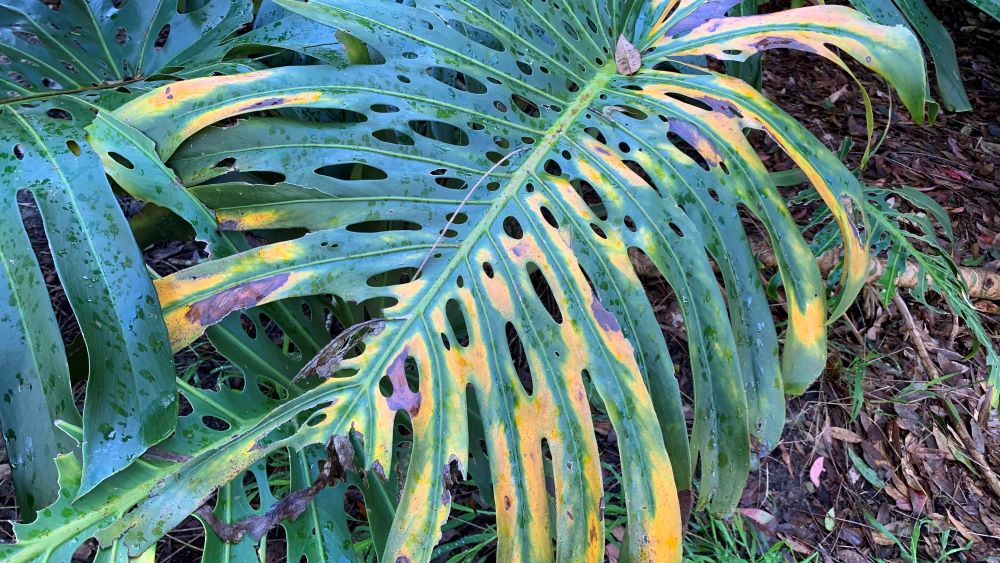
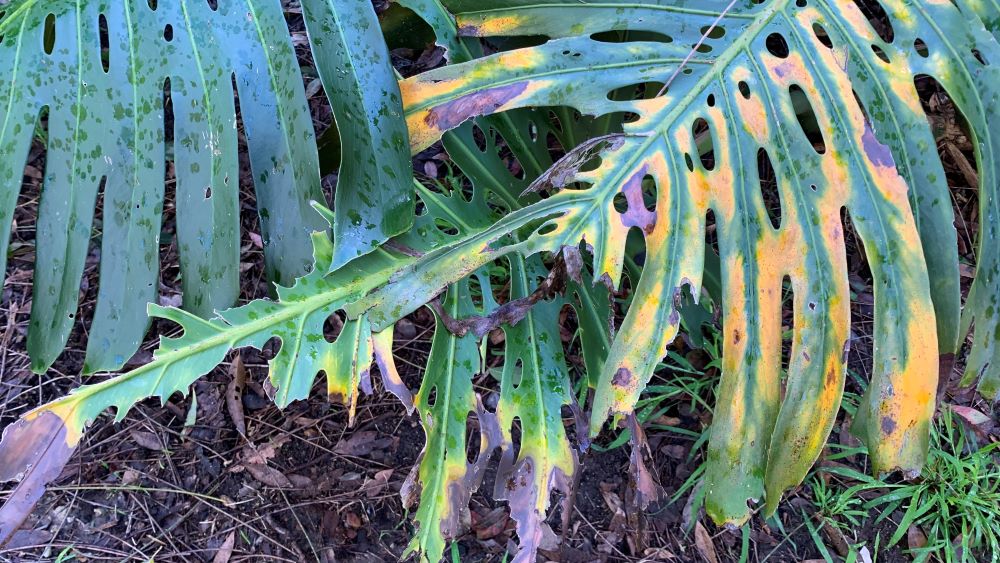
This article will explore how to cut yellow leaves off of your monstera plant. Yellow leaves can occur due to a variety of reasons including a lack of nitrogen, sunlight, fungal growth pest attack or they could just be old leaves. Removing these leaves can help to reduce the spread of fungal growth and keep your plant looking tidy.
How to cut off yellow leaves on monstera
Here are the easy steps to follow to cut off yellow leaves on monstera plants. These tips will help to keep your plant healthy and to allow it to recover quickly.
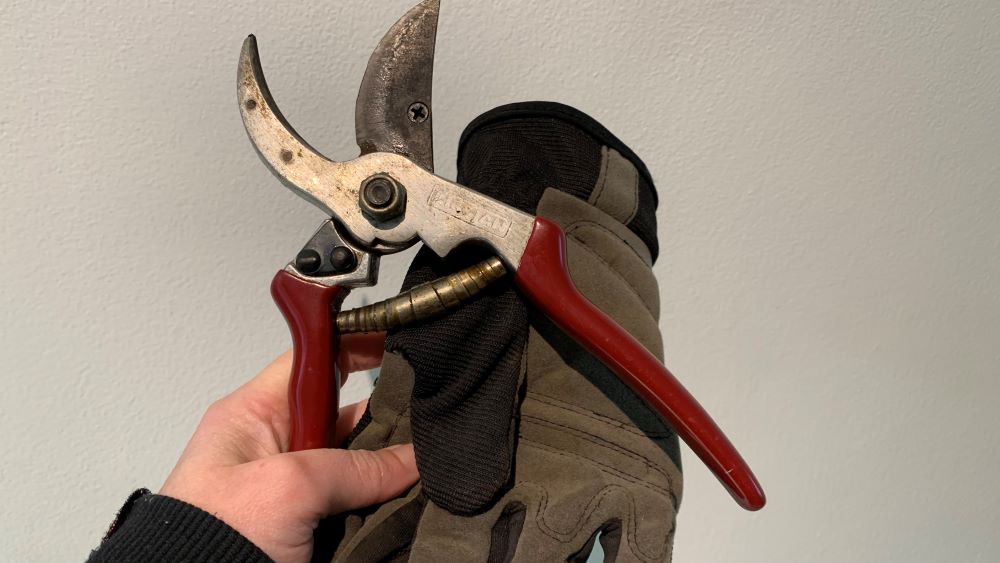
1. Start with clean secateurs
To prune the yellow leaves off monstera plants start with some sharp, clean secateurs. Clean your secateurs with methylated spirits or wipe them down with some warm soapy water. Clean and oil the blades after pruning to prevent them from rusting.
2. Wear gloves and long sleeves
Get some tough garden gloves on before pruning your monstera. I like to use tough gloves from a hardware store. Cover your arms with sleeves as the sap from the monstera can irritate some people’s skin.
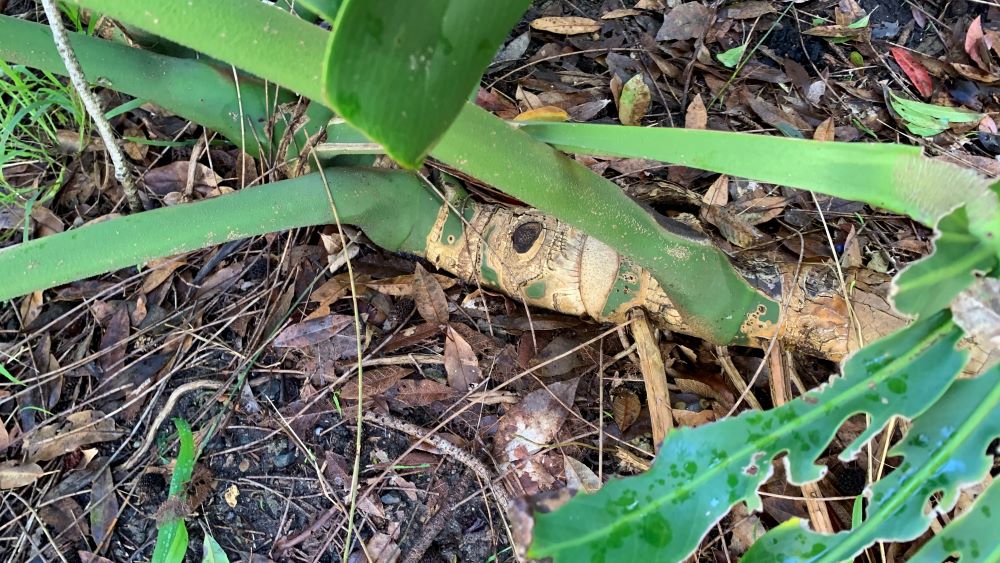
3. Cut the leaf at a 45 degree angle
Find the yellow leaf that you want to remove and trace the leaf stem back to the main stem of the plant. Cut the leaf off at a 45 degree angel around ½ an inch from the base of the stem. This will avoid accidentally snipping or damaging the main stem.
4. Start with the lower leaves first
If there is more than one leaf that needs to be removed because it is yellow then start with the leaves lower down the stem first. This will get them out of the way and make it easier to trim the upper leaves.
Most of the time leaves on monstera will turn yellow once they get older and are ready to die back. Trimming then off before they die back entirely and turn brown keeps your plant looking neat and tidy.
5. Stake the plant if it starts to lean
Cutting off leaves from your monstera can throw out the balance of the plant. Mine has 2 main stems that grow outwards from the center root system. If I cut off too many leaves from one side the whole pot can begin to tip over.
There are two main solutions to this problem. The first is to trim off leaves from the other side of the plant to balance it out. The other is to stake the plant with a moss grow pole. Monstera can be tied up the grow pole to encourage them to grow up rather than outwards to keep them in balance.
6. Water the plant well and allow it to drain
After pruning your plant it is important to take special care of it. water it well and allow the excess water to drain. If the plant is in its peak growing season of spring you can give it some indoor plant food or pelleted chicken manure for outdoor plants to help with new leaf growth.
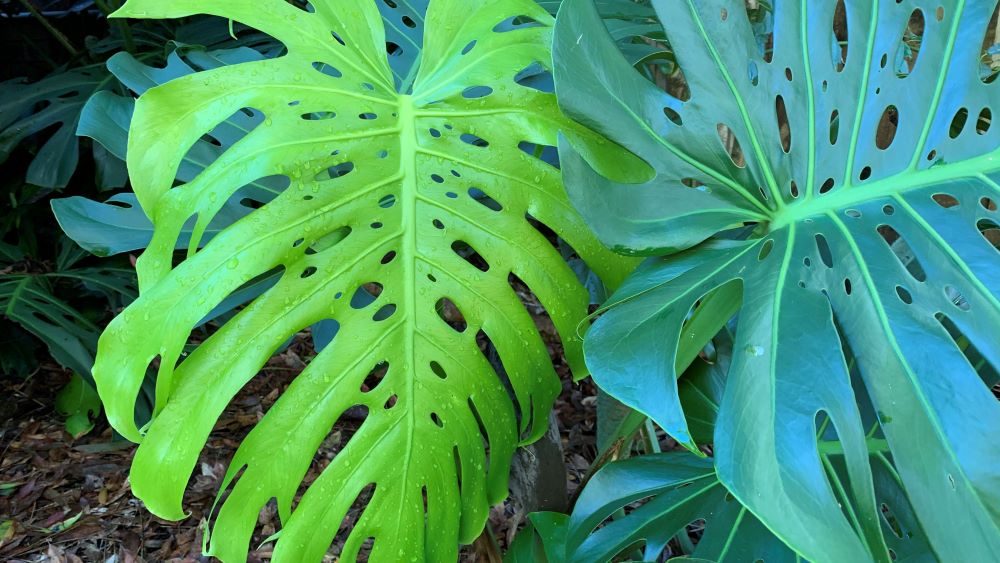
7. Avoid removing all of the leaves off of monstera
Before you cut off your monstera leaves it is important to look at your plant overall. If your monstera only has a few leaves then it is important not to cut off any that are still healthy. Leaves that still have some green on them can be left on for longer to allow the plant to gather more energy through photosynthesis to fuel the growth of new leaves.
Avoid getting water in the cut part of the leaf as this can be an entry point for fungus or bacteria.
Causes of yellow leaves on Monstera
Figuring out why your monstera leaves are turning yellow is important. This can help you to identify if you need to do anything to your plant to stop the problem spreading. Here are the top causes of yellow leaves on monstera plants and how to solve each one.
Lack of nitrogen
A lack of nitrogen can cause plants leaves to turn yellow. Give your monstera a liquid dose of indoor plant food that will be absorbed rapidly. You can follow this up 4 weeks later with a slow release plant food to give them a longer lasting dose. Avoid overwatering which can wash nitrogen out of the soil.
Sap sucking pests
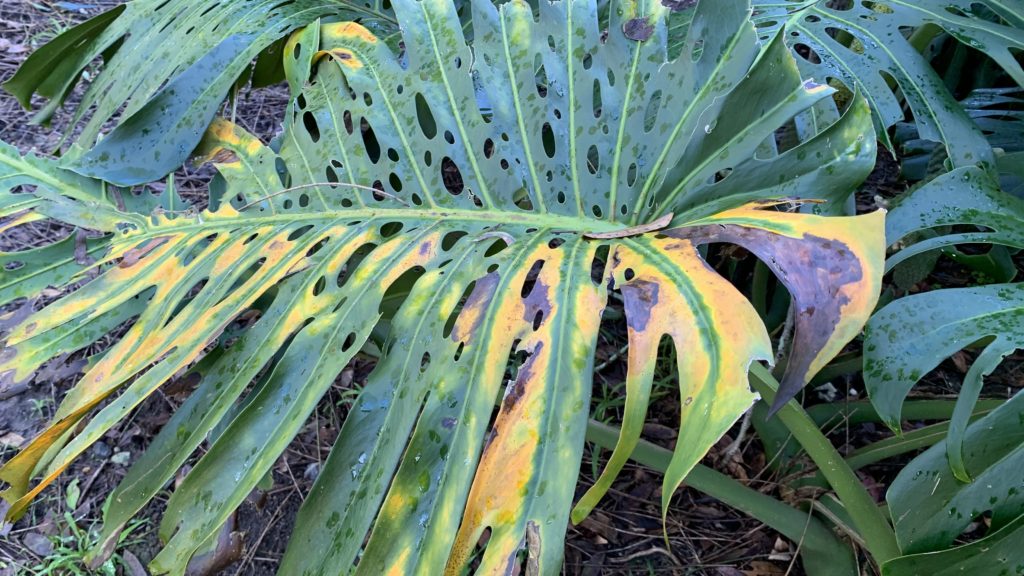
Sap sucking pests such as aphids, thrips and spidermite can cause the leaves to yellow. Yellowing often occurs as dots or marks on the leaves where the pests have been. Take the plant outside and spray the pests with neem oil. Allow the plant to dry and bring it back indoors. You may need to repeat the spray again after a few days to get rid of the last few pests.
Old leaves
Old monstera leaves will naturally turn yellow and brown as the stem grows longer. Very large monstera plants can have bare stems closer to the root system as they grow. Old leaves will turn yellow, brown and then dry and drop off. You can cut them off earlier to neaten up your plant.
Lack of water
Monstera plants that are not getting enough water can develop yellowing leaves. Check the soil with your finger and see if it is damp 2 inches below the surface. If the plant has been dry for a while then this could be the cause. Deep water the plant and add some seaweed solution to your watering can. This will help the plant to recover quicker.
Sunburn
Sunburn is another common cause of yellowing leaves on monstera. This usually shows up as yellowing tips but can occur anywhere on the leaf where the hot sun has hit. Indoor monstera plants will grow best in filtered light and outdoor plants need protection from the afternoon sun. Too much sun will cause yellowing and brown burns on leaves if they are not protected.
Move indoor plants at least 3 feet away from windows and make sure they are not in the direct sun at any time during the day.
Fungus
Fungal growth on leaves can cause yellow spots or marks. This is more likely to occur if the plant has had water on its leaves or if the ground soil has been splashed up. Monstera plants that are not getting
How to Cut off Yellow Leaves on Monstera | Summary
Yellow leaves on monstera are easily removed with sharp secateurs. If the leaves are not affected by fungus or pests you can put them in your compost to break down. Make sure the plant is watered well and fed in spring and you will see new leaves in no time.
I am an accredited practicing dietitian, experienced gardener and a dedicated cook. I love writing and sharing my experience so you can learn from my successes and mistakes.