Disinfect plant pots without bleach by first removing excess dirt inside the pot with the sprayer nozzle on your hose. Fill a bucket with warm, soapy water and household dish detergent and scrub the pots thoroughly with a scrubbing brush. Rinse the pots with clean water and leave them to dry in an open area outside.
How to disinfect plant pots without bleach
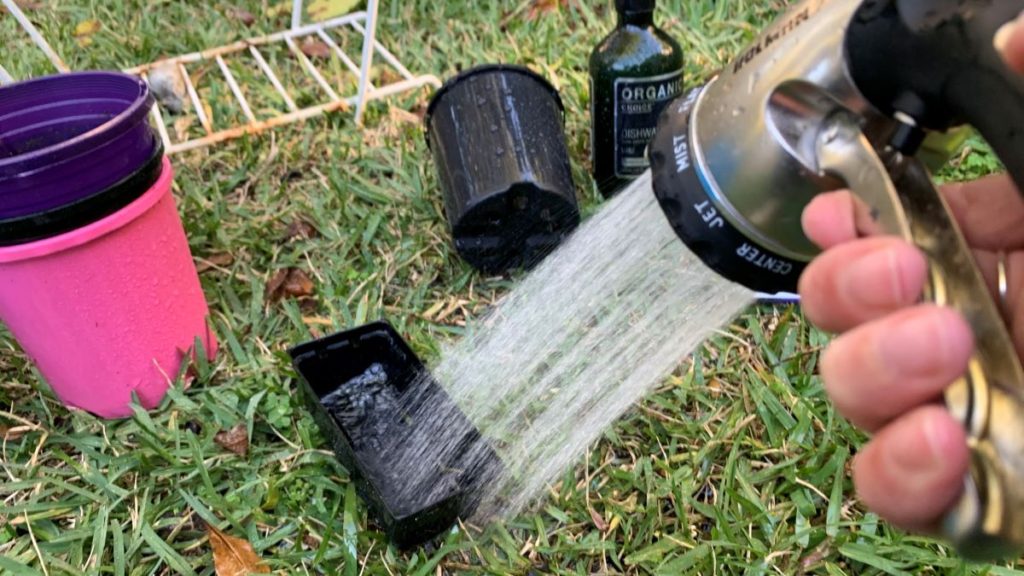
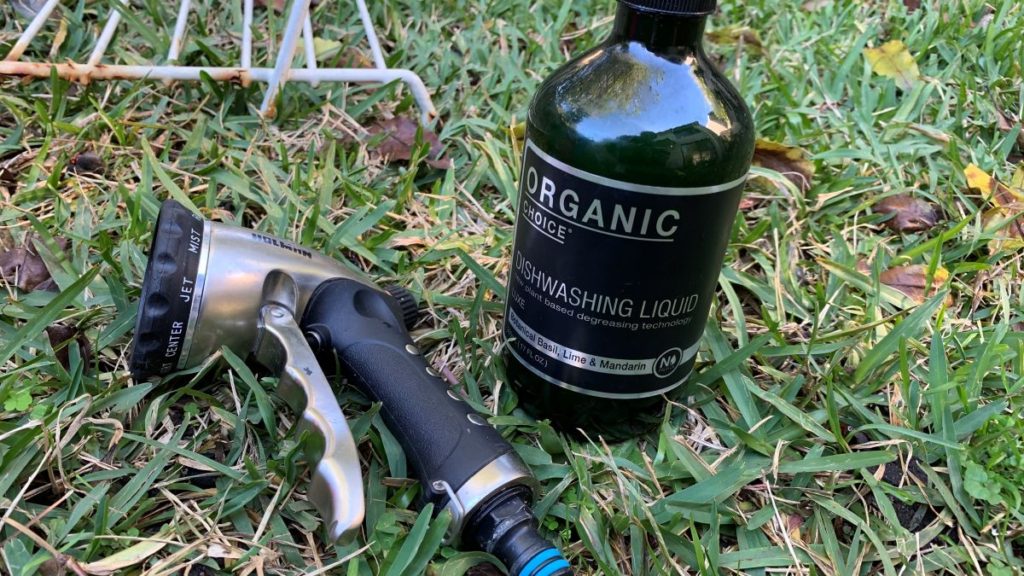
- Wash your pots with your hose to remove excess dirt.
- Fill a bucket with warm soapy water and household dish detergent.
- Scrub the plant pots in the warm soapy water using a scrubbing brush.
- Rinse the pots using your hose to wash off any soap.
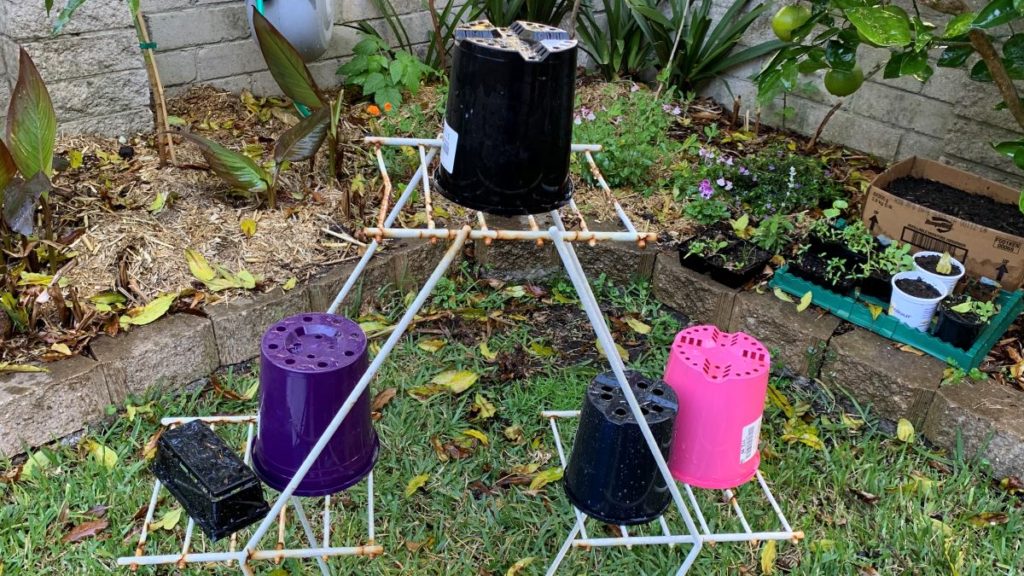
- Leave them in a clean area off the ground to dry.
- For extra protection, dip them in a 50:50 vinegar and water mix
- Leave the pots out to dry completely.

Step by step guide to disinfect plant pots without bleach
1. Wash your pots with your hose to remove excess dirt.
Use the shower setting on your hose sprayer nozzle to remove any excess dirt on your pots. Wash the soil off into your compost or an area of your garden that is out of the way.
2. Fill a bucket with warm soapy water.
Fill a bucket with warm, soapy water using normal household dish detergent. Make sure the water is deep enough to fully dip your pots into. This will make it easier to clean the dirt off.
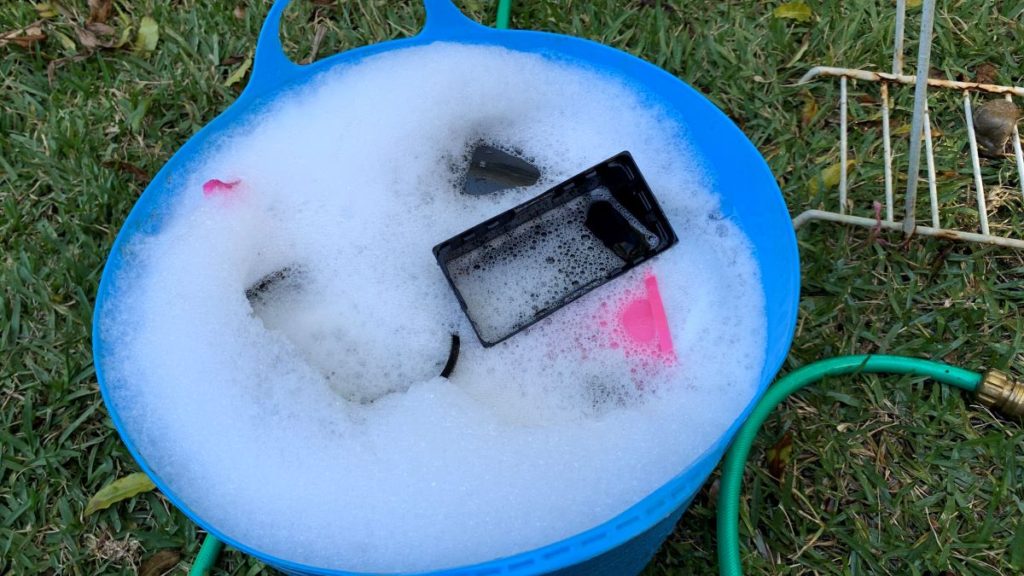
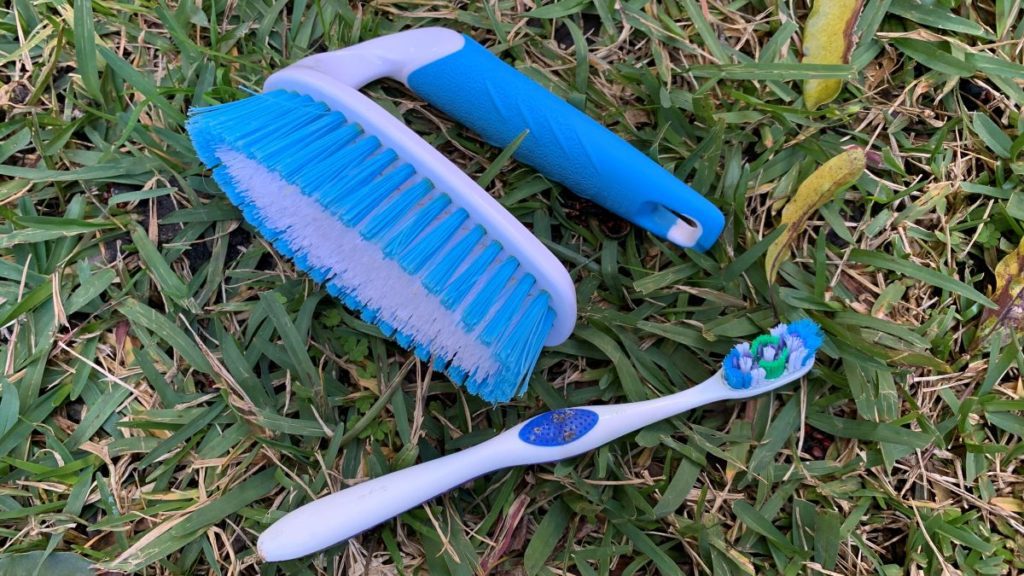
3. Scrub the plant pots in the warm soapy water using a scrubbing brush
Use a small scrubbing brush to clean out the pots. You could also use an old toothbrush to get into the corners of the pots to remove all the dirt. Make sure you get into all the corners and scrub all the surfaces.
4. Rinse the pots using your hose to wash off any soap.
Use the sprayer nozzle on your house to thoroughly rinse your pots. Get off all the soap that you can see and make sure you are using clean water.
5. Leave them in a clean area off the ground to dry.
Find a clean place to sit the pots to drip dry. Allowing the pots to air dry is the best way to get the surface completely clean. They can also sit for a short time in the sun to kill of any extra bacteria.
6. For extra protection, dip them in a 50:50 vinegar and water mix.
If you really want to make sure that no bacteria is left on the pots, you can give them a final dip into a 50:50 mix of clean water and vinegar. Make sure you wear rubber gloves when doing this to protect your hands. This mild
7. Leave the pots out to dry completely.
After dipping into the mild mix of vinegar and water, leave the pots to dry again. This will give that extra assurance that all of the bacteria has been removed.
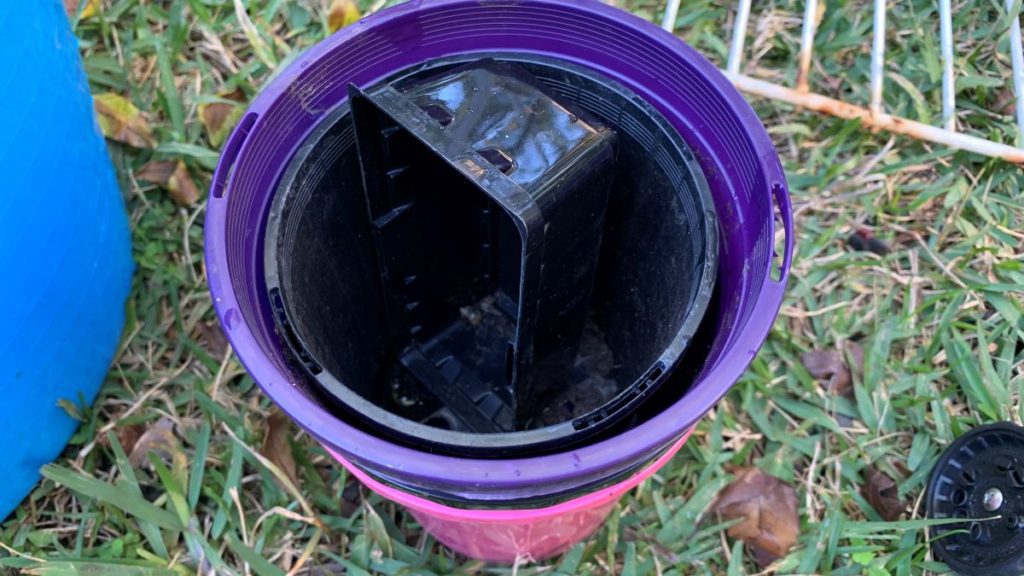
How to disinfect plastic plant containers
Any plastic container can be disinfected using warm soapy water and drying them completely in a sunny position. The smaller the container, the smaller the scrubbing brush you will need to get into the corners. I like to use an old toothbrush to clean individual plastic plant trays.
Using a warm soapy water mix to wash your plant pots will remove dirt and bacteria really well. Like washing your hands, if you do it properly and dry them well, they will be very clean.
Leaving pots out for a short time in the sunlight to dry out is a great way to naturally clean off any bacteria. Sunlight is a natural sterilizer and will work to finish the process once you have scrubbed the dirt off.
Can you reuse plastic plant pots?
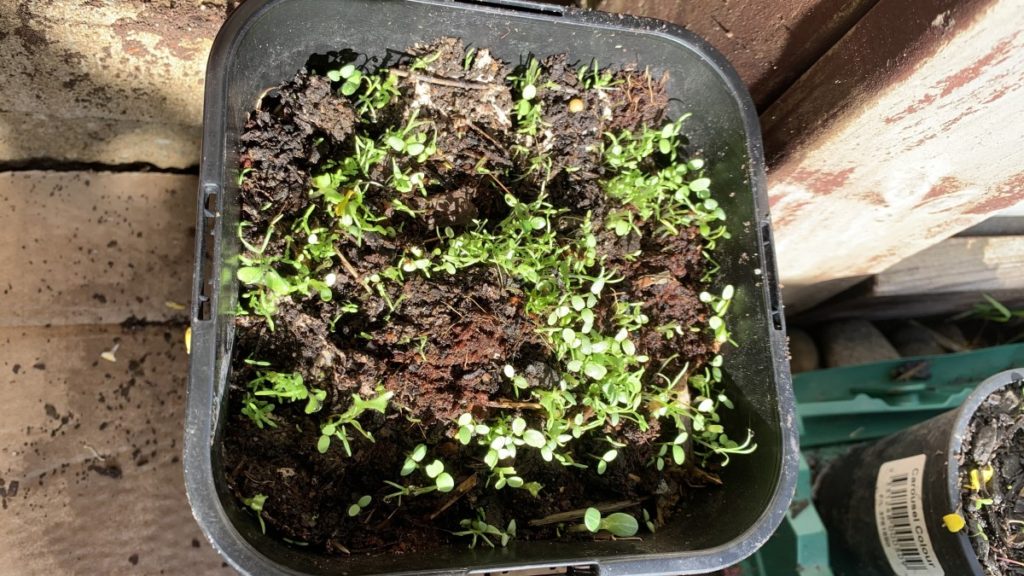
Reusing plastic plant pots that you have bought from a garden center or nursery is a fantastic idea. I never throw away any pots that I get and will re-use them to grow seeds, seedlings or vegetables.
I have transplanted mint that was planted in my garden into an old pot to keep it contained and it is going strong. I am also raising wildflower seeds in old pots from plants I purchased from my garden.
I have never had any issues with diseases coming from my plant pots when I have cleaned them using the steps I have described. Plant pots are perfect for recycling and a great way to save money.
How to sterilize terracotta and clay pots
Clean clay or terracotta pots by scrubbing away any excess dirt or white mineral build up using steel wool or a scourer. The pot can then be cleaned in warm soapy water. The key with clay pots is not to leave them soaking in the water for too long as they will absorb a large amount.
Once all of dirt has been cleaned off the clay pot, leave it to dry on a drying rack outside. The pot will take longer to dry as the clay will absorb some of the water. It will be ready to use in a few hours. Put the pot in the sun to dry out completely and remove bacteria.
Why you should disinfect plant pots
After a pot has had soil in it there is a chance that nasty bacteria might still be living in the soil or on the surface of the pot. If you plant seeds, seedlings or a new plant then then the bacteria or disease could infect the new plant.
I always clean my pots when I want to use them for a new plant. This will mean that I can trust the new plant won’t be affected by anything leftover in the old soil. While many gardeners will use bleach to clean their pots, I like to just use the process of cleaning with warm soapy water.
This way of cleaning pots has always worked for me and I have used pots over and over again without any issues. Recycling garden pots is a fantastic way to save money and reduce waste. I have a corner of my garden that I will pile old pots, ready for when I want to plant something new.
I like to clean my pots all in one go to save water and make the process as efficient as possible. I then have my pots ready to go for when I get inspired to plant some new seeds.
Happy gardening.
I am an accredited practicing dietitian, experienced gardener and a dedicated cook. I love writing and sharing my experience so you can learn from my successes and mistakes.
Comments are closed.