These easy steps will allow you to harvest worm castings from a small or large worm farm. This works perfectly if you have a made your own worm farm out of a Styrofoam box or plastic container. Using this method you can remove up to 2/3 of the worm farm material making room for more food scraps without needing to increase the size of your worm farm.
This method will remove the worm castings while keeping the worms safe and returning them and their eggs to the farm. Here are my 10 easy steps to harvest worm castings from your farm.

1. Choose a cool day
It is important to choose a cool day to harvest worm castings. This will keep your worms safe and stop them from drying out and being hurt in the process. An overcast day is the best option so there is no direct sun on the worms.
You could find a shady spot, but make sure the weather is still cool. Spring or fall is ideal to harvest your worm castings.
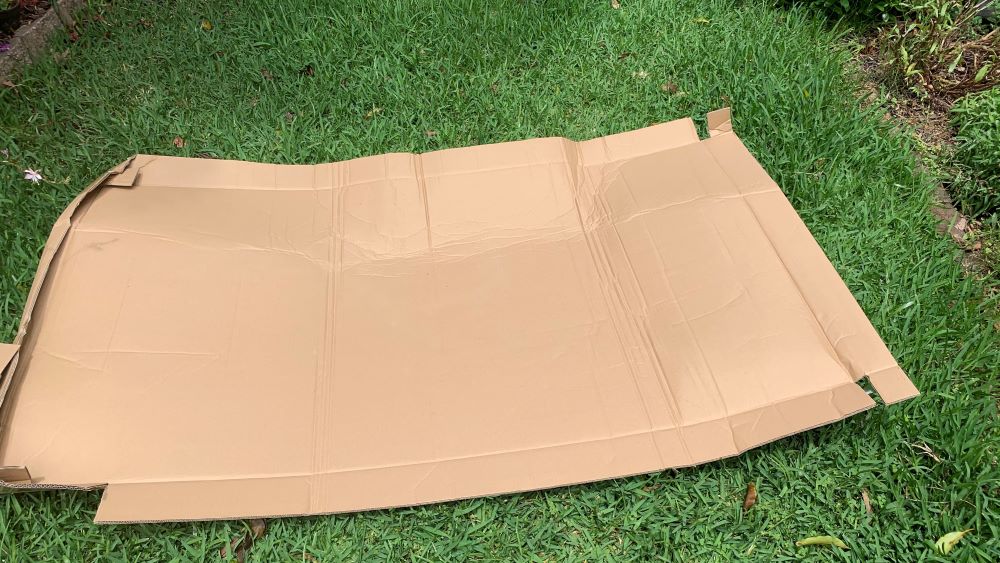
2. Find a large piece of cardboard
The next step is to find a large piece of cardboard. Find a piece that is large enough to hold at least twice as much contents as your worm farm. The piece that I chose was at least 5 feet across and 4 feet wide.
3. Carry your worm farm over to the cardboard
Take care to move your worm farm over to the cardboard. Take care to move it gently to a wheelbarrow or you can move it yourself if it is light enough to carry. Moving the cardboard close to the worm farm will make this easier if you have the room.
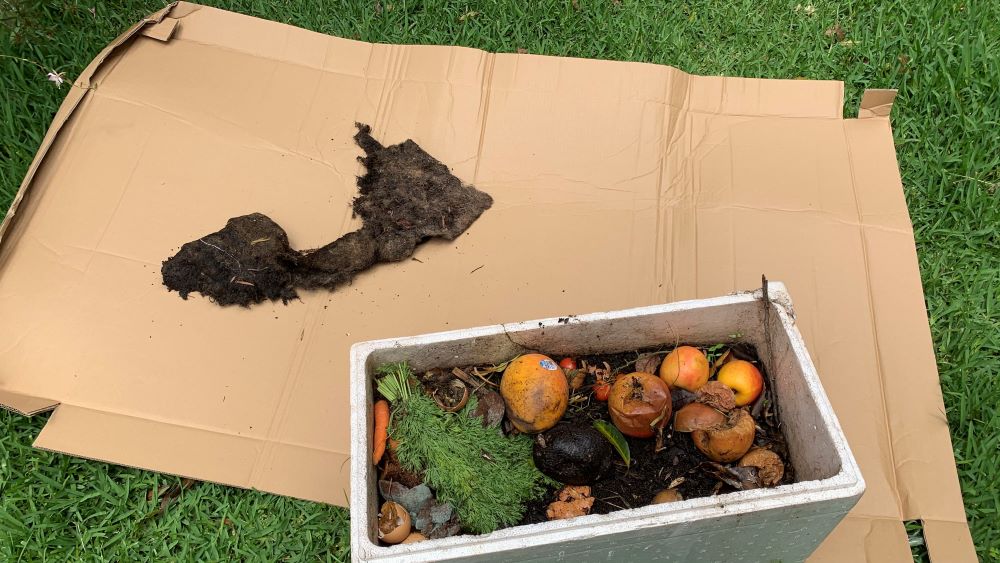
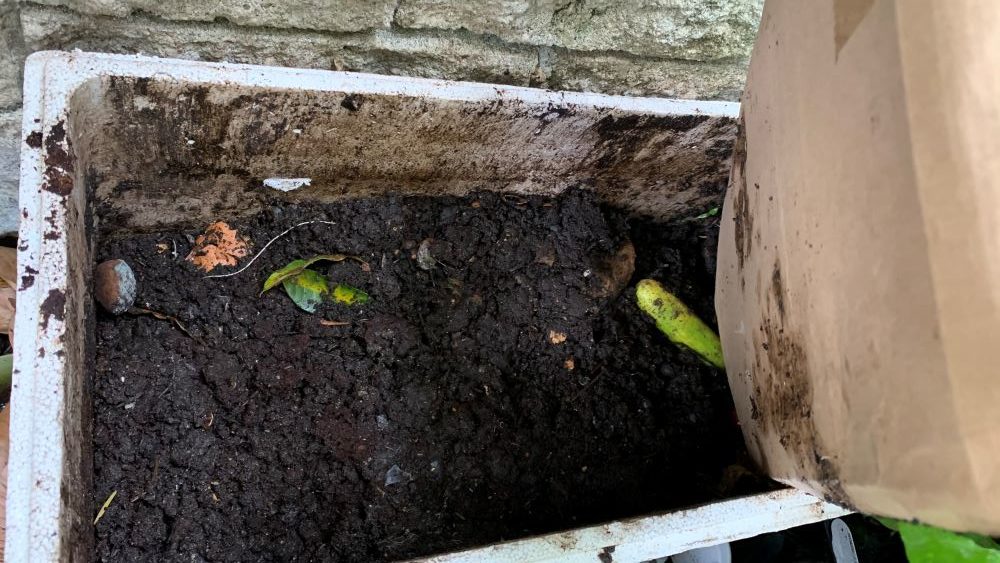
4. Tip the worm farm contents onto the cardboard
The next step is to lay your worm farm on its side on the cardboard. Gently tip the worm farm contents out onto the cardboard. Wear garden gloves to protect your hands and do this slowly so the contents stays on the cardboard.
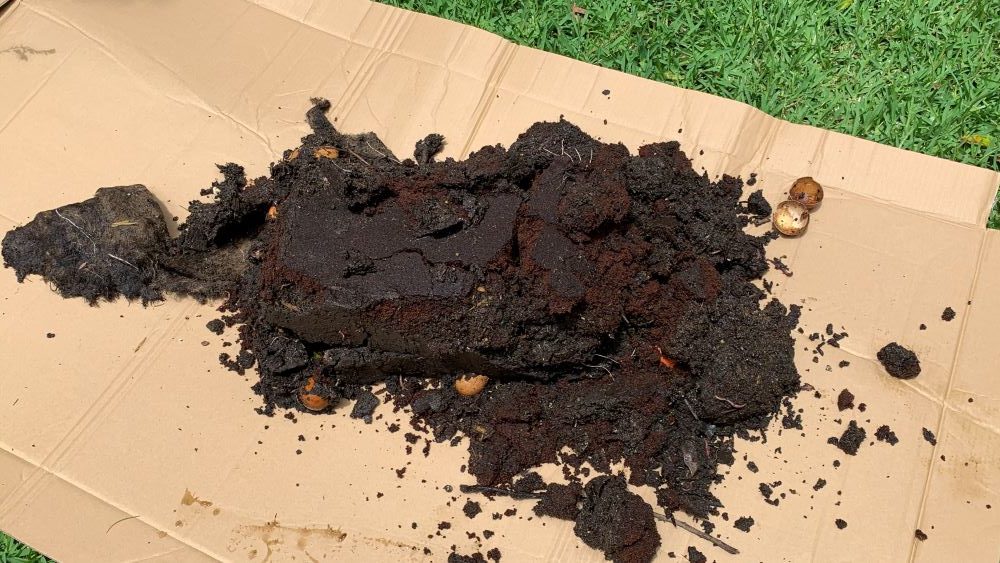
5. Use a rake and scrape the castings into a pile
Use a rake and gently move the worm castings into a pile on one side of the cardboard. This will give you room to scrap the contents over to one side.
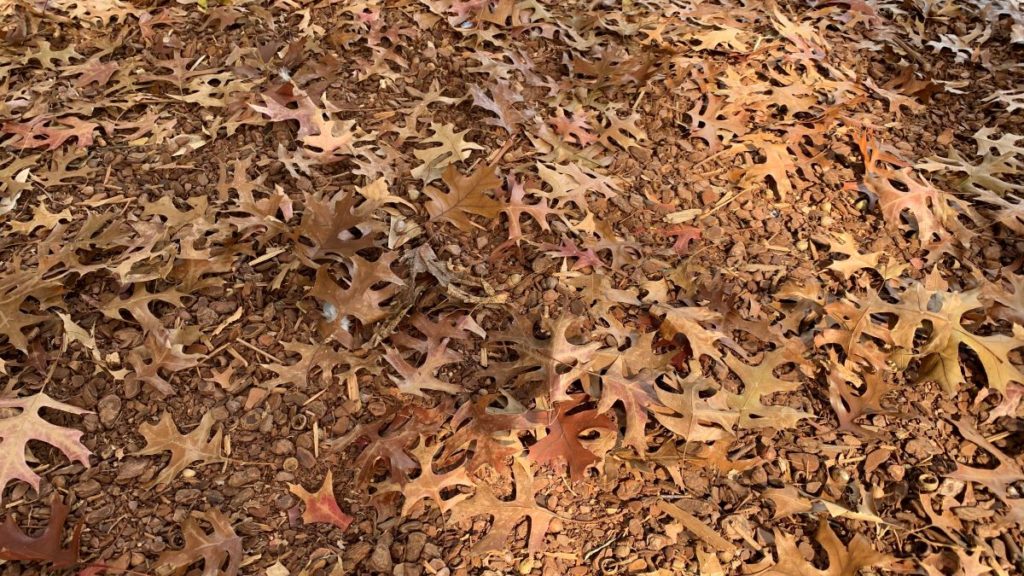
6. Layer new worm bedding in the bottom of the farm
I like to use dry leaves but you can also use straw, hay, or old compost or potting soil. Layer around 2 inches in the bottom of the farm to give your worms something to feed on.
Wearing garden gloves you can grab any uneaten food scraps and move them back into your worm farm. Worms often gather around the food scraps so this is an easy way to move them back into the farm. I found groups of worms hiding in half egg shells so I could easily grab these and move them back into the farm.
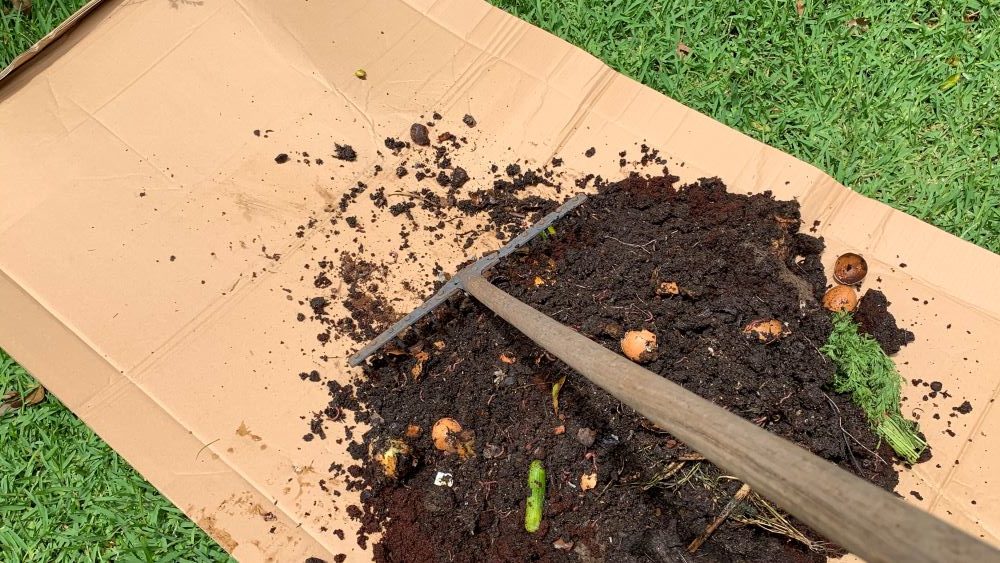
7. Wait for 20 minutes and gently scrape off the top layer of castings
The next step is to wait for 20 minutes for the worms to hide into the worm castings. They will dig down away from the light. After this time use a rake or a small trowel to scrape the top layer of the castings to the other side of the cardboard.
8. Repeat this process until the worm castings are reduced to 1/3
Wait another 20 minutes before scraping another layer off. The worms will continue to dig down until they are in the bottom 1/3 of the castings. I repeated this 4 times until I had reduce the worm farm contents down to 1/3.
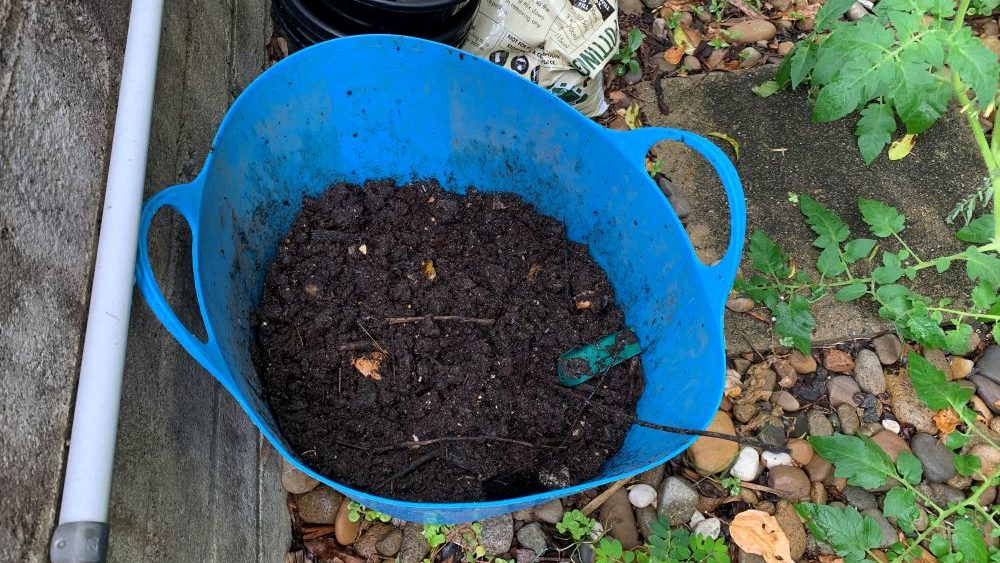
You will end up with a pile on one side without worms and it will be pure castings. The other side will contain the worms, eggs and leftover food scraps. Remembering when you tipped the contents over, any food scraps will be at the bottom.
9. Use a shovel to scoop up the rest of the worms and castings back into your worm farm
The next step is to scoop up the rest of the worms and put them back into your worm farm. Use a shovel and gently move them back to the worm farm onto their new bedding. They will have fresh bedding, food scraps and more room to digest organic matter.
Note: Worms won’t live in worm castings. They will move into the bedding and around the food scraps. This is why it is important to clean out the worm farm every 6-9 months.
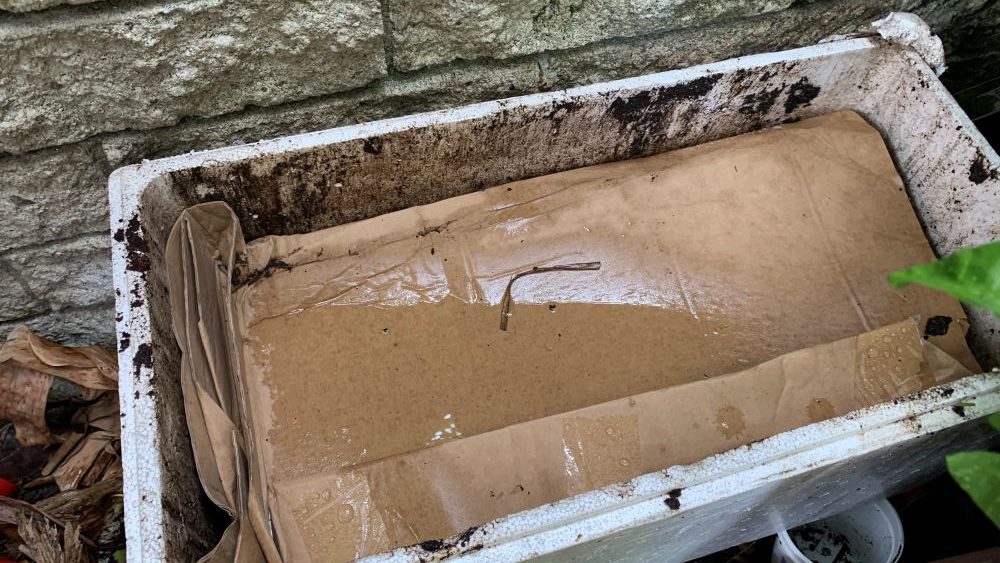
10. Cover your worm farm with a blanket or cardboard
The final steps are to move the worm farm back into its position in the shade. Cover the worm farm with a new worm blanket or piece of cardboard.
You can wait for another few days before feeding the worms again if they already have food scraps left over. If the worm farm is wet or it has been raining, add some extra dry bedding to the top to avoid mold.
My worms often dig up and stay up near the blanket when there is a lot of rain. They will move back down into the bottom of the worm farm when the rain stops.
How often to harvest worm castings
You will need to clean castings out of your worm farm every 6-9 months for a small worm farm. If you have a tiered worm farm, you can add another layer of bedding and give your worms more food and room to grow.
Worm castings are fantastic for your garden so you can never have too much. Sprinkle them over the top of your garden bed, mix it through your vegetable garden soil or dilute it in water and give it to your plants.
How to harvest worm castings | Summary
Harvesting worm castings is easy and the result is gold for your garden. You can remove worm castings gently by scraping the top layers off to the side a bit at a time. This will leave the worms and eggs down the bottom and the castings can be removed without hurting the worms.
I am an accredited practicing dietitian, experienced gardener and a dedicated cook. I love writing and sharing my experience so you can learn from my successes and mistakes.