Zinnia seedlings are a quick and easy way to fill your yard with bright color in spring and summer. Seedlings can be plugged into bare patches to add extra color or to block out weeds. If you haven’t had time to plant seeds, grab some zinnia seedlings instead.
Preparing your soil before planting out zinnias is essential to get the best growth possible. They are hardy and look great. They need full sun to get the most out of them and like well-draining soil.
This article will explore the 10 easy steps to successfully transplant zinnia seedlings from pots into the ground. This will also work when transplanting zinnia plants to a larger pot. Just choose a good quality, all-purpose potting soil.
Here are my 10 easy steps to transplanting zinnia seedlings.
1. Choose your position
The first step when transplanting zinnia seedlings from their pot to the ground is to choose a great position. Choose a full sun position to encourage your zinnias to produce as many flowers as possible.
Make sure that your zinnias have enough space to grow. My dwarf zinnias only need around 8-10 inches of space to spread out. Larger zinnias can grow to 3-8 feet tall so give them around 30 inches of space around each plant. You can mass plant zinnias so they can hold each other up and block the weeds.
It is best to rotate where you plant zinnias each season. Pick a new spot for your zinnias seedlings compared to last year to avoid the transfer of any leftover fungus or diseases that can affect plants year to year.
2. Prepare the soil
The next step when transplanting zinnia seedlings into the ground soil is to prepare it with good quality organic matter. Mix through aged compost and cow manure. I like to add mild fertilizers and soil conditioner like aged cow manure and compost will not slow the growth of flowers.
Adding too much nitrogen based fertilizer can slow down the growth of flowers so avoid this. You can add some flower and fruit promoting fertilizer after the plant has been growing for 1-2 weeks which is lower in nitrogen and higher in phosphorus and potassium.
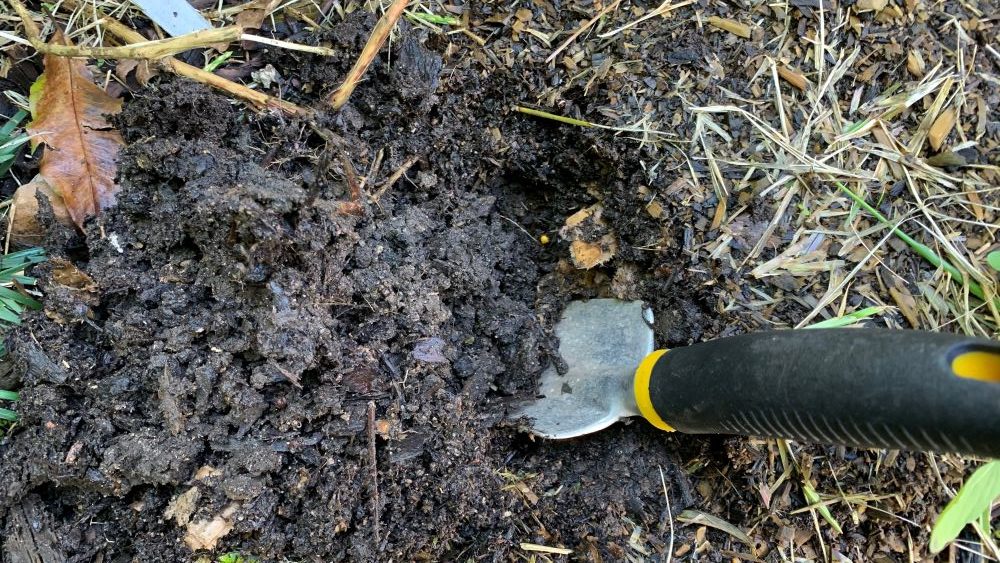
3. Dig a hole
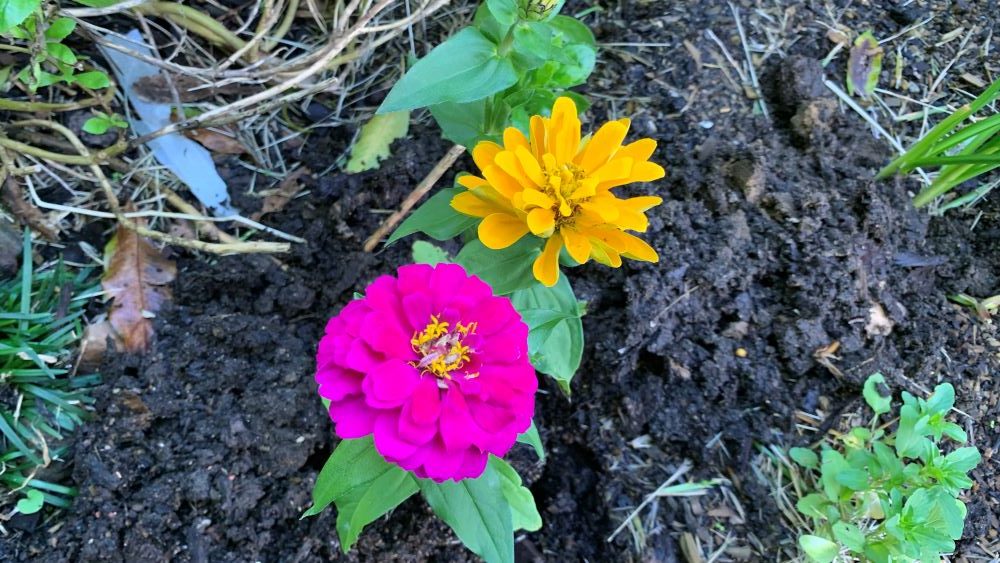
Dig a hole in the soil that is 1 inch wider than the current root ball size of the zinnia seedling. My pot contains 2 zinnia plants which I will be transplanting into the same hole. Make sure the hole is just deep enough so the top of the soil is the same level as the plant was in the pot.
After you have dug through organic matter the soil should be nice and light and easy to dig.
4. Remove the plant from the pot
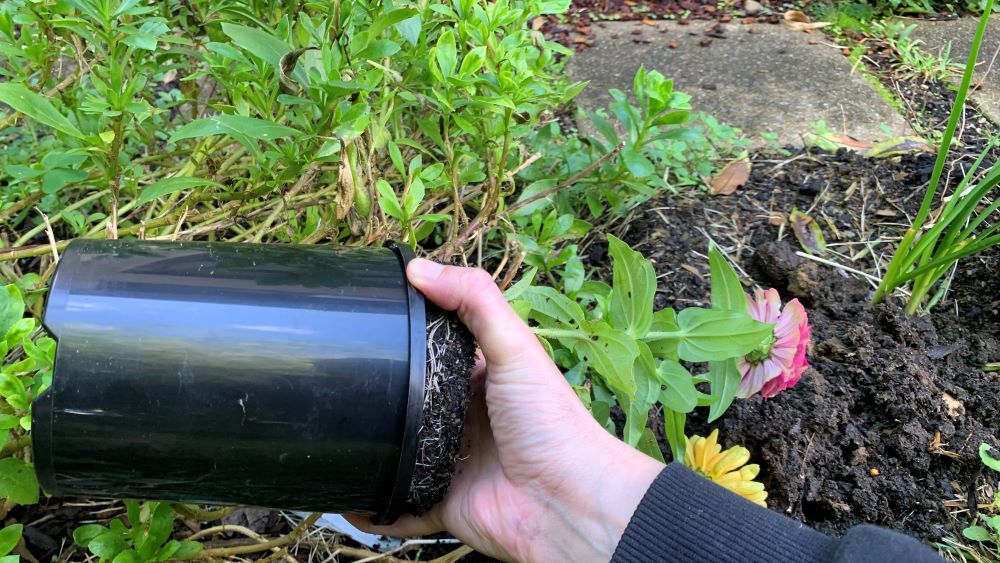
Remove the plant from the pot by gently squeezing it around the outside. This will gently loosen the plant from the pot. Gently tip the pot upside-down and catch the plant in your hand. Check out the roots of the plant and gently tease the roots out if they are very tight.
5. Gently place the plant in the hole
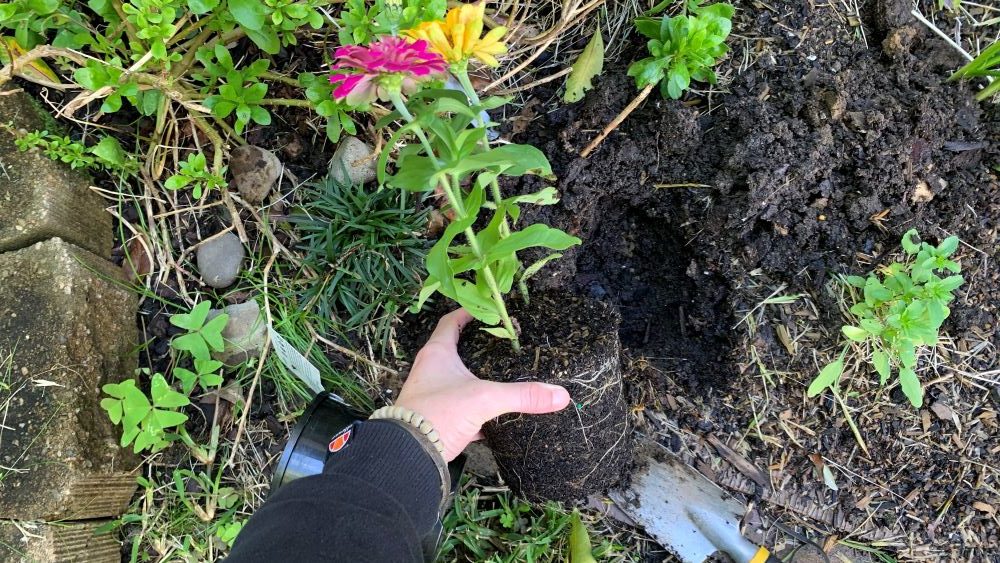
After adding the plant to the hole check that the soil level is right. The pot soil level should match the ground soil level.
6. Backfill with the improved soil
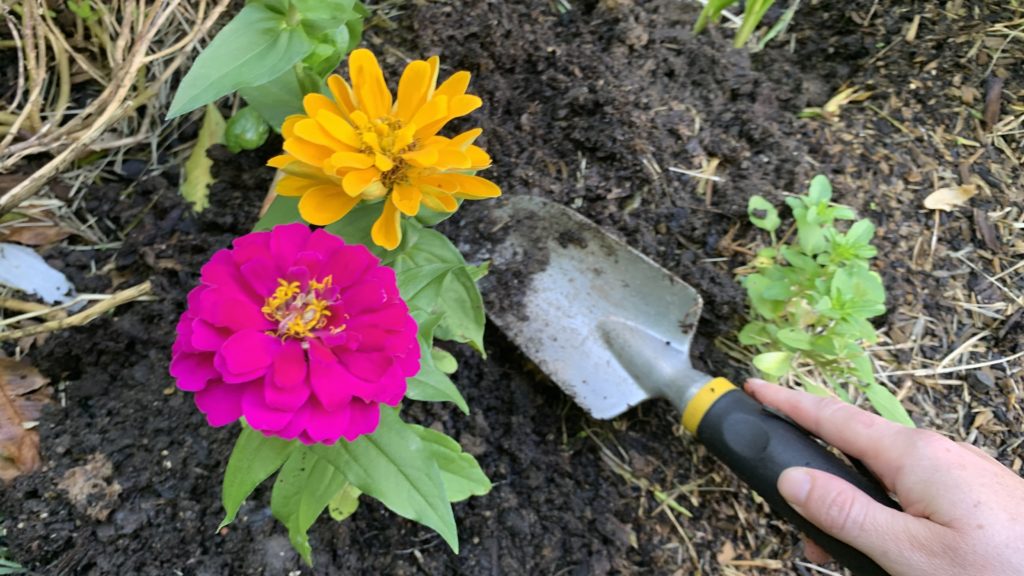
The next step is to backfill the plant with the improved soil that is around the plant. Gently push the soil in with a spade or with your hands. Wear garden gloves if you don’t want to get your hands covered in soil.
Gently press the soil in around the plant. You don’t need to press too hard otherwise all of the air will be pressed out. Instead, gently press the soil in around the plant until the soil matches the ground soil level.
7. Surround with mulch
Surround flowering zinnias with mulch to stop weeds from growing through and competing with your zinnias. Mulch will also help to keep the soil moist and reduce the amount of water you need to add throughout summer.
Place around 2-3 inches of mulch around your zinnias. My favorite is bark mulch but you could also use straw, hay or mulched sugar cane. Bark mulch will last around 4-6 months while straw mulch might need to be topped up every 2-3 months.
Mulch is fantastic for zinnias because it will stop water from splashing up onto the leaves and causing fungal growth. Zinnias are prone to developing fungal growth on their leaves if you get lots of rain over summer or if you are watering directly onto the leave.
For more on this, check out my previous article here: Why Zinnia Leaves Get Black Spots | 4 Problems and How to Fix Them
7. Water in well
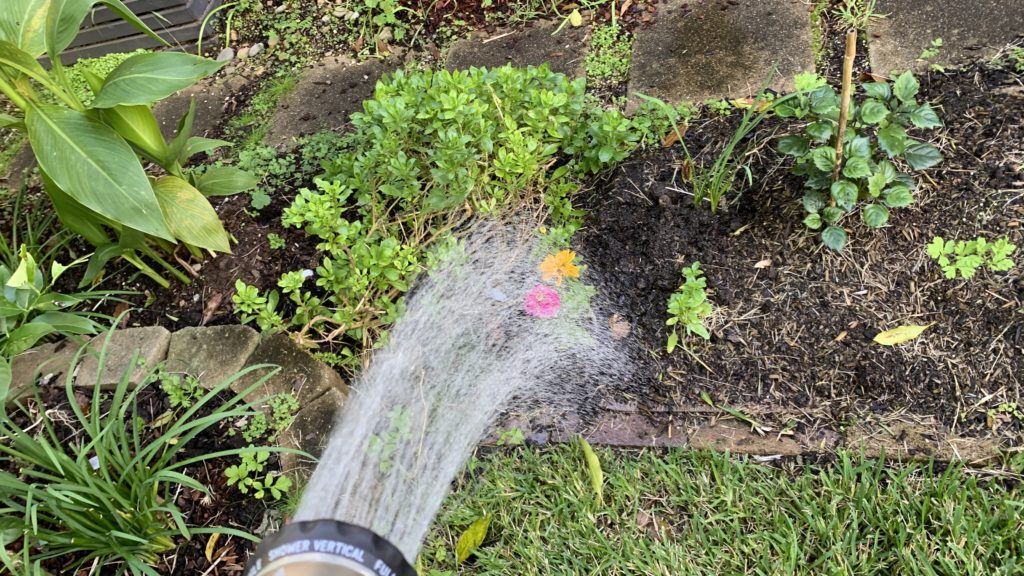
Water your zinnias in well after backfilling with soil and mulching. Use a sprayer nozzle on your hose to thoroughly water them in the first time. After this, it is much better to water them in gently, just around the root zone.
If you can avoid getting water on their leaves this will minimize the chance of fungal growth or disease. Water in the morning if you can’t avoid spraying the leaves so they have time to dry out.
Zinnias are quite drought hardy once they are established. They prefer to dry out slightly before they are watered again. Check the soil if you are not sure and if it is dry 2 inches below the surface they can be watered.
8. Deadhead old flowers
It is important to deadhead zinnias regularly to keep them flowering well. You can do this straight after you transplant the seedling or wait a few days. Zinnias will keep producing flowers over spring and summer if they are continually deadheaded.
9. Fertilize zinnias after planting
Zinnias will continue to flower if they are given the nutrients they need. Zinnias benefit from some flower and fruit promoting fertilizer 4 weeks after planting them out. If your soil has been improved with compost and cow manure this is usually enough to support their growth for the whole summer season.
If you have particularly poor soil, add a handful of pelleted chicken manure after planting your zinnias out.
10. Rotate your zinnia position the next year
When you are ready to plant zinnias in the next year, choose a fresh position away from the place they grew the year before. If zinnias self-seed and grow in the same position, don’t worry. Free plants are always a great thing and such a reward when they grow themselves.
How to Transplant Zinnia Seedlings | Summary
Zinnia seedling are a great way to get a head start on your flower garden in spring. If you are not into growing seeds, grab some zinnia seedlings and plug them in your garden. Choose a sunny spot and they almost look after themselves. If you live in tropical or sub-tropical area zinnias have a longer season.
Zinnias don’t like cold weather but if you get mild winters they can keep growing. For me, I am growing them in a sub-tropical climate, and I am still getting flowers in fall.
Happy growing
I am an accredited practicing dietitian, experienced gardener and a dedicated cook. I love writing and sharing my experience so you can learn from my successes and mistakes.