Worm farming is a great way to avoid food waste, make organic fertilizer for your home garden and it is easy. Here are 10 actionable steps for beginners to start worm farming at home.
- Find the best spot for your worms
- Choose your worm farm
- Find good worm bedding
- Add bedding to your worm farm
- Buy your worms
- Add your worms to your worm farm
- Get a worm blanket
- Add food for your worms
- Check your worms regularly
- Remove worm castings
Actions to take to begin worm farming at home
1. Find the best spot for your worms
One of the most important steps to begin a successful worm farm at home is to choose a location that the worms will love. Worms need a cool, shady spot in your garden or garage, moist bedding and organic matter to eat. If you are beginner start small and grow your worm farm as you gain experience.

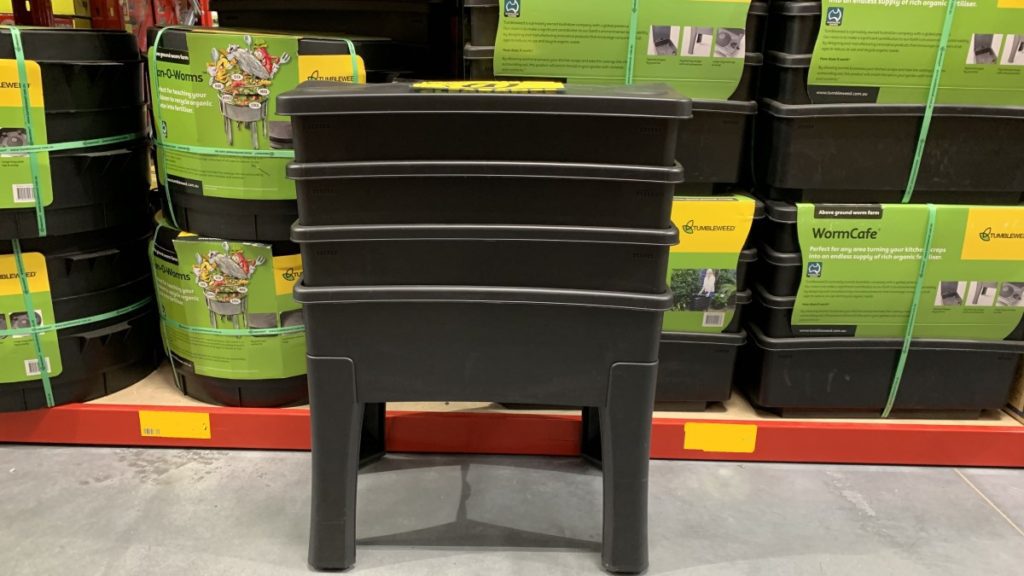
2. Choose your worm farm
If you are a beginner worm farmer then start with a small worm farm to gain skills before trading up. Starting with a free worm farm made from a Styrofoam box is a great way to learn how to worm farm. As you get more confident, you can trade up to a larger square or round worm farm.
Square worm farms available from your local hardware store or garden center are great for putting in the corner of your yard. They can fit between or next to raised garden beds and fit into tight spaces.
A round worm farm will fit in a tight corner or along the side of your house. Start off with one layer on your worm farm and you can add them as you go. If you have a very successful worm farm you can always get more layers and continue to grow your farm.
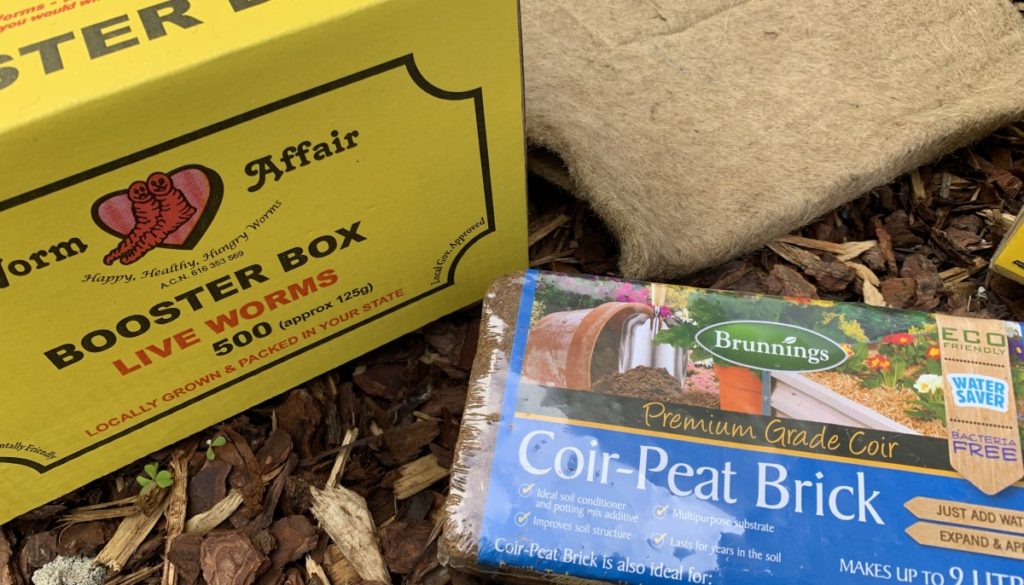
3. Find good worm bedding
Once you have decided on where you will put your worm farm and what size you will be getting you will need to find some worm bedding. Worm bedding can be a mix of free materials from around the house like aged compost or you can buy coconut coir.
Worm bedding is a really important ingredient in your worm farm. This provides the worms with a safe dark space to settle into your worm farm. It need to be able to hold water and be made from natural organic matter for the worms to eat. Worms can live in good bedding for up to 4 weeds before they will need any additional food.
Here is a list of great worm bedding materials to start with.
- Coconut coir
- Potting soil
- Aged compost
- Shredded paper
- Fall leaves
Mix dry materials like fall leaves and shredded paper with water holding bedding like coconut coir and compost. This mix will help to keep the moisture in your worm farm and provide them the perfect place to breed.
You can start to collect worm bedding materials before you have your worms. Mix them together and add them to your worm farm. This will allow them to mix together and break down further before you get your worms.
4. Add bedding to your worm farm
Adding the bedding to the bottom of your worm farm at least 3-4 inches deep is the next step you need to take to set up your worm farm. You can add 2-3 layers of newspaper to the bottom tray of your worm farm to help to hold the bedding in.
Make sure you have left the tap open at the bottom of your worm farm or the hole you have made is clear. This allows any extra moisture to drain out of the bottom of the worm farm.
Flatten the worm bedding over the bottom of the worm farm and make sure it is moist. If you are using newspaper or cardboard, then add some extra water with a watering can or spray nozzle on your hose. If you have mixed this with coconut coir, then the moisture will stay in the worm bedding well.
5. Buy your worms
Buying your worms is the next step in the process of setting up your worm farm. It is important to buy specialist composting worms which can bought online or from garden centers. Composting worms are different to worms that live in your garden. Red wigglers are the most common type of worm used in worm farming.

Composting worms are originally from tropical areas and would live on rainforest floors breaking down organic matter quickly. They enjoy dark, moist environments which is perfect for your worm farm. For a small worm farm you should start with 500 worms.
Your worm population will grow over time and you will quickly see small worms and eggs in your worm farm. Starting with 500 worms can grow quickly to fill a small worm farm in a few months. Here is a table that shows the recommended number of worms for different sized worm farms.
Number of worms for worm farm size
| Worm Farm Type | Gallons | Number of worms |
| Homemade Styrofoam box worm farm | 4 | 500 |
| Square worm farm | 8 | 1000 |
| Round worm farm | 8 | 1000 |
6. Add your worms to your worm farm
Once you have added bedding to your worm farm you can add your worms. Tip the whole contents of the bag into your worm farm on the top of the soil. The bedding the worms come in will also contain eggs so make sure you add it all to your worm farm.
You will see worms make their way down into the soil. You can use a small towel to gently flatten the material over. Make sure you add a worm blanket to the top as soon as possible to protect the worms and keep the moisture in.
7. Get a worm blanket
A worm blanket is important for your home worm farm and can sometimes be forgotten if you are a beginner worm farmer. A worm blanket works to protect the worms and the bedding. It keeps the moisture in the worm farm and keeps the worm farm dark.
Worm blankets provide another form of protection from birds and are essential even if your worm farm comes with a lid. A worm blanket will help to keep your worms in your worm farm and help them to feel at home and comfortable enough to breed and break down the organic material.
You can buy worm blankets that will fit rectangle or round worm farms. These are a cheap, natural way to cover your worms and will hold moisture well.
Free alternatives to worm blankets are old newspapers or cardboard. Layer at least 5 layers of newspaper on top of your worm farm or use thick cardboard. These options won’t last as long as a purchased worm blanket but are easy to replace.
Other alternatives to worm blankets are cotton t-shirts, pillow cases or sheets, cloth nappies, or hessian bags. Check out my previous article here for more worm blanket alternatives.
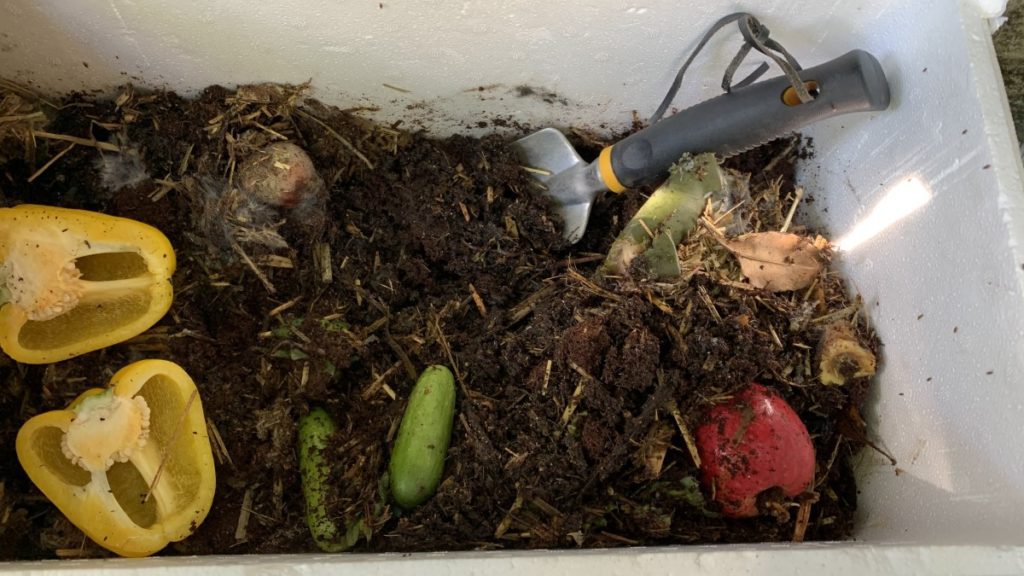
8. Add food for your worms
Once your worms have settled in for at least 1 week you can start to add food scraps to feed them. Start with 1-2 small handfuls of vegetable scraps and watch how quickly your worms eat the food. Once you see that the scraps have started to break down you can add more. Check out the table below for a beginners guide on what you can feed your worms
| Best foods for worms | Foods to avoid |
| Vegetable scraps (including peeled and whole vegetables) | Meat, poultry and fish |
| Fruit (including peel) | Breads, cereals and cookies |
| Cardboard and shredded plain paper | Coffee grounds |
9. Check your worms regularly
Once you have your worm farm set up you need to check on your worms regularly. Check them every day if you can but at least every 2-3 days.
Here is a table with the things to check and the next action to take.
| What to check | Action |
| Is your worm farm in the sun or dry | Move the worm farm into a shaded area or place an umbrella over the top. Wet down by spraying the bedding and worm blanket with water. |
| Worm farm is too wetAdd dry material such as straw, sugar cane mulch and dry leaves. Open the tap at the bottom and make sure water can drain out. | |
| Worm farm smells | This is usually as a result of adding too much food. Add dry straw or sugar cane on top of the food scraps or remove some and place them in your compost pile. Stop feeding your worms for 1-2 weeks |
| Check for vinegar flies | If you notice small flies over the top of your worm farm this can mean you are adding too many vegetable scraps or fruit. Cover the food scraps with straw and extra layers of newspaper. Wait for the food to break down before adding more. |
| Worm farm is too cold | Move your worm farm inside a protected garage over the winter months. If you live in an area that snows or gets heavy frosts, add extra layers of cardboard on top and move into a protected area, |
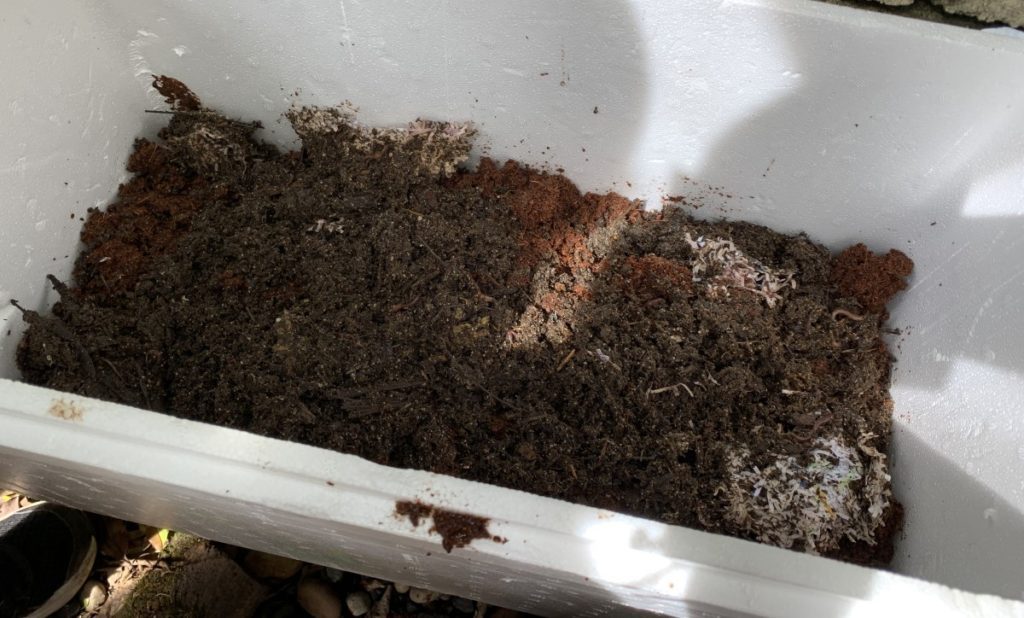
10. Remove worm castings
As your worm farm grows you will soon be ready to remove worm castings to add to your compost or garden. Once you notice that the bedding level has almost reached the top of your worm farm, you can add another layer to the top and remove the castings.
To remove worm castings, the simplest way is to open the lid and expose the top layer to the sun. The worms will bury down deeper and you can gently scrape the worm castings off of the top of the farm.
Worm farming for beginners – Summary
Worm farming is the perfect way to recycle food scraps in your backyard. Starting with a small worm farm and 500 worms is a great way to begin the process. As you get more experienced, you can upgrade to a multi-tiered worm farm and add more layers and more worms.
For a simple video on setting up a worm farm check out this one below.
Happy worm farming.
I am an accredited practicing dietitian, experienced gardener and a dedicated cook. I love writing and sharing my experience so you can learn from my successes and mistakes.
Comments are closed.