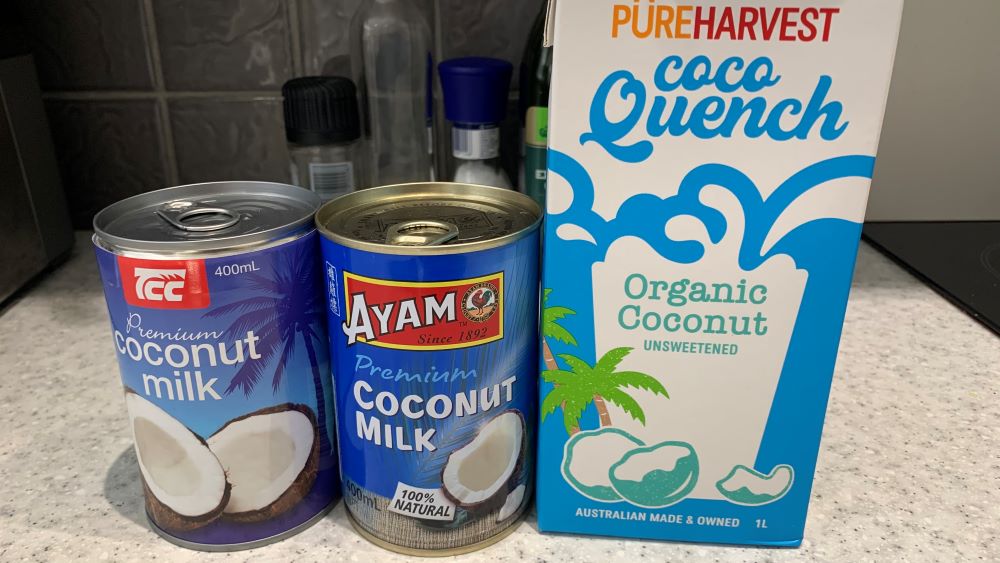
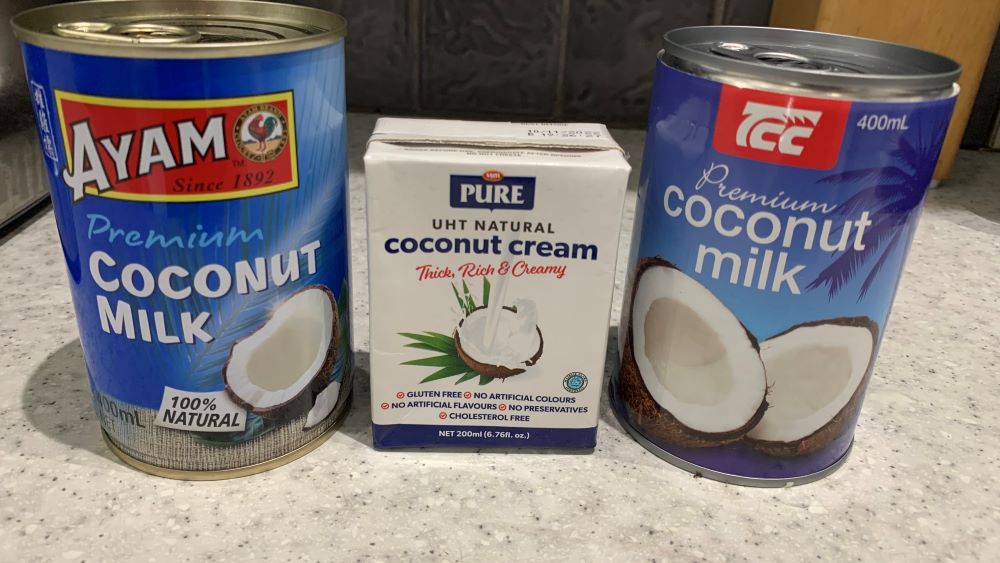
Canned and carton coconut milk is a great way to have it on hand and in your cupboard ready to use. Canned coconut milk is perfect for adding to cooking including curries and stews where thicker milk is better. Carton coconut milk is thinner so it is perfect for your morning cereal, tea or coffee.
Canned coconut milk is perfect for cooking while carton coconut milk can be used fresh as a drink, smoothie or on your breakfast.
This article will explore 8 great examples of when you would use would use canned coconut milk rather than carton coconut milk, and find out a couple delicious recipes for using canned coconut milk, including a Thai coconut soup and a flavorful curry sauce.
When to use carton coconut milk
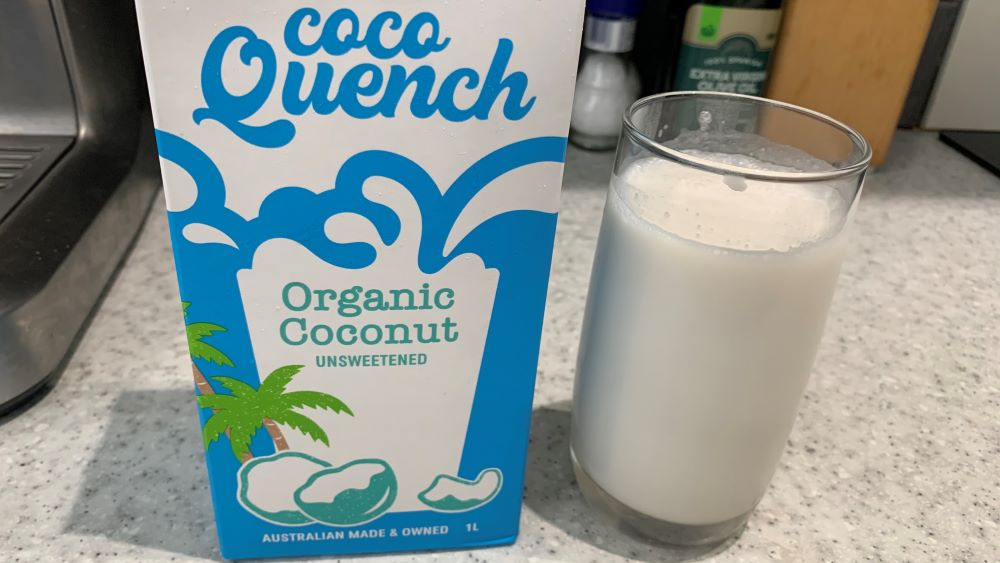
Carton coconut milk is thin and is a great replacement for those who do not drink dairy milk. It is made from the coconut pulp and is intended as an alternative for milk for adults. This does not replace milk for kids so look out for a calcium fortified option instead.
Here are some great ways to use coconut milk at home
- Smoothies
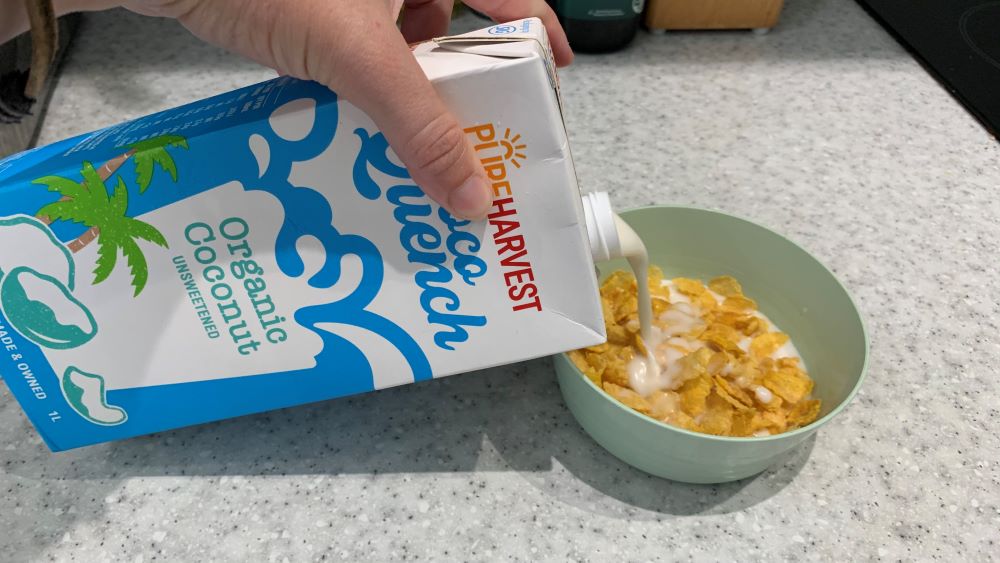
- On breakfast cereal
- In Tea
- In Coffee
- In cakes to replace dairy milk
- In Pancake mix
- In homemade ice-cream
When to use Canned Coconut Milk
Below are eight examples of times when it is best to use canned coconut milk instead of carton coconut milk. It is important to consider this list when you are trying to decide which type of of coconut milk to buy and use.
1. For a creamier result
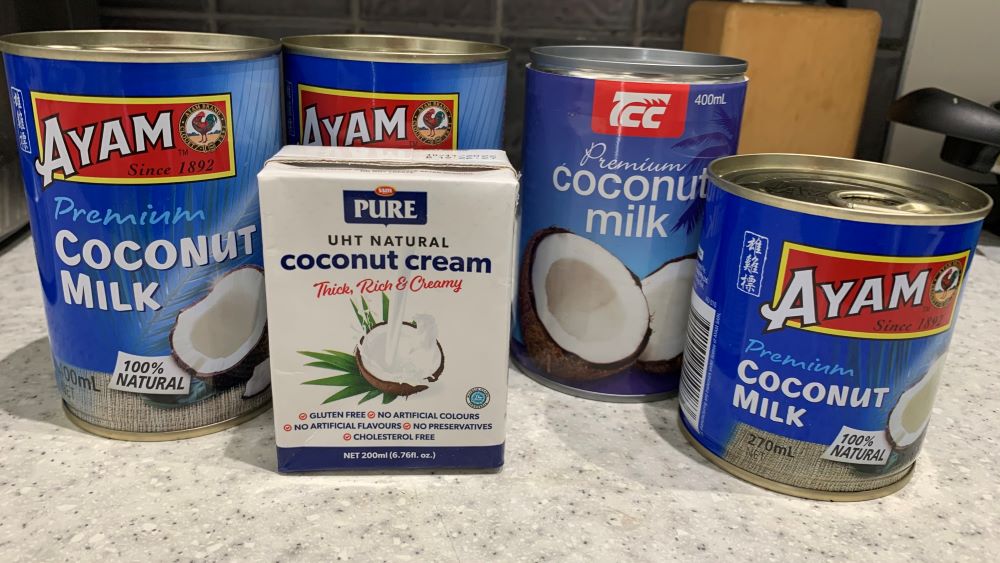
For a much creamier end result, use canned coconut milk for recipes. Since canned coconut milk is created by making a paste from shredded coconut meat, the canned version will be thicker and contain more coconut cream.
You can buy coconut cream in a carton which also works well.
3. Curry
If you are making a curry sauce then use use canned coconut milk in your recipe over carton coconut milk. It has the thickness and substance that your recipe needs.
4. If you want fewer additives
Canned coconut milk contains whole coconut extract around 90% and water which is added in the process, but other than this, there are no additives in this variety. Carton coconut milk, on the other hand, can have several additives in it including stabilizers, guar gum or even brown rice.
NOTE: Coconut cream in cartons or cans will have less water added and can be up to 99.9% coconut extract.
5. Stews
If you are whipping up a stew that calls for coconut milk, it is best to use the canned variety, due to its thickness and lack of added sugars. You can also use coconut cream that is canned or in a carton as this will have the thickness needed for your stew.
6. Higher fat content
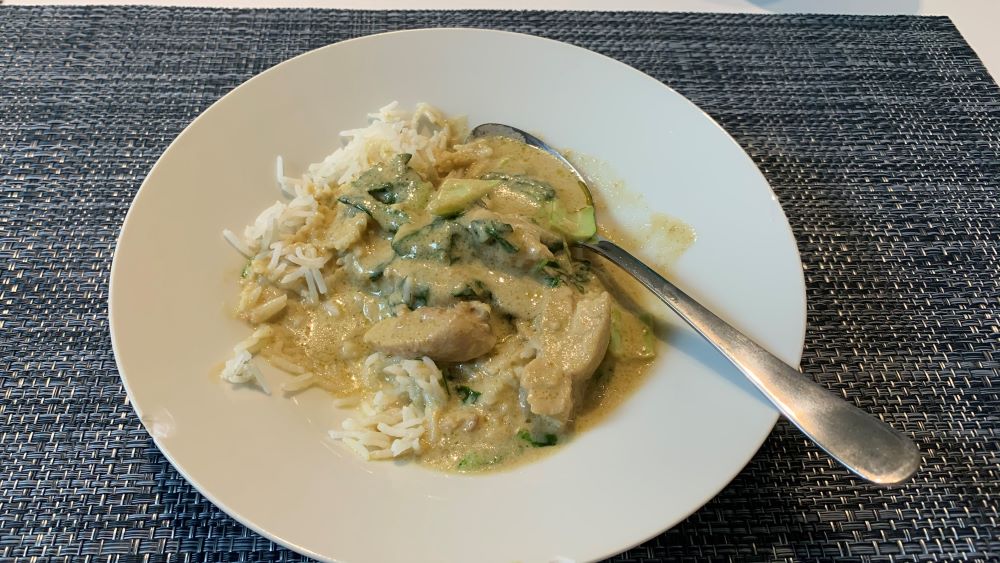
Since canned coconut milk is not diluted as much as carton coconut milk, it has a higher fat content. This is ideal for many cooking scenarios particularly Thai curries like the one below.
7. Soups
Similar to stews, you will want to use canned coconut milk in soups. This can replace added cream and is perfect for Asian-style soups. Additives will not throw off the soup’s flavors, nor will extra water content dilute your soups as carton coconut milk would.
8. Stronger flavor
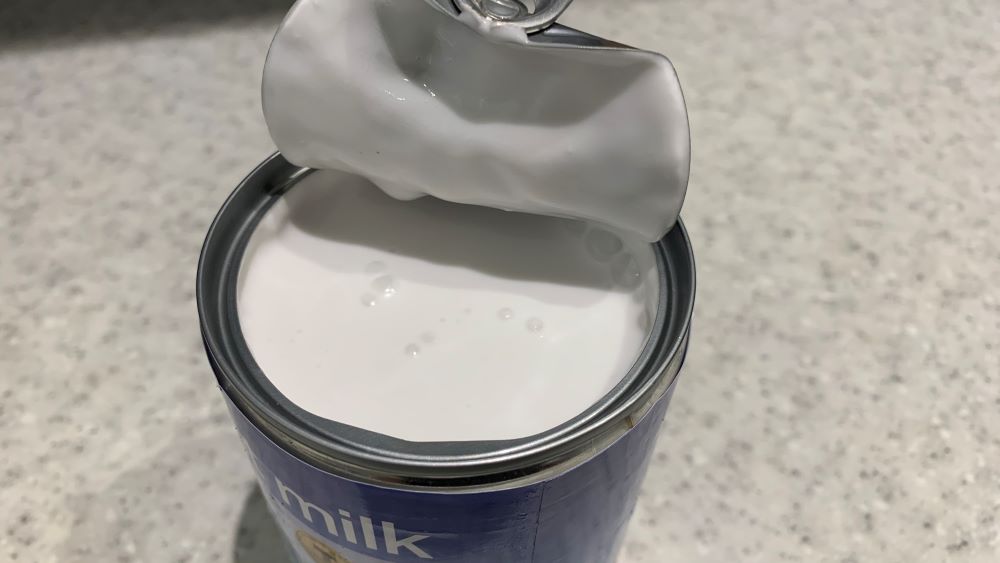
Canned coconut milk has a stronger coconut flavor than coconut milk in cartons. It is always important to shake the milk thoroughly before using it to mix through the coconut cream which can settle on the top. Coconut milk can solidify in cool temperatures so make sure you shake it well to make pouring from the can easier.
Thai Coconut Soup
If you want to try out a recipe with your canned coconut milk this is a great one. For this delectable soup recipe, you will need a handful of ingredients:
- 14-ounce can coconut milk
- 10 shrimp or prawns, peeled and deveined
- 7-ounce bag egg noodles
- 2 cups chicken broth
- Handful bean sprouts
- 2 garlic cloves, minced
- 1 lemongrass, grated
- 1.5 tablespoons soy sauce
- 1 tablespoon brown sugar
- 1 tablespoon vegetable oil
- 2 teaspoons ginger, finely grated
- 2 teaspoons chili garlic paste
- 2 teaspoons curry powder
- 2 teaspoons lime zest
- 1 teaspoon coriander powder
Step 1: Heat your pan and grill the shrimp
The first step is to heat your oil in a large pan over high heat, and then add the shrimp to the pan once it is hot. You need to get both sides of the shrimp seared before transferring them to a plate.
After you remove the shrimp, lower the heat to medium, and add more oil if the pan has lost a lot of the oil that was in there.
Step 2: Add lemongrass garlic and ginger
Next add the lemongrass, garlic, and ginger, and cook them for about 20 seconds, or until the garlic is slightly browned.
Step 3: Add soy sauce, brown sugar, chili, curry and coriander
It’s now time to add the soy sauce and brown sugar to the mixture. Stir the mixture for about 30 seconds before tossing in the chili paste, curry powder, and coriander, which should be cooked for another 30 seconds.
Step 4: Add coconut milk and chicken broth
At this point, you can add the coconut milk and chicken broth, and then bring the mixture to a simmer. You should let it cook for around two minutes prior to adding the lime zest and throwing in the prawns or shrimp.
Step 5: Simmer and add bean sprouts
Finally, cook the mixture for about two more minutes to completely cook the prawns, and ladle the soup over your egg noodles. You can also toss in your bean sprouts.
Coconut Curry Sauce
If you are a fan of curry sauces you are going to absolutely love this coconut curry, which can be used on whatever dish you like but particularly well with chicken.
Here is what you need for this recipe:
- 10 garlic cloves
- 8 curry leaves
- 2 red onions, chopped
- 1 6-inch piece ginger, chopped
- 6 tablespoons grapeseed oil
- 2 13.5-ounce cans coconut milk
- 1 28-ounce can crushed tomatoes
- 2 cups vegetable or chicken broth
- 2 teaspoons ground mustard seeds
- 2 teaspoons ground turmeric
- 1 teaspoon asafetida
- Pinch Kosher salt
Step 1: Process garlic and ginger
Use a food processor to combine the garlic and ginger into a paste while you have a pan over medium-high heat with oil heating in it.
Step 2: Add mustard seeds, asafetida and curry leaves
Place a couple mustard seeds into the pan, and once they begin to move around, you should reduce the heat to medium. Add the rest of your mustard seeds, the asafetida, and curry leaves, and cover the pan with a lid.
Let this cook for about 30 seconds.
Step 3: Add ginger and garlic paste
Next, remove the lid and raise the heat to medium-high. Put the ginger-garlic paste into the pan, and stir the mixture for around a minute or until the paste has browned.
Step 4: Add onions, salt and simmer
Throw in the onions and some salt now, and let the onions soften for a good ten minutes. Next, add the tomatoes and turmeric before bringing the mixture to a simmer.
Now, lower the heat to medium, and cook the mixture for around eight minutes.
Step 5: Add coconut milk and broth
For this final step, you need to add the coconut milk, broth, and more salt, and bring it to a simmer. Add a lid, and let the mixture cook for another ten minutes, stirring every so often.
When to Use Canned vs. Carton Coconut Milk: Summary
Canned coconut milk is perfect for cooking stews, curries and soups. Carton coconut milk is used as a dairy milk alternative so can be used on cereal, in tea and coffee and in smoothies. Remember to check that the milk is calcium fortified if you are replacing dairy completely. Lots of carton coconut milk will not have added calcium which is important for bone health and should not be a complete replacement for dairy for kids under 5.
Happy cooking.
I am an accredited practicing dietitian, experienced gardener and a dedicated cook. I love writing and sharing my experience so you can learn from my successes and mistakes.