Straw is a low cost, easy to use mulch that will stop weds, keep moisture in the soil and add organic matter to your garden. Add mulch in 2-3 inch layers under strawberries, fruit trees or in your vegetable garden. Straw can be bought in bales or packaged and cut into small pieces.
How to mulch with straw
The best way to apply straw as a mulch depends on the type of plants you are mulching. This is how to mulch vegetable gardens, fruit trees and a no-dig garden with straw.
Mulching vegetable gardens with straw
To mulch vegetable gardens with straw start by removing weeds from the garden by hand. Layer the straw on around 2-3 inches thick. This will allow rain and water to get through to the soil. If you are using a straw bale, break up the ‘biscuits’, this is the sections where the straw has been compacted together by the baling machine.
Mulching fruit trees with straw
To use straw as a mulch under fruit trees you can remove weeds by hand or layer newspaper down first. Fruit trees will have roots that feed near the surface of the soil so it is best not to disturb the ground while trying to remove weeds.
Layer the straw over the top of the newspaper to cover the ground and weeds. If you don’t want to use newspaper, just add the straw straight on top of the soil.
Using this method the weeds will be starved of light and will eventually die off under the newspaper and straw. Straw and newspaper will break down over time and add nutrients to the soil. This method will encourage worms to work their way to the surface adding air pockets in the soil and breaking down the microbes to release nutrients for the plant.
How to make a no-dig garden with straw mulch
Straw mulch works well to create the beginnings of your no-dig garden.
Step 1: Start by choosing an area that gets at least 6 hours of sunlight. If you are planning to plant vegetables then choosing a sunny spot will get the best results.
Step 2: Layer cardboard over the area that you are creating your garden. Use plain brown cardboard and make sure that you don’t leave any gaps. This will make sure all of the weeds are smothered and won’t grow through your garden.
Step 3: Layer compost over the top of the cardboard. This will add extra nitrogen to the garden bed and offset any that will be taken up as the straw and cardboard is broken down.
Step 4: Layer over the top with straw mulch. This will keep the moisture in the compost and soil and create the perfect environment for microbes and worms to move in and break down the carbon. This will build up the soil and in a few short months will be ready to plant vegetables in.
Keys to success when mulching with straw
Don’t lay straw too thick
Don’t lay straw thicker than 2-3 inches on top of soil. If it is thicker than this then it can stop rain from reaching the soil and your plants can dry out. It can also capture water on top and cause mold growth.
Don’t dig it into the soil straight away
Make sure that new straw mulch is left on top of the soil to break down over time. If new straw is dug into the soil it will draw up nitrogen and can starve your plants. Straw will quickly break down over 3-4 months so it can be removed and put into your compost or dug into the soil after this.
Using straw to mulch potted plants
Straw can be used to mulch the top of potted plants and is great for potted fruit trees like blueberries and lemons as well as strawberries. Adding straw as mulch will keep water in the soil for longer meaning you will need to water less often.
Benefits of using straw for mulch
Straw is a great mulch for your garden so here is a list of the benefits of using it at home.
- Straw is low cost, usually costing between $5-$10 per bale
- Increases the organic matter in your soil
- Keeps moisture in meaning you need to water less often
- An organic way to prevent weeds
- Improves soil structure
- Increases good microbe growth
- Feeds and encourages worms
- Traps carbon in the soil

Why straw is better than hay as mulch
Straw is better than hay in your home garden as mulch because it is cheaper and is a great way to recycle a by-product of the grain industry. Hay is picked while the plant is still growing and is great for animal feed. While both will work as mulch, straw is a gardener’s favorite. Check out the table below for the differences between straw and hay mulch.
| Straw | Hay | |
| Description | Leftover stems of grains after the grain heads have been harvested | Grain plants that are harvested before grain heads form |
| Popular uses | Mulch and animal bedding | Animal feed |
| Nutrient value | Lower nutrient value | Higher nutrients value for animal feed |
| Benefits as mulch | Dry, carbon rich and will build soil structure, low cost | Contains more nutrients, particularly nitrogen |
| Summary | Straw is a great way to trap carbon in the soil, use a by-product of the grain industry and protect your soil. | Hay will work well as mulch however is more expensive. |
Although hay does contain more nitrogen, for a mulch straw will keep moisture in and smother weeds. This is the most cost-effective choice however both will work in your garden.
How thick to lay straw mulch
Lay straw mulch 2-3 inches thick. This will cover and protect the soil while still letting rain flow through to the plants. This thickness will let excess water escape from the soil so it won’t become anaerobic or too low in oxygen.
Winter mulching with straw
When applying straw to a winter garden make sure that you have covered the soil completely. If any bare soil is left, it will be the perfect place for weeds to grow through. Straw can still be laid 2-3 inches thick to stop the weeds.
Straw also makes the perfect way to protect your worms from the winter weather. Lay a thick layer on top of your worm farm to keep the heat in and protect them from frosts.
Mulching garlic with straw
Wait for your garlic shoots to poke through the soil and then add straw mulch around the plant. Leave around a 1 inch gap between the straw and the garlic stem to avoid rot. Garlic is a long growing plant taking around 8 months to mature so adding straw as a mulch will stop weeds from competing and keep the soil moist. Top up the straw mulch after 3-4 months.
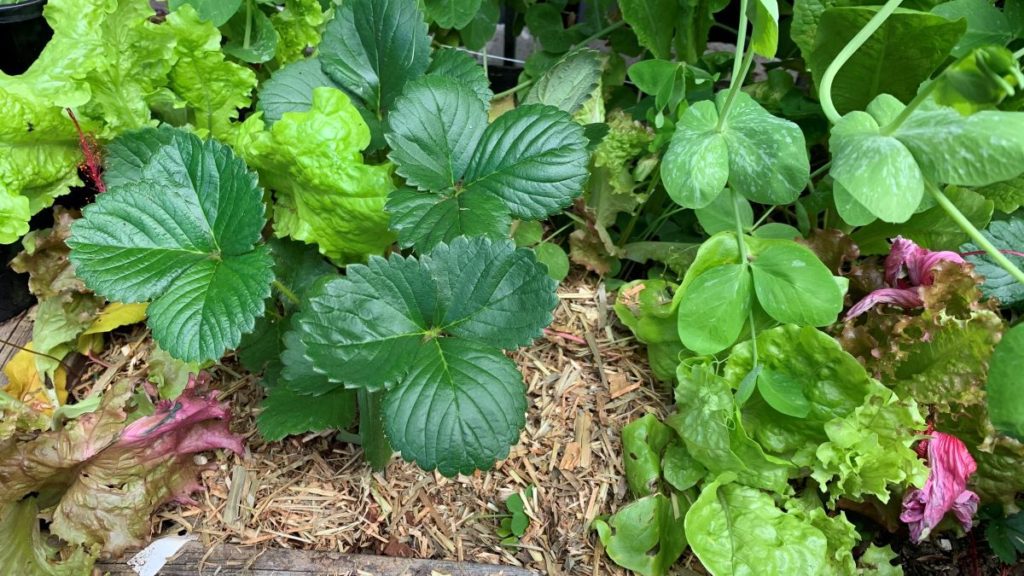
Mulching strawberries with straw
Strawberries are the perfect plant to mulch with straw as you can tell by their name. Straw laid around the plant will help to keep the strawberries off of the soil as they grow and help to prevent worms and microbes from breaking them down. Straw will keep your strawberries clean and easier to see when they are ready to pick.
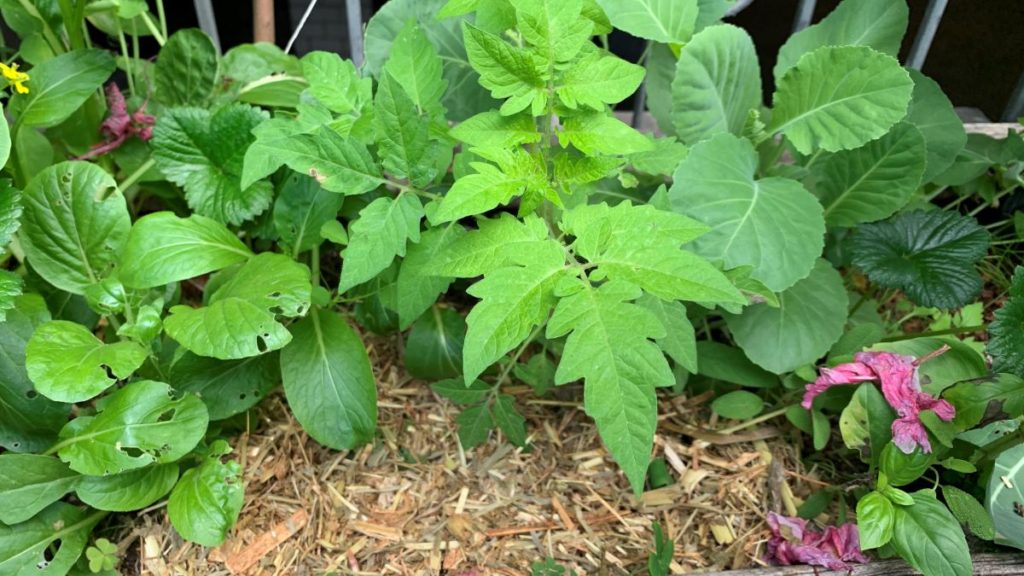
Mulching tomatoes with straw
After you have planted tomato seedlings place a layer of straw around them as mulch to keep moisture in and to stop the soil from splashing on the plant stems and leaves. Adding straw as a mulch can help prevent disease by stopping the soil from getting on the plant.
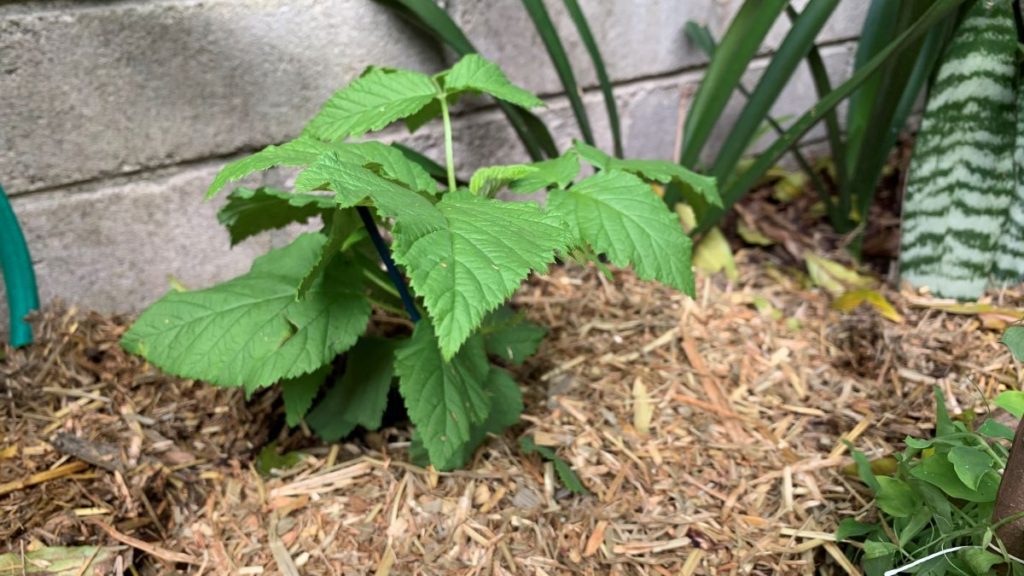
Mulching fruit trees with straw
Straw is a great mulch for large fruit trees on a big property or in a tiny backyard. Use straw to mulch around berries like raspberries and blueberries as well as under citrus or apple trees.
All fruit trees will love a straw mulch under their root zone helping to improve the soil. Add a thin layer of aged cow manure or pelleted chicken manure to feed the plant before laying the straw.
Mulching with straw is an affordable way to improve your soil, to use up a product from the grain industry. Straw is a natural way to keep weeds from growing and to set up your no-dig garden.
Happy mulching.
I am an accredited practicing dietitian, experienced gardener and a dedicated cook. I love writing and sharing my experience so you can learn from my successes and mistakes.
Comments are closed.