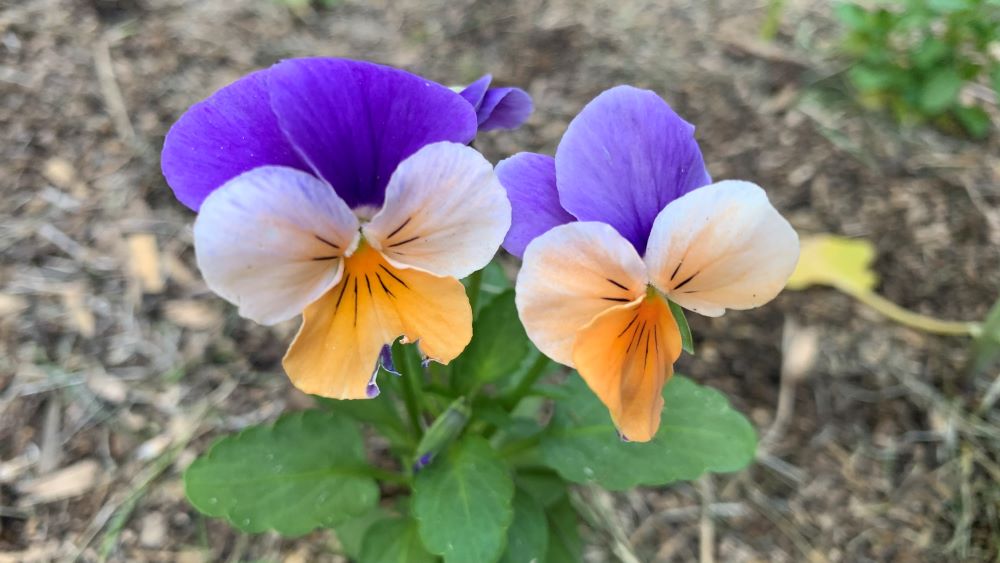
Violas are a beautiful flowering annual that I will plant in my garden ever year. The best place to plant violas is a sunny spot which has at least 8 inches (20cm) of improved soil with 8 inches (20 cm) of space either side of each plant. This will give the plant the space it needs to grow a healthy root system and flower in fall, winter and into spring.
This article will explore the best place to plant violas including the best sunlight, soil, companions and soil depth for the best flower display possible.
I plant violas every year and look out for new colors to brighten my winter garden. Violas can be planted when the weather starts to cool in fall. Your summer annuals will be dying off so it is the perfect time to get your violas in the ground.
Where to Plant Violas
Here are my easy tips to work out exactly where to plant violas in your home garden. These tips work for both pots and garden beds. Violas will work well in hanging baskets, raised garden beds or even in your vegetable patch.
Sunlight
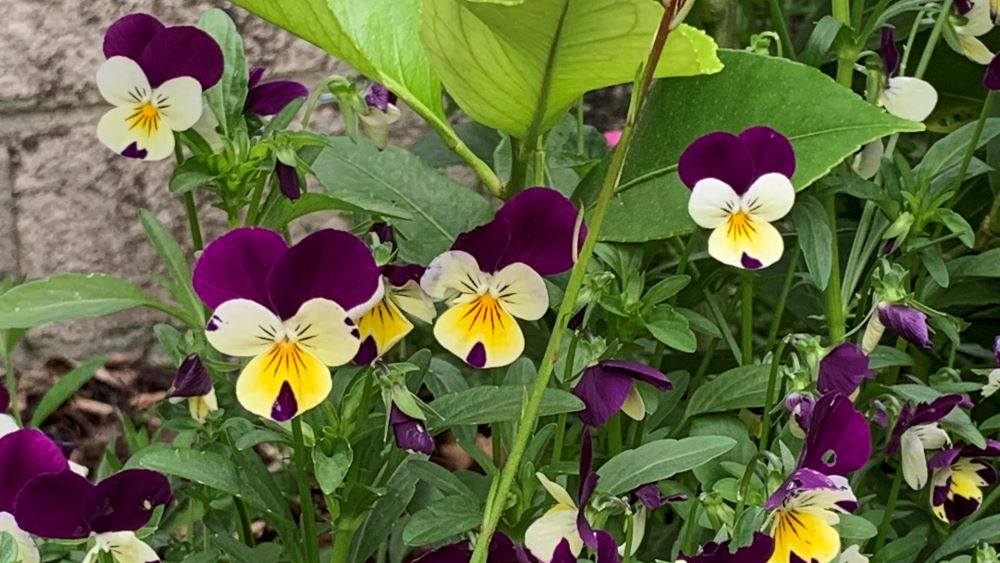
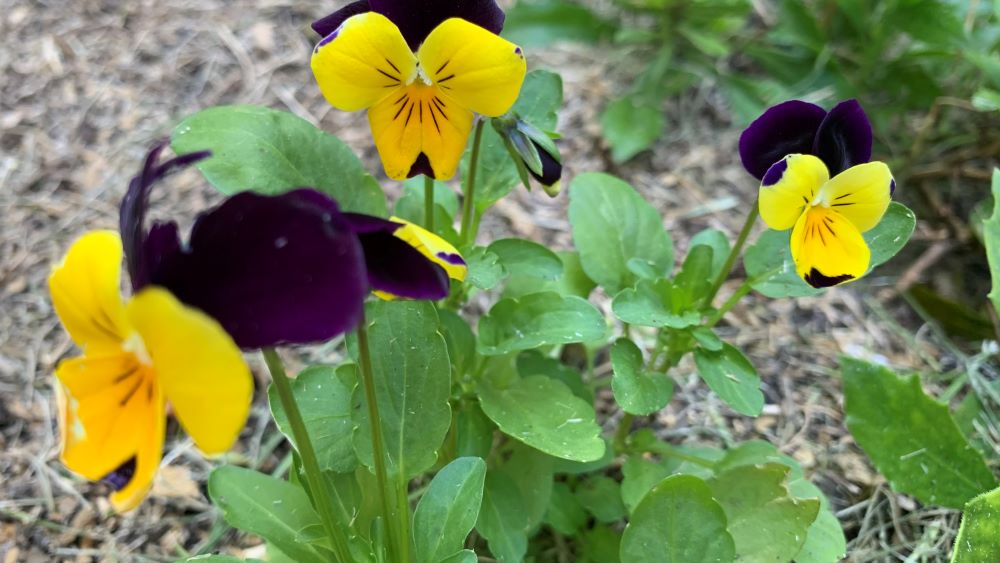
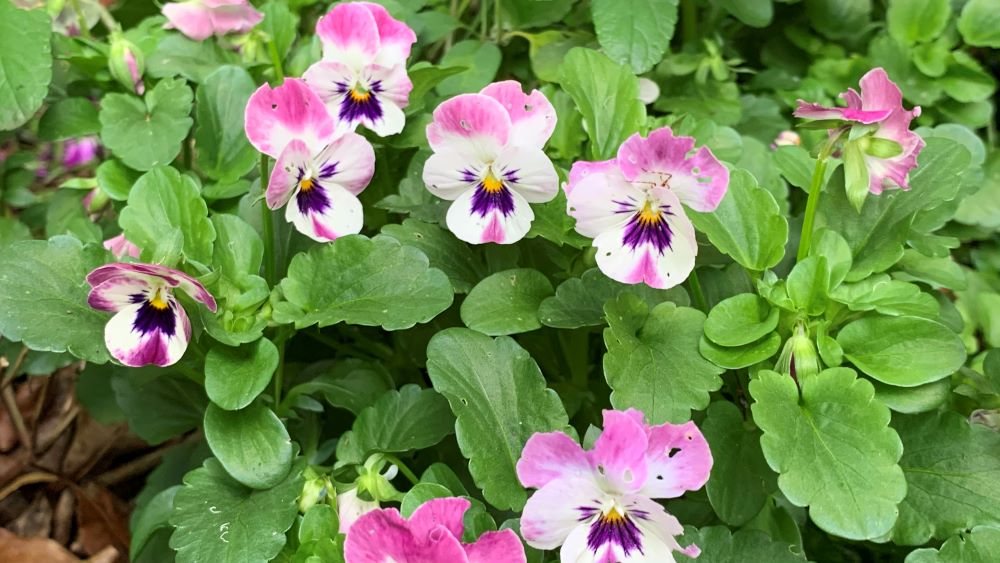
Plant violas in a position that get the most winter sunlight as possible. The more sunlight your violas get the more and earlier flowering you will have. I planted mine last year in the one spot in my garden that gets around 6 hours of sunlight in winter.
These violas grew to over 10 inches high and wide and continued to flower for months. Violas will still grow well in part shade but they will generally produce less flowers and flower later.
Frost
Violas and pansies are tough plants and will survive frosts once they are established. Plant violas in early fall so they have time to establish a strong root system before the very cold winter weather arrives. Violas grow into large bushes with leaves that grow rapidly.
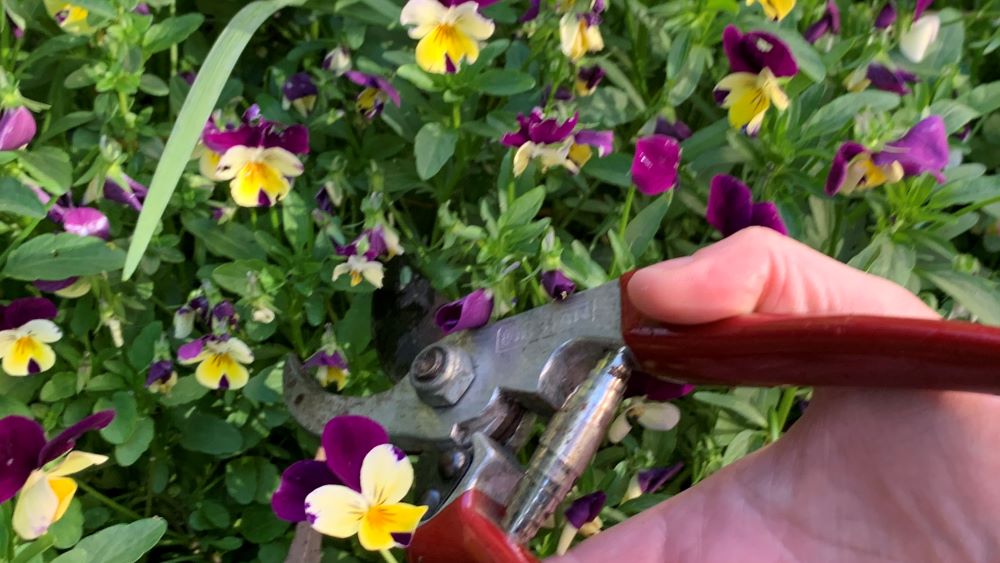
If a few flowers and leaves are damaged in frost, just trim them off once frosts have passed and the plant will quickly grow back.
Soil
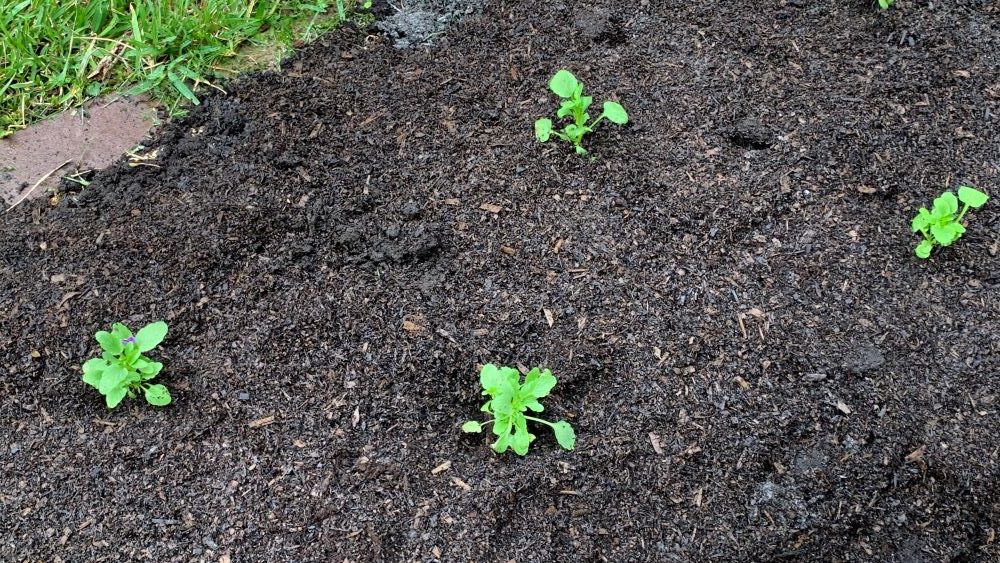
Preparing your garden soil is essential to growing the best violas possible. Before planting new viola seedlings improve garden beds by digging through aged cow manure and compost. Aerate the soil by digging it through with a garden fork. This is important if there were other plants growing in the space in the previous season.
This year I created a new garden bed on top of my old one by layering aged cow manure and compost and mixing them together. I layered cardboard on the base to stop weeds which made the perfect fresh space for violas.
Over time the compost and aged manure will break down and incorporate into the soil. Worms and soil bacteria will work their way up, breaking down the cardboard and organic matter through the ground soil.
If you are planning on growing violas in potting soil, choose an all purpose potting soil with additional slow release fertilizer, seaweed or soil wetter. This will help to support the root growth and feed the plant. After 2-3 months feed your violas with an all-purpose fertilizer to set them of for later flowering.
Moisture
Choose a position for your violas that gets regular winter rain. This will make it easier for you as you won’t be dashing out to water your plants. The benefit of getting your violas watered by the rain is that the rainwater contains a small amount of nitrogen from the atmosphere that will gently feed your plants.
Mulch
Once you have your violas planted in position it is time to add mulch. Mulching violas is a great way to encourage rapid growth, prevent weeds and to keep moisture in the soil for longer. Using bark mulch is a great option because it can regulate the amount of winter rain reaching the soil and prevent soil run off.
Soil Depth
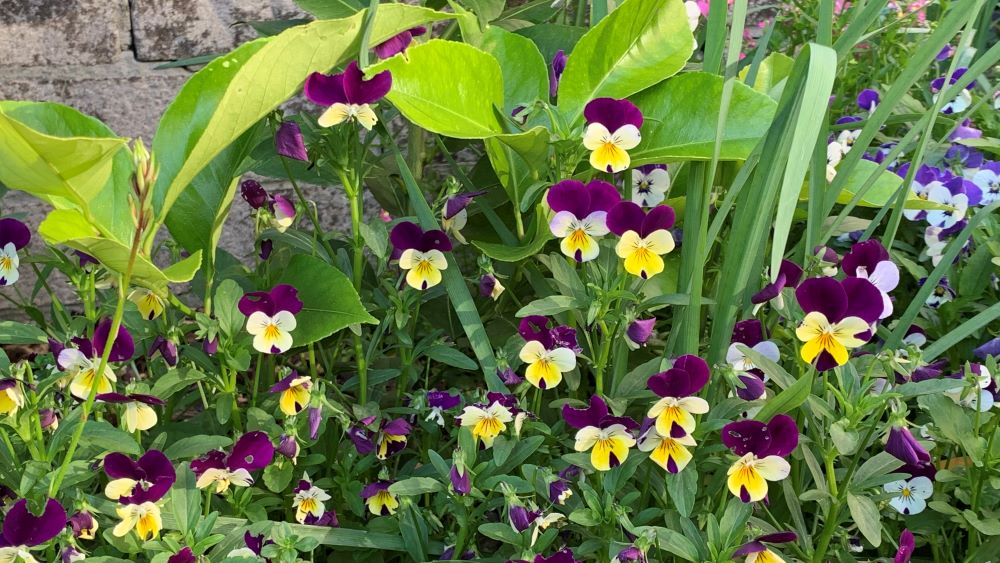
Violas can grow into medium sized plants if they are given deep enough soil to expand their roots. I find that planting violas in at least 8 inches of soil (20cm) gives them enough room to grow equally tall. Violas can grow into a wide bush if they are given the space, growing at least 8 inches wide or more if they have the space.
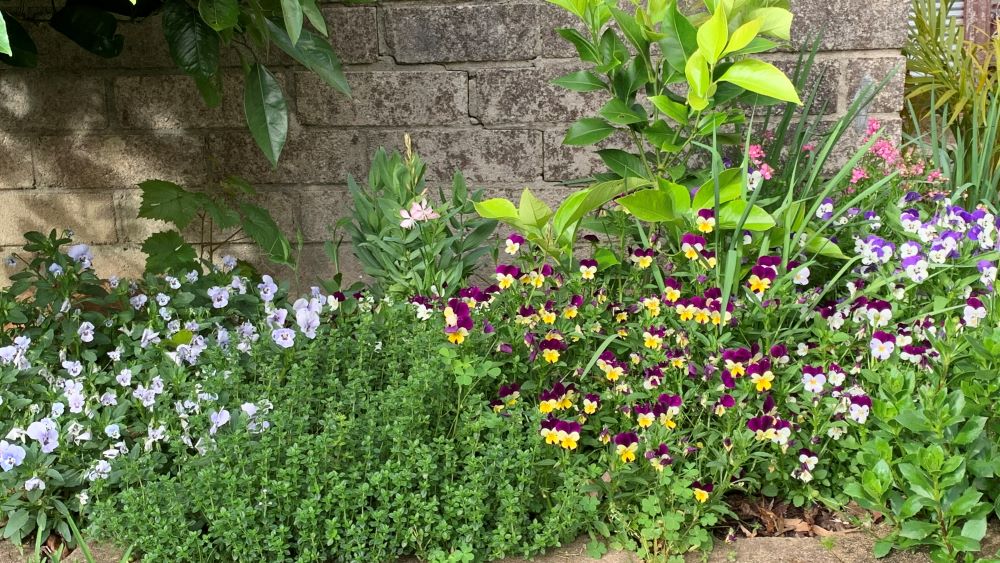
I used violas as a ground cover under my citrus trees and they spread to cover the whole area under my lemon tree. This worked well for citrus as the root system of the viola did not compete with the citrus trees but worked to block out any weeds.
Planting Space
Spacing violas is important to allow the plant to grow to full size. Space each seedling at last 8 inches apart if you want each plant to grow to full size. You can also plant them closer together if you want to create a colorful display in a hanging pot.
You can plant 3 different colored violas in a hanging pot that is only 10 inches wide and the plants can cascade down the side of the pot.
Companion plants for violas
Violas can be planted with a wide variety of plants including fruit and vegetables. Their bright flowers attract pollinating insects which can increase your pollination rates. I like to plant violas near strawberries, lemon trees, orange trees and limes to encourage bees to visit my plants.
Find a corner in your vegetable garden and plug in a viola. They will brighten up your patch and encourage helpful insects to your yard.
Best time to plant violas
Violas are a winter flowering plant that look great when the weather starts too cool down. I buy viola seedlings in fall when the weather has started to cool down. They will plug in and replace other flowering annuals.
Last years violas actually flowered all the way from fall to the end of summer. I pulled them out at the end of summer, improved the soil and replaced them with new varieties.
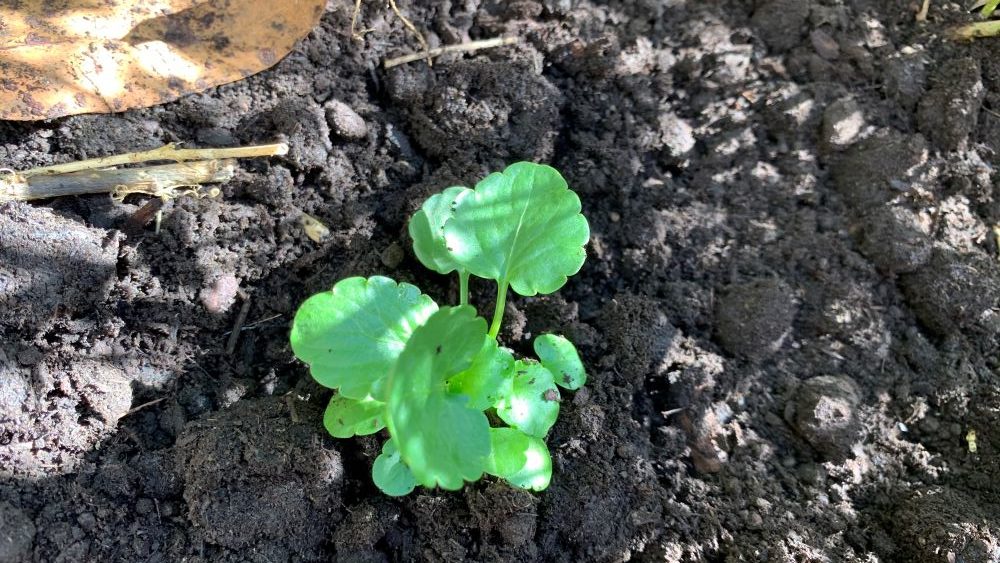
Viola seeds grow easily and can be started in late summer to have them ready for fall planting.
Where to Plant Violas | Summary
Violas should be planted in a full sun position with at least 8 inches of soil depth to get the best display of flowers possible. They can be planted alongside your winter vegetables like broccoli, cauliflower and spinach to brighten up the space.
Violas are one of my favorite winter annuals that will produce well throughout the cooler months with minimal effort.
Happy growing.
I am an accredited practicing dietitian, experienced gardener and a dedicated cook. I love writing and sharing my experience so you can learn from my successes and mistakes.