Microwaving garlic bread is an easy and quick way to enjoy a delicious snack or side dish. Simply place it in the microwave for 20-30 seconds with paper towel on the top and bottom. This will help to absorb extra moisture and reduce sogginess. Keep a close eye on the garlic bread to prevent overheating, as microwave times can vary.
Microwaves work by producing electromagnetic waves that heat up the water molecules in food, including garlic bread. However, garlic bread can become tough or dry if microwaved for too long or at too high a power level.

Simple Steps to Microwave Garlic Bread
To heat up garlic bread in the microwave while minimizing sogginess, follow these steps:
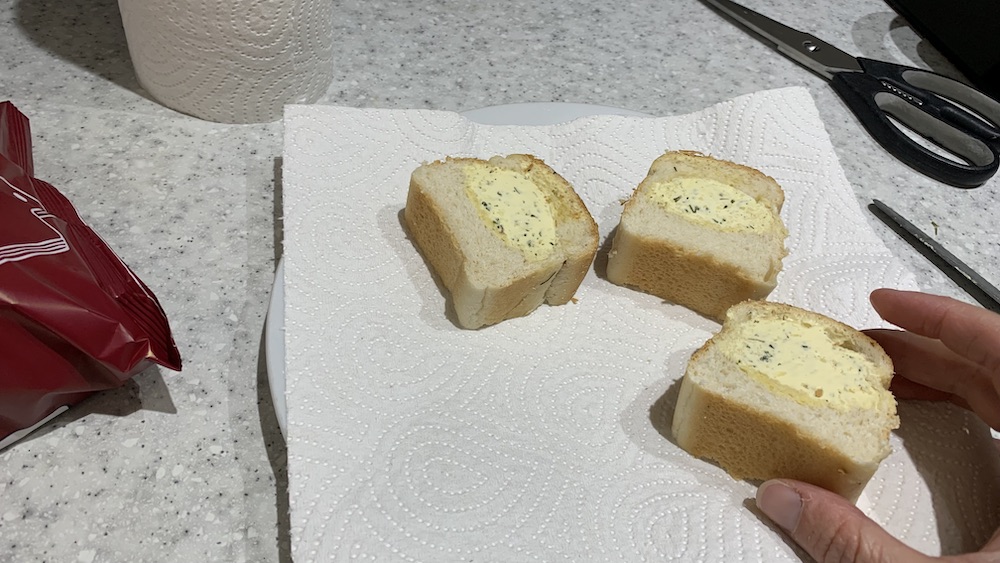
- Place a paper towel on a microwave-safe plate.
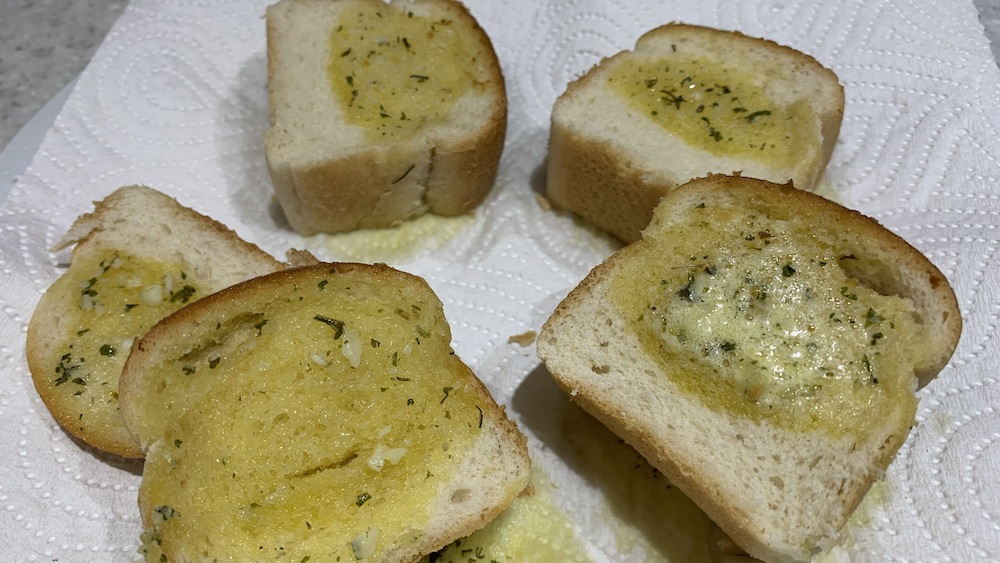
- Arrange the garlic bread slices on top of the paper towel.
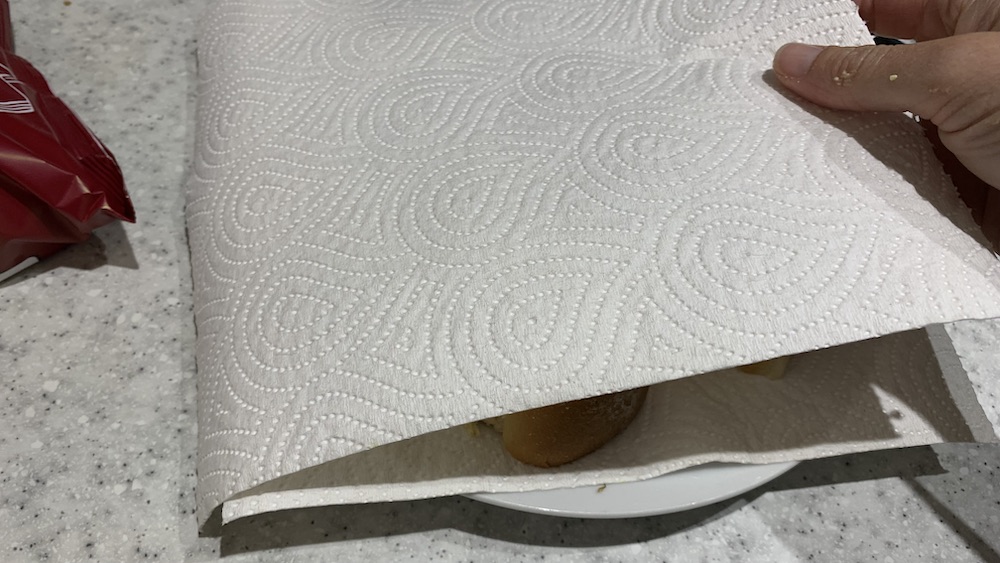
- Cover the garlic bread with another paper towel.
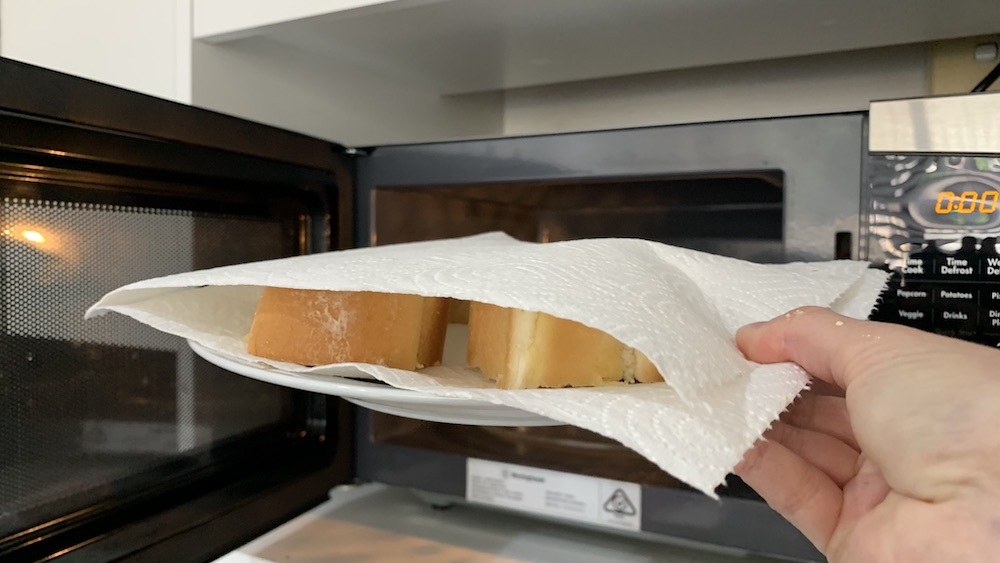
- Microwave on medium power for about 20-30 seconds. Use a lower power setting to prevent overheating and maintain texture.
- Check the garlic bread for your desired warmth, and adjust the heating time if necessary.
- Serve immediately.
NOTE: Always make sure that there is no aluminum foil or plastic wrapping on the garlic bread before you place it in the microwave.

Understanding Microwaves and Garlic Bread
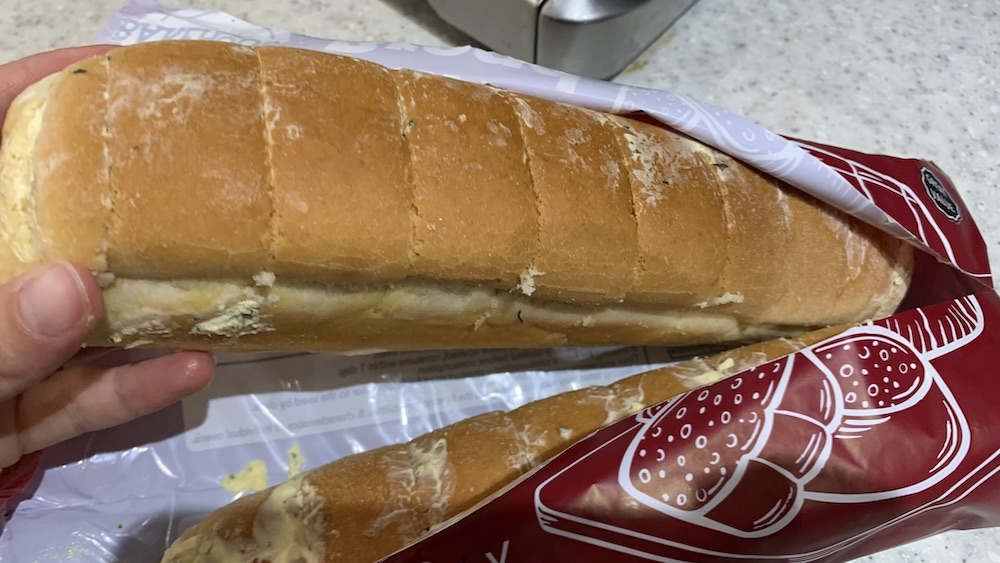
Microwaving garlic bread is a quick and convenient way to enjoy this delicious snack. You can heat up garlic bread from the fridge, freezer or leftover garlic bread from a takeout store. Microwaving will take less time than heating up the oven if you are in a rush. It is the easiest way to get hot garlic bread fast
Microwaves work by emitting electromagnetic waves that cause the water molecules in food to vibrate rapidly, creating heat. This heat cooks the food from the inside out, which is why microwaving is often faster than other cooking methods.
Microwave ovens are slightly different to microwaves as they often contain additional fans and heating elements to help to distribute heat and crisp up the food. They are similar to a regular oven, but are smaller and usually work faster. Using a microwave oven is a great way to heat up garlic bread if you have one.
When it comes to garlic bread, microwaving can be a bit tricky. The bread can become tough and chewy if it’s overcooked, and the garlic can burn if it’s not distributed evenly.
To avoid these issues, it’s important to use the right technique when microwaving garlic bread. This includes covering the bread loosely with paper towel or a microwave-proof container lid to prevent drying out, and microwaving in short intervals to ensure even cooking.
By following these simple tips, you can enjoy perfectly microwaved garlic bread in just a few minutes.
Tips for Microwaving Garlic Bread
Microwaving garlic bread is a quick and easy way to enjoy this delicious side dish. However, with so many options available, it can be difficult to know which garlic bread to choose. Here are some tips to help you select the right garlic bread for microwaving:
1. Look for Garlic Bread Specifically Labeled for Microwaving
When selecting garlic bread to microwave, it is important to choose a product that is specifically labeled for microwaving. These products are designed to be cooked quickly and evenly in the microwave, ensuring that you get the best results.
2. Consider the Size of the Garlic Bread
The size of the garlic bread is also an important factor to consider when microwaving. Larger loaves of garlic bread will take longer to cook, while smaller loaves will cook more quickly. Consider how much time you have available and choose a size that will work for your needs.
3. Thawing Frozen Garlic Bread First
If your garlic bread is frozen, you need to thaw it before microwaving it. Here are the steps to follow:
- Remove the garlic bread from the freezer and let it sit at room temperature for about 10-15 minutes. This will help it thaw slightly.
- Place garlic bread on a microwave-safe plate and cover it with a damp paper towel.
- Microwave the garlic bread on high heat for 10-15 seconds. Check if it’s thawed properly, and if not, microwave it for another 5-10 seconds until it’s thawed completely.
- Remove any aluminum foil or wrapping
It is essential that any aluminum foil is removed from the garlic bread before placing it in the microwave. This can burn, spark or melt while in the microwave. It is best to reheat your garlic bread on a microwave safe plate or or microwave-safe bowl.
If you are reheating cheesy garlic bread, it is best to pop it in a microwave safe container and loosely cover it with a lid. This will stop the cheese from sticking to the top of the container.
5. Choose the Right Power Level
The first thing you need to do is choose the right power level for your microwave. Garlic bread is best cooked at a medium power level, which is usually around 50% power. This will ensure that the bread is cooked evenly and doesn’t become too crispy or burnt.
6. Microwave in Short Bursts
Once you have chosen the right power level, you need to set the time. The amount of time you need to cook your garlic bread will depend on the size of the bread and the power of your microwave. As a general rule, you can start with 30 seconds and then add additional time in 10-30 second increments until the bread is cooked to your liking.
Troubleshooting Common Issues when Microwaving Garlic Bread
Microwaving garlic bread can be a quick and easy way to enjoy this delicious treat. Here are some common issues you may encounter and how to troubleshoot them:
Issue: Garlic bread is too dry
If your garlic bread comes out of the microwave too dry, it can be tough and unpleasant to eat. To avoid this issue, make sure to cover the bread loosely with a paper towel to prevent it from drying out. You can also try brushing the bread with a little bit of olive oil before microwaving to help keep it moist.
Issue: Garlic bread is too soggy
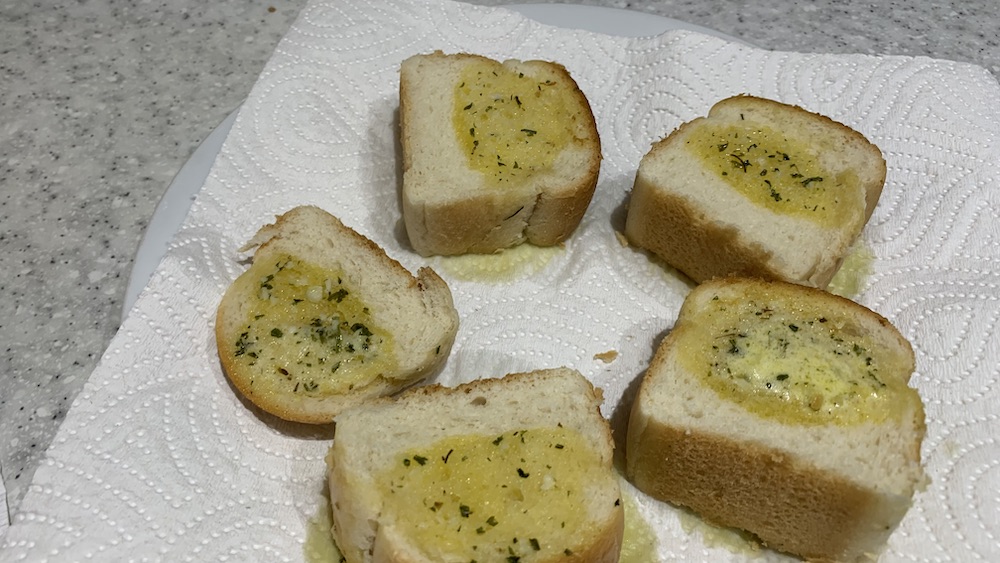
If your garlic bread comes out of the microwave too soggy, it may absorbed too much moisture in the microwave. To avoid this place a piece of paper towel on the top and bottom to absorb extra moisture. It is tricky to get crispy garlic bread in the microwave but the best way is to absorb as much moisture as possible.
If you are microwaving cheesy garlic bread, just place it on the bottom to avoid the cheese sticking too it.
Issue: Garlic bread is unevenly cooked
If some slices of garlic bread are cooked perfectly while others are still undercooked, it may be due to uneven heating in your microwave. Try rearranging the slices on the plate halfway through cooking to ensure that they cook evenly. You can also try microwaving the bread in smaller batches to ensure that each slice gets cooked properly.
Issue: Garlic bread is burnt
If your garlic bread comes out of the microwave burnt, it may have been cooked for too long or at too high of a power setting. Try reducing the cooking time or power setting and keep a close eye on the bread while it cooks.
Conclusion
Microwaving garlic bread is a quick and easy way to enjoy this delicious treat without having to wait for the oven to preheat. By following the steps outlined in this guide, you can microwave garlic bread to perfection every time.
You can microwave homemade garlic bread or store bought. For extra flavor you can add some grated Parmesan cheese, garlic powder, fresh garlic, chopped fresh parsley, salt, and pepper to the butter mixture to give your garlic bread an extra burst of flavor. Add some extra unsalted butter if your garlic bread has dried out. This will give you delicious garlic bread at home fast.
When microwaving frozen garlic bread, be sure to cover it loosely to prevent drying out but allow steam to escape. You can use a microwave safe container lid or paper towel. Microwave in 30-second intervals, flipping halfway through. Let the bread rest for one minute after microwaving before serving for the best texture.
Overall, microwaving garlic bread is a convenient and delicious way to enjoy this classic dish. With a little bit of practice, you can become an expert at microwaving garlic bread and impress your friends and family with your culinary skills.
Frequently Asked Questions
How long should I microwave ready-made garlic bread?
The cooking time for ready-made garlic bread in the microwave will depend on the wattage of your microwave and the thickness of the bread. As a general rule, microwave the bread for 30 seconds to 1 minute. Check the bread after 30 seconds and adjust the time as needed. Be careful not to overcook the bread as it may become tough.
Is it possible to microwave frozen garlic bread?
Yes, it is possible to microwave frozen garlic bread. Place the frozen bread on a microwave-safe plate and microwave it for 1 to 2 minutes or until it is heated through. Check the bread after 1 minute and adjust the time as needed. Be sure to follow the instructions on the packaging for best results.
What is the best way to cook garlic bread without an oven?
If you don’t have an oven, you can still enjoy garlic bread by using a toaster oven or a microwave. To make garlic bread in a toaster oven, spread butter and garlic on bread slices and toast them until they are golden brown. To make garlic bread in the microwave, follow the instructions provided by the manufacturer or refer to the search results for guidance.
Can I put garlic bread in a toaster?
Yes, you can put garlic bread in a toaster. Simply spread butter and garlic on bread slices and toast them until they are golden brown. Be careful not to burn the bread as it may become bitter.
Is Pepperidge Farm microwavable garlic bread any good?
Pepperidge Farm microwavable garlic bread is a convenient and tasty option for those who want to enjoy garlic bread without the hassle of making it from scratch. The bread is easy to prepare and has a delicious garlic and butter flavor. However, like any processed food, it may not be as healthy as homemade garlic bread.
How do I cook frozen garlic bread in the microwave?
To cook frozen garlic bread in the microwave, place the bread on a microwave-safe plate and microwave it for 1 to 2 minutes or until it is heated through. Check the bread after 1 minute and adjust the time as needed. Be sure to follow the instructions on the packaging for best results.
I am an accredited practicing dietitian, experienced gardener and a dedicated cook. I love writing and sharing my experience so you can learn from my successes and mistakes.