Orchids generally don’t even need regular soil to grow, which is why it is so surprising that these flowers can have problems with rotting roots. Orchids still need roots so they can absorb the nutrients and water they need from the potting medium you’ve decided to use.
Root rot in orchids is caused by overwatering, improper drainage and aeration, and even fungal infections, but the good news is that once you know what to look for, you can remedy the situation quickly. Let’s take a look at some of the causes of root rot in more detail.
1. Overwatering
Orchids usually only need watering when the potting medium dries out completely, so if you stick your finger in the soil 1-2 inches and it still feels damp, there is no need to water the plant again.
Overwatering is a common problem especially with new growers, and while not watering the plant enough can also be a problem, overwatering can certainly cause root rot in plants such as orchids.
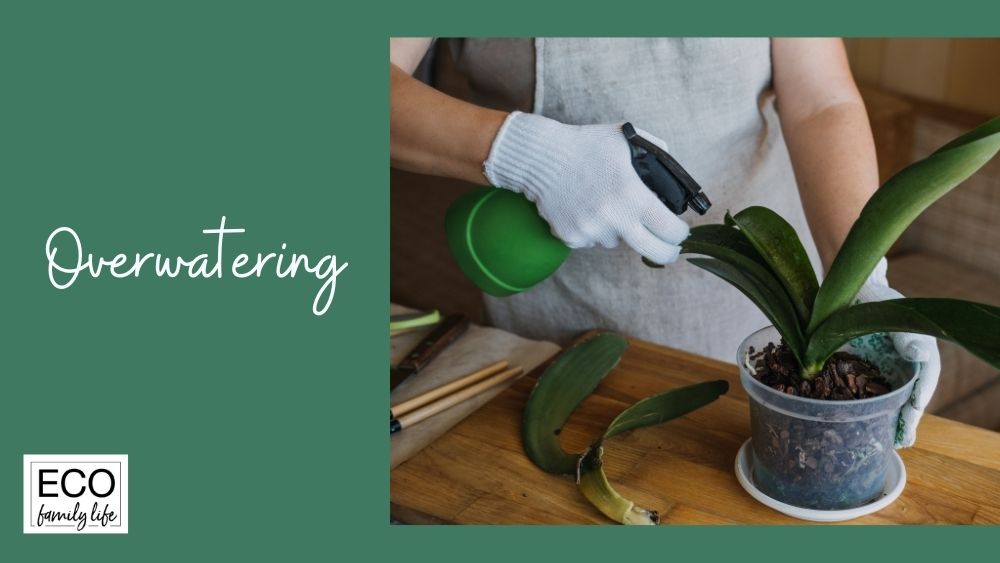
Roots can start to rot if your potting medium is too tight near and around the roots of the plant because it makes it harder for the soil to drain and therefore allows it to remain damp for long periods of time. Too much moisture destroys the velamen covering on the roots, which means they are unable to absorb nutrients or water and eventually die.
2. Improper Drainage and Aeration
When growing orchids, it’s necessary to make sure you use a free-draining pot, which usually has slits on the sides or holes underneath. These holes do two things: allow the excess water to drain off of the plant, and allow for better air circulation and air flow.
Air movement is essential for orchids, which is why a lot of growers leave their plants in an open-air environment close to a window or even by turning on a fan in the room so the air is circulated properly.
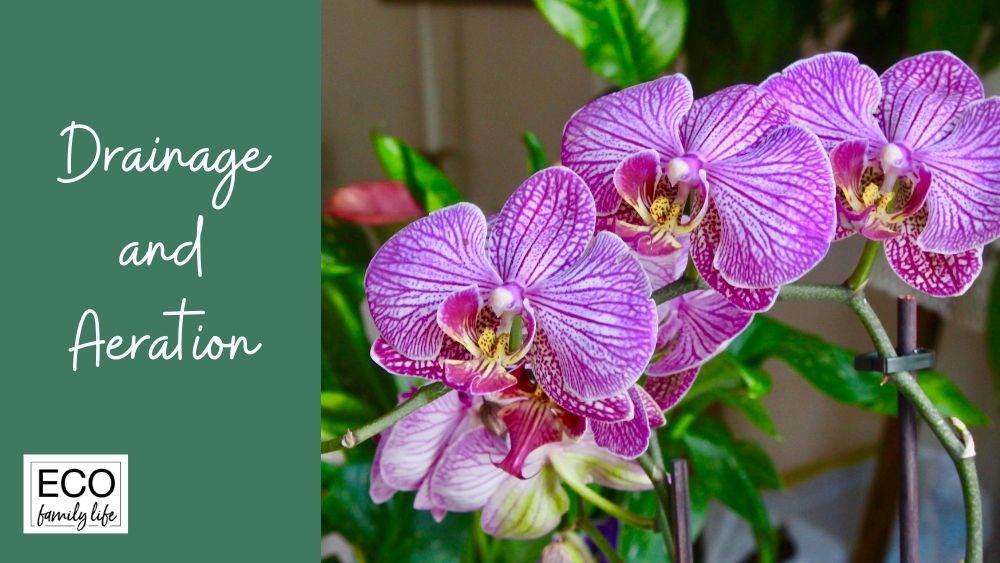
Once the weather gets warm, you can also place your orchids outside, which works as long as they are not exposed to direct sunlight. Another suggestion for making sure the plants get the right amount of drainage is to use only one type of potting medium and never mix different kinds.
All of these things help make sure the drainage and aeration of your orchids are just right.
3. Fungal Infections
Different pathogens can ruin your orchid roots, including various fungi, mold, and spores. Keep in mind that all of these things will thrive when they’re in an environment that is damp and moist, which is yet another reason to make sure the pots you use properly drain your soil.
At certain times, fungus will enter your plant via the stem or crown but eventually get down into the roots of the plant. Regardless of how the fungus enters, there are still things you can do to remedy the problem.
What to Do About Root Rot
If your orchids suffer with any type of fungal infection, you can use a fertilizer on it to reduce the odds of the infection coming back in the future. It is also a good idea to repot your orchids every 1-2 years.
When you do this, you can inspect the roots and catch problems that you wouldn’t be able to see otherwise. In addition, go ahead and repot the plant as soon as you notice any root rot so that you can help the roots become nice and healthy once again.
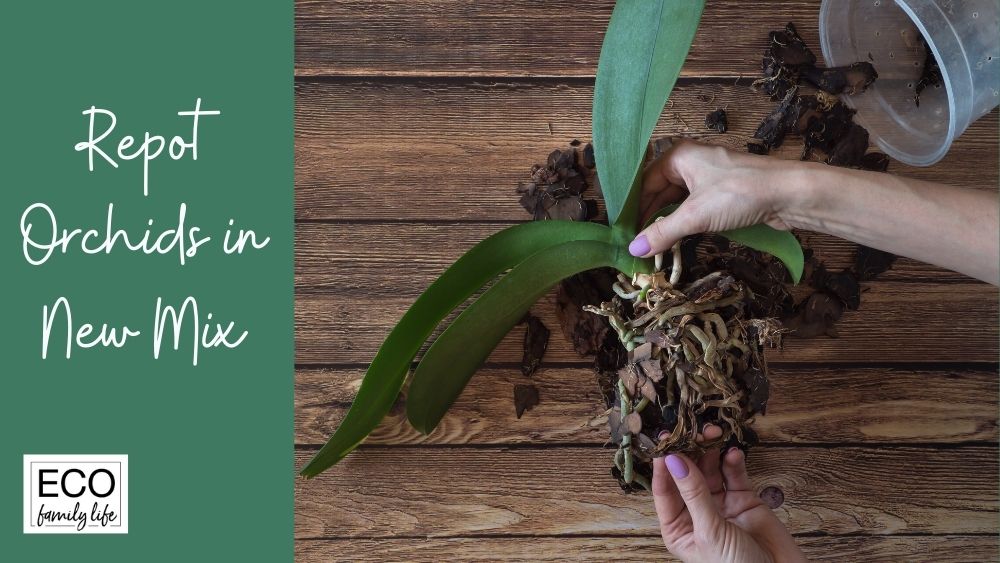
All you have to do is gently remove the plant from its pot and brush off any debris, then check the roots for any black or dark-brown spots and tissue that is a bit mushy.
If you notice any of these things, take a sterilized pair of scissors or gardening shears and cut off all of the dead roots that you see. Always re-sterilize the scissors or shears so that the infection doesn’t attach itself to whatever you cut the next time you use them.
You can sterilize the shears by spraying them with a solution of one part bleach to nine parts water, or you can use either a lighter flame or torch to heat and sterilize the blades.
Keep in mind that you’ll want to use a clean pot and brand-new potting soil when replanting to prevent the root rot from remaining in there and causing the same problems once you replant the orchid.
If you’re experiencing a fungus problem, products such as Physan20 can be applied to your cut roots in order to prevent the fungus from returning. There are also homemade remedies you can use, including ground cinnamon powder, which can be applied to the tips of the cut ends.
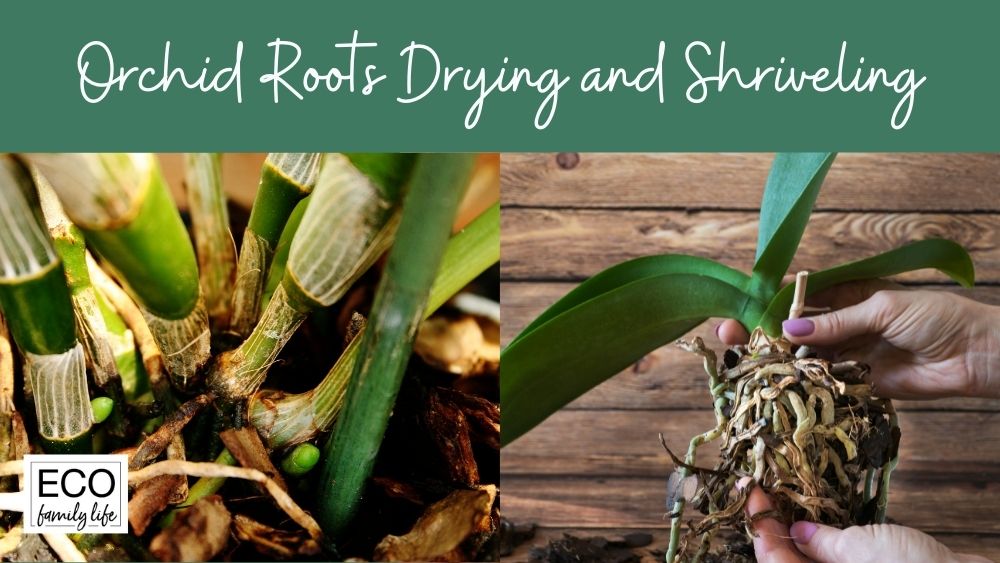
How to know your orchid has root rot
There are certain signs that can indicate your orchids are experiencing root rot, which can include:
- Drooping flower buds
- Exposed roots that look withered and brittle
- Soft, limp, or floppy leaves
- Black or dark-brown roots
- Soft or mushy roots
- Plant no longer produces any blooms
Remember that with orchids, the leaves should be firm, the exposed roots should be white or green and firm, and the roots underneath the soil should be green or white also. Once you know what the plant should look like, it’s a lot easier to notice when something is wrong.
Conclusion
The bad news about root rot in orchids is that most orchid growers experience it at one time or another. The good news is that even if root rot has already begun, you can still save the plant by repotting it and cutting off all of the bad roots.
You have to be especially careful if the root rot is caused by a fungal infection, and in this case you’ll need to take certain precautions so the infection doesn’t spread.
As a general rule, repotting your orchid once you notice some type of root rot takes care of the problem, but if you follow the tips listed above, it’s a lot easier to lessen the chances of your orchids suffering with root rot.
I am an accredited practicing dietitian, experienced gardener and a dedicated cook. I love writing and sharing my experience so you can learn from my successes and mistakes.