Divide a ZZ plant at home by tipping the plant out, gently pulling apart the rhizomes and plant them into new pots with good quality potting soil. Water the plant in to settle the soil and then leave the plant without extra water for about a month.
Dividing a ZZ plant is easy and can be done every 2-3 years to give you lots of ZZ plants for free. Buying these hardy indoor plants is not cheap so take the time and make your own for free.
How to divide a ZZ plant – Easy step by step guide
Here are my easy steps to dividing a ZZ plant easily at home to double or triple the amount of plants you have for free.
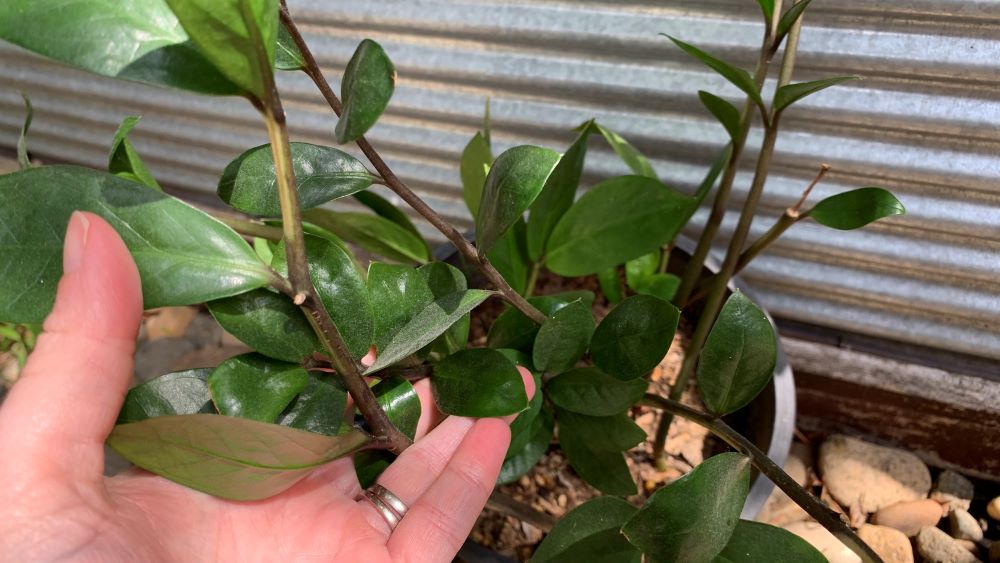
1. Choose an established ZZ plant
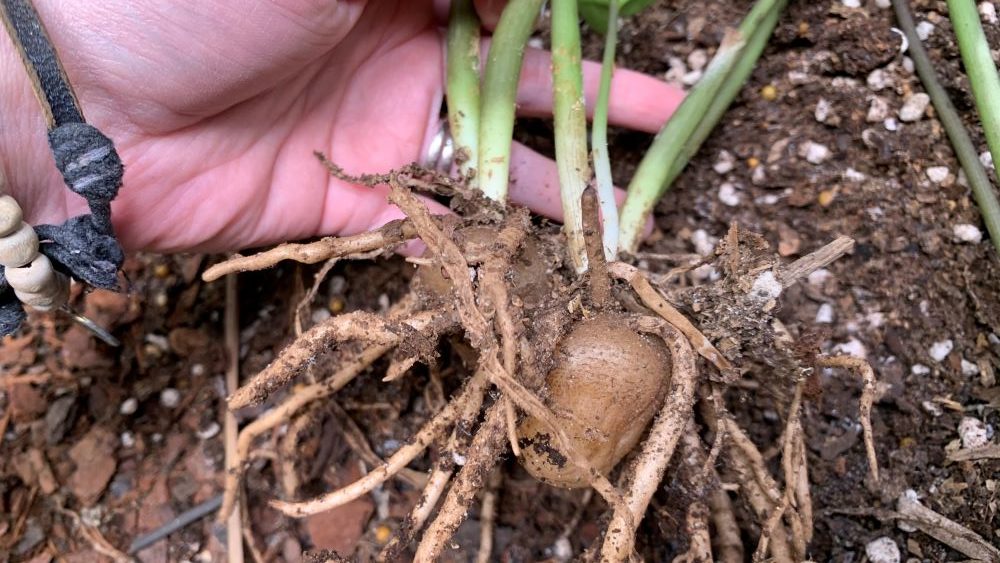
Choose a ZZ plant that has at least 6-8 stems. This will mean that there will be multiple rhizomes growing underneath the ground. These plants grow like potatoes and will continue to divide and grow.
These bulbs will eventually separate, and it will be ready to pull apart the plants to make new ones.
Choose healthy rhizomes and avoid any that are wrinkled. For more on what causes wrinkled ZZ rhizomes, check out my previous article, ZZ plants with wrinkled stems | 5 Solutions.
2. Prepare your pots
Before you get ready to take your ZZ plant out of your pot, sort out the pots that they will go into. If you are using old pots, wash them well in warm soapy water and let them dry out. Choose outdoor pots with drainage holes to allow the plant to drain well.
I like to plant ZZ plants in outdoor plastic pots leftover from other plants. I will then put them into an outer indoor pot without drainage holes. This means I can use the outer pots over again and change the look by changing the outer pot.
3. Sort out your soil
Get hold of some premium potting soil ready to fill your pots. Place a small amount of soil in the bottom of the pots to be ready for the transplant.
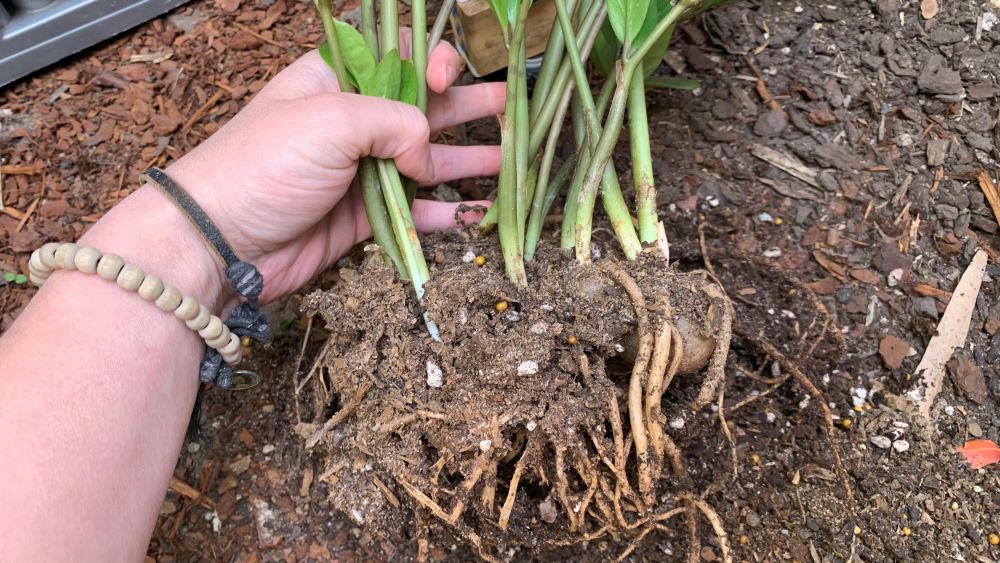
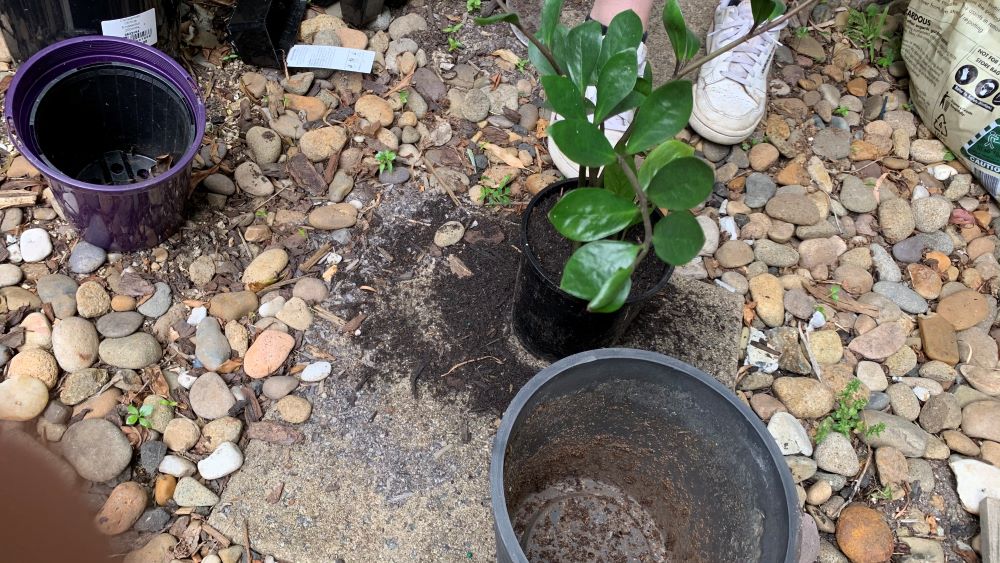
4. Tip out the ZZ plant
Tip your ZZ plant onto its side and gently squeeze the pot that it is in. You can gently tap and pull the plant out of the pot if it is stuck. Take care to very gently remove the plant to avoid damaging the roots and stems.
Leaving the plant without water for 2-3 weeks before repotting will mean that the soil will be dry and will drop off easily. This will make it easier to see the rhizome and separate the plants without making too much mess.

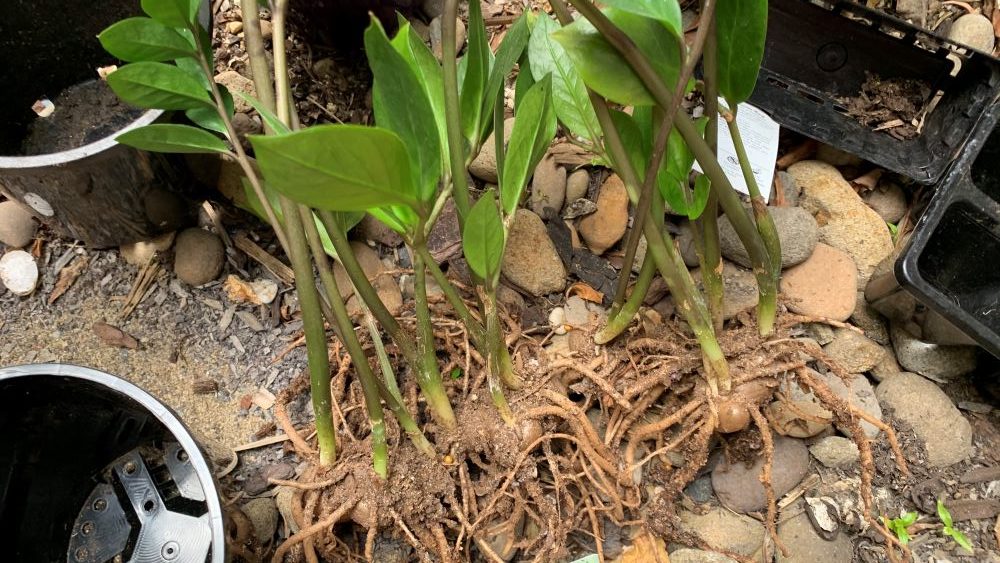
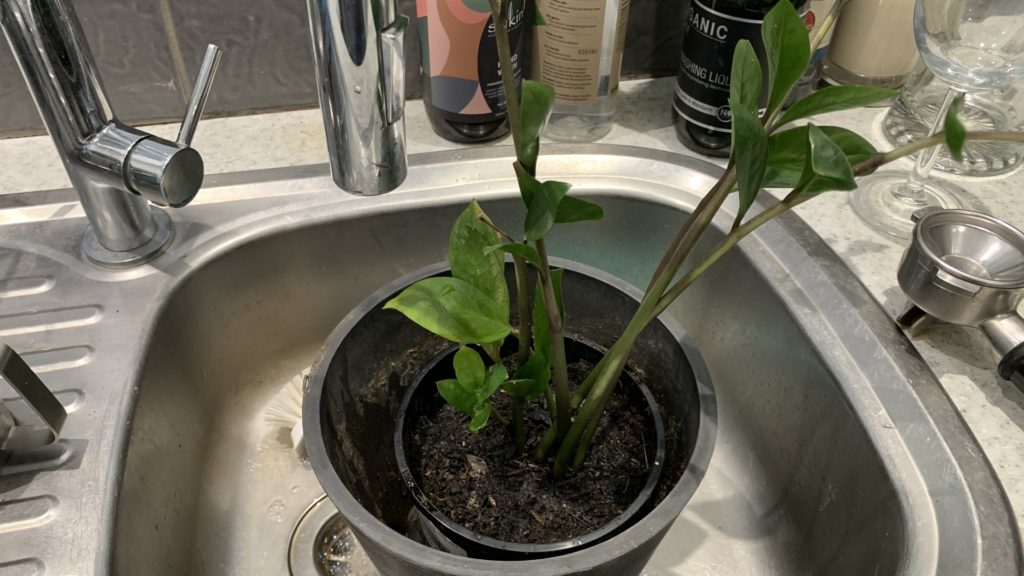
5. Pull the rhizomes apart
The best way to separate the ZZ plant is to gently pull the bulbs apart where they have separated. I like to leave those that are joined together in one piece and only separate the plants that have grown apart. You can pull these away without damaging the roots or rhizomes.
6. Place them in the new pot and backfill
Once you have separated the plants take the piece with 2-3 stems and place it in the new pot. Using your hands or a small spade, fill the pot with premium potting soil and gently press it around with your fingers to keep it in place.
7. Water the ZZ plant gently
Using a spray bottle, tap or your garden hose with a sprayer nozzle water the plant gently. Water all around the soil surface to settle the soil around the base of the plant.
While ZZ plants will only need watering around once per month it is fine to water it well when you transplant them.
Allow the plant to drain out well before bringing it inside. Make sure there is no water sitting in the bottom of the indoor pot.
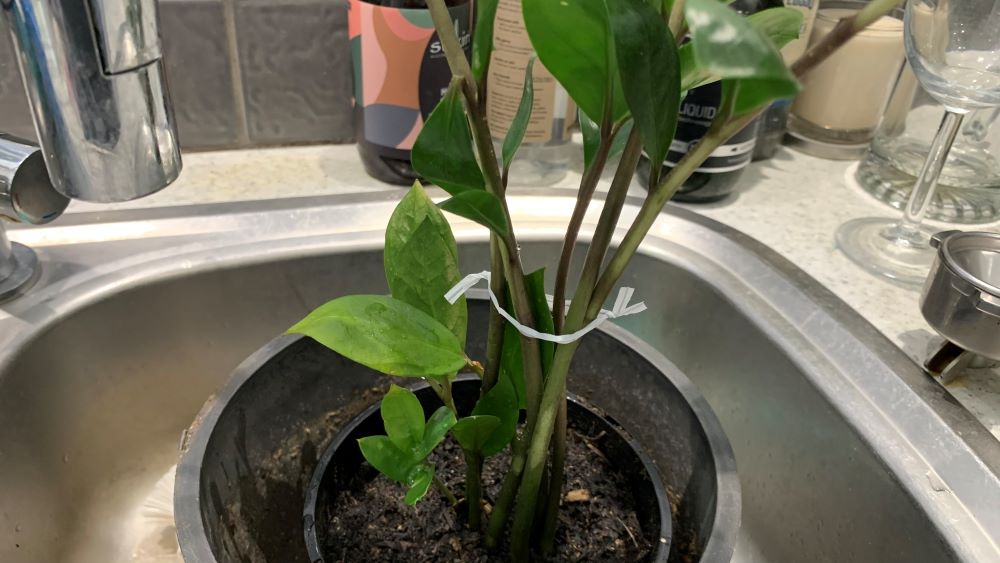
8. Tie the stems to hold them in place
After transplanting the ZZ sometimes the plant stems can start to flop over. For the short term use garden ties or twist ties to temporarily hold them in place. Over time the stems will strengthen and you can remove these ties after 2-3 weeks.
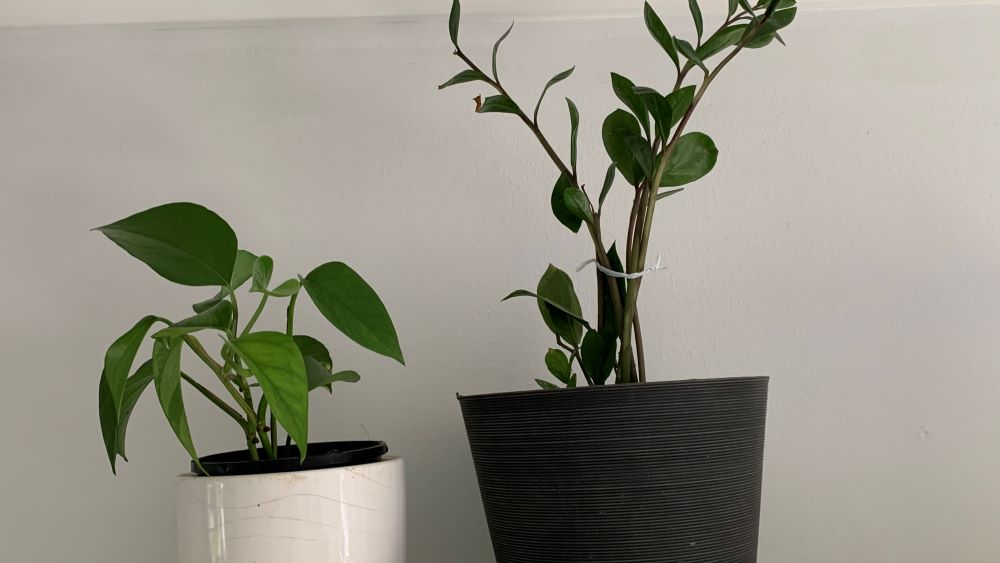
Make sure you remember to remove the ties so they don’t damage the stems over time. You will have brand new plants that look fantastic and can be given away as a great gift or fill an empty, dark place in your home.
When to divide a ZZ plant
Divide ZZ plant when you notice that there are at least 6 stems or when the plant is filling out the pot. If you see the pot bulging it is time to remove the plant and repot it into a new space. You can make multiple plants from a single stem every 2-3 years.
ZZ plants are perfect for dividing and make new plants for free. It is a fun activity to do with your kids or to make Christmas presents for free.
How to divide a ZZ plant | Summary
Dividing ZZ plants is easy and can be done in 8 easy steps. Always use a premium potting soil, a clean pot and divide the rhizomes carefully. These plants look like potatoes underneath the soil and can be gently pulled apart to grow new plants. ZZ plants love a shady spot and can add a beautiful green feature in your home that many plants won’t grow in.
You can place ZZ plants in a dark spot in your kitchen, on a book shelf or on your desk. These plants love watering once per month and some slow release fertilizer in spring. These are one of my favorite indoor plants and great value when you divide them yourself.
I am an accredited practicing dietitian, experienced gardener and a dedicated cook. I love writing and sharing my experience so you can learn from my successes and mistakes.